

5 Steps to Starting DevOps with a JFrog Free Subscription

By
7 min read

Note: The below post showcases the JFrog Platform Free Tier, which is currently limited for new sign-ups. In the meantime, we invite you to explore a fully-functional free trial.
The JFrog Free subscription is a SaaS cloud offering of the JFrog DevOps Platform that provides software developers, DevOps Engineers, System Administrators and students a sandbox environment to explore solutions to common DevOps challenges.
Here are examples of common DevOps challenges, where having a free subscription to the JFrog Platform helps:
- Job roles transitions
- Starting a new development project
- Learning new technology, e.g. software bill of materials (SBOM)
- Testing proposed changes, e.g. cloud migration
- Configuring integrations to your tool chain for automating workflows
Starting Your DevOps Journey
Here are the 5 steps to onboard development projects and team members with the latest customer experience improvements and get started with guided journeys. Start your journey with the first step and see how the JFrog Platform fits into your DevOps plans.
Step One: Sign Up
The first step is to register for the JFrog Free subscription. There’s a whole schedule of workshops, events, challenges and meetups that leverage a free subscription so you will have a great hands-on experience joining the JFrog developer ecosystem.
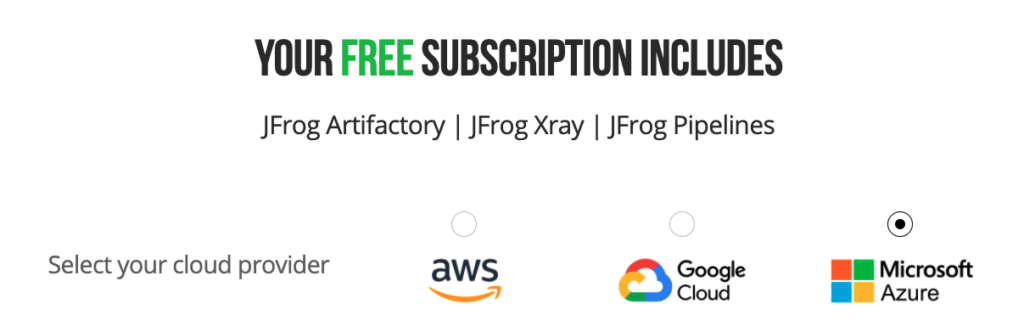
We’ve kept the sign-up form simple, there’s no financial commitment, and you decide which cloud provider and region to run your DevOps Platform experience in. Once you’ve signed up and the instance is activated, you’re in the Platform with the welcome page presenting two guided journeys to get started.
Step Two: Choose Your Path
With the latest update, the customer experience now presents a concierge service model, where a new member is presented with a tailored introduction to the JFrog Platform capabilities. For developers, we prioritized getting a repository or registry in place for the foundation for your project’s binaries, artifacts and dependencies.
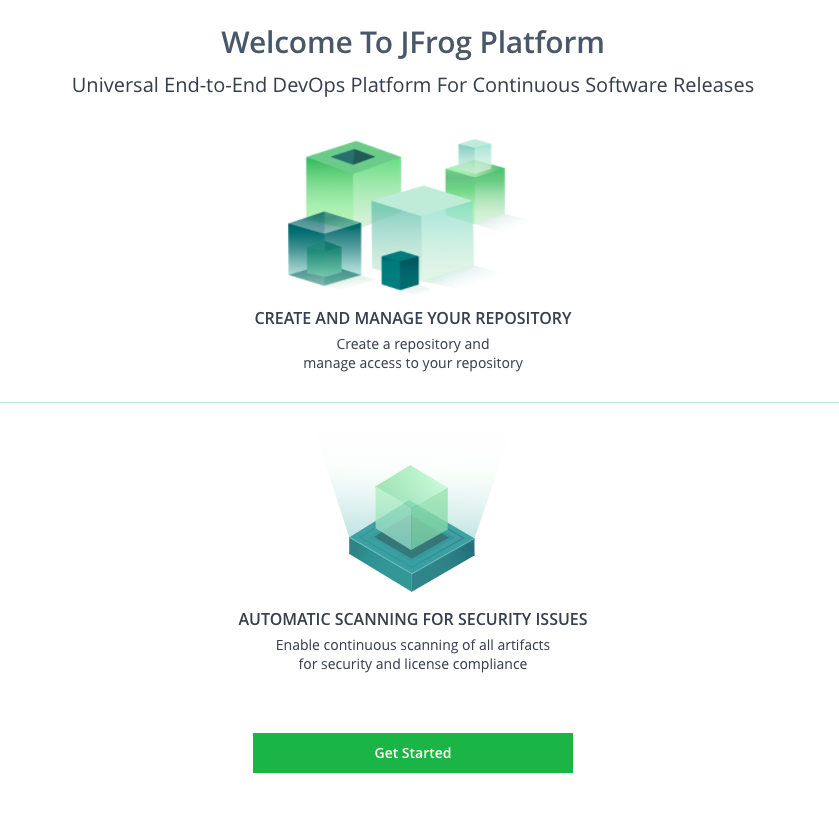
JFrog Free subscription – Welcome page
The two guided journeys presented are:
- Create your first repository, so it becomes the build or release, source of truth for; binaries, artifacts and dependencies.
- Scanning of those artifacts for security vulnerabilities and license violations with our SCA Tools.
To stay on track for five steps, we’ll continue with the developer path.
Step Three: Create Repositories
Could it get any easier than this? With Docker registries, and Maven, NPM and Generic repositories ready for your project.
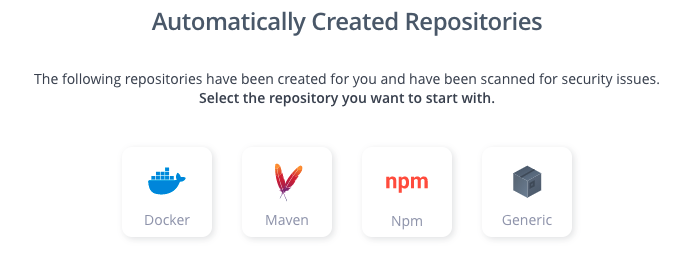
Each of these comes pre-configured with local, remote and virtual repositories. This is unique to JFrog, so it’s important to understand when to use one or the other. A local repository stores artifacts using package clients, while a remote repository is a caching proxy. Many customers prefer to focus on virtual repositories, as they aggregate both proprietary and public artifact sources with the same package types, and hide the access details, letting developers work with a single well-known URL for super easy access.
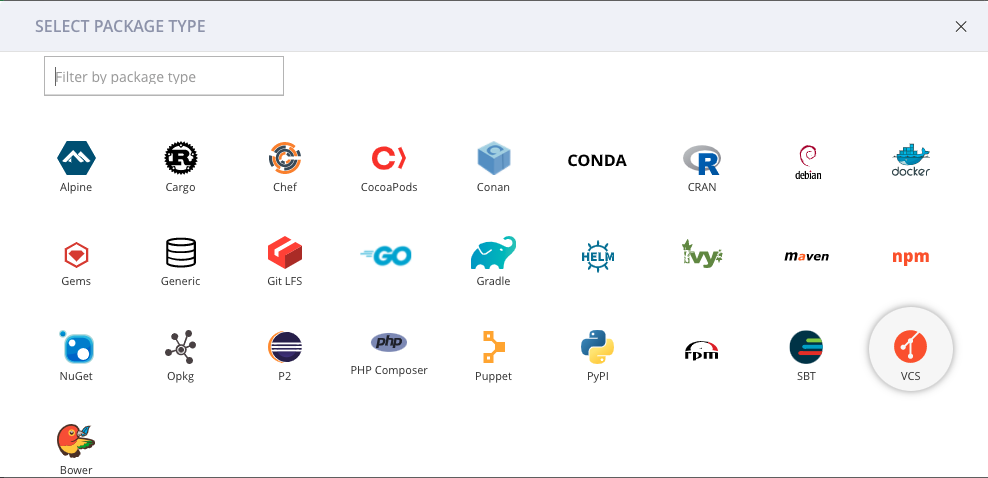
Create Repository – Select Package Type
Build jobs to deploy binaries, artifacts and resolve dependencies to and from Artifactory in any programming environment. With a broad developer ecosystem and ever-expanding integrations, we decided to start with pre-populating Docker, Maven, NPM and Generic repositories as guided journeys. If you were looking for PyPi, Cargo, Conan, NuGet, Puppet or others it’s still super simple to add a repository from the Set Me Up. Above shows a more complete list of repositories and registries available.
Step Four: Set Up and Deploy
Here we are, step four already – just a few more clicks away to the first artifact deployment and adding a teammate to help with the project.
As a bit of taxonomy, to “deploy” in this context is to upload build artifacts (binaries, images) to the repository. In this “build once” best practice, these artifacts comprise the software bill of materials (SBOM) for every build. As the build matures, the assigned metadata enables that SBOM to be collectively managed as the build is promoted through the different stages, for example from DEV (development) to TEST to PROD (production).
There are a couple of different ways to “deploy” an artifact, but in this example we will focus on a Docker image being pushed to a local repository. Deploy Artifacts is selected from the User Interface or through REST APIs.
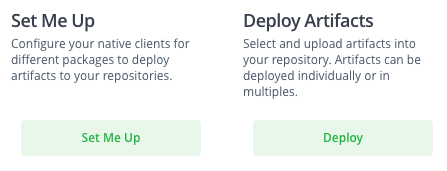
Developer Onboarding Made Simple
Set Me Up is the fastest way to get back to coding. It provides code snippets to configure your native client (for example, in your /.docker/config.json file/ ) for access to all repository artifacts for your project.
For developers that are looking to optimize for speed, check out the JFrog CLI, it provides a simple interface as a wrapper to the REST API to simplify automation scripts.
Step Five: Add Users
Now that we have a repository for all our project needs, the next step is to add a teammate or two to help contribute to the project and build out the pipeline. Invite them to join the free subscription in step one, and once they’ve logged in, add them as a new user to your project.
As the Platform Administrator of your JFrog cloud instance adding a new user is super easy with the Getting Started journey, simply add the user name and email.
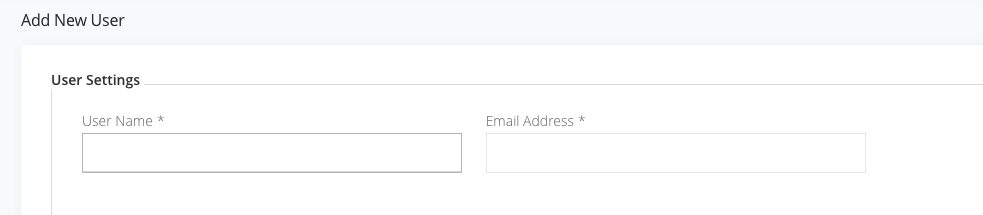
Grow your Project with New Users
Where to Go From Here
For some this is enough, they now have a complete environment for their development project, but for others that are researching more complex use cases, or if you have a specific checklist, the JFrog Free subscription is a fully featured cloud instance to automate your software development life cycle (SDLC).
The JFrog Free subscription includes:
- Artifactory universal binary repository manager for over 30+ package types
- Xray integrated security scanning to help keep vulnerabilities out of your releases
- Pipelines for end-to-end CI/CD automation
JFrog Free subscription members may register for the JFrog Academy for complete access to online training and certification courses. Support is directed to Stack Overflow for community scaling, but if you have something holding you back let us know and we’ll get it sorted out.
Please note that we have a usage-based policy to keep your subscription active: accounts that experience 21 days with no data transfer activity will be deactivated. The subscription is generous with 10GB of data transfer per month, 2,000 build minutes per month and 2GB total storage.
The JFrog Free subscription is a rich environment to learn, test and design your DevOps environment for automation and efficiency. Since our launch of the Free subscription we’ve worked hard to improve the customer experience and welcome all developers to JFrog.
Resources to get you started
| JFROG ACADEMY | BEST PRACTICES | COMMUNITY |
Experience
JFrog Today
Discover how the JFrog Platform unites DevOps, DevSecOps and MLOps for secure, rapid software delivery.


