Install JFrog Platform on Kubernetes in Under 20 Minutes

By
9 min read

We get it, installing Artifactory and the JFrog DevOps Platform on Kubernetes can be daunting. As easy as we’ve sought to make it with our official JFrog installation Helm charts, there are a lot of decisions to be made. That’s meant to give you the widest possible choice for how to best fit your JFrog installation to your infrastructure. But choice can be overwhelming, too.
When all you want is to quickly stand up a self-hosted JFrog installation for testing or evaluation — as with a free trial — how do you know what options are important? What’s the bare minimum you need to think about? Parsing through all your choices can take a lot of time you’d prefer not to have to invest.
To help, we’ve made available some rapid Bash scripts to install the JFrog Platform. We’ve narrowed down the number of settings that are essential, and automated the scripts to default to safe values. The scripts will run the Helm client and chart for you to perform a minimal, basic install on K8s with little fuss.
You can install the entire high availability JFrog Platform, set up your artifact repositories, and start working in less than 20 minutes. Sound too sweet to be true? Watch our webinar and see how it’s done.
In the meantime, let’s go through the steps for a rapid install.
Before You Start
You’ll need to have a few things prepared before you start your install procedure:
| What You Need | Description |
| JFrog Platform Licenses | You will need one license for each HA node you intend to install. Trial licenses will be valid for a limited period after activation, but can be upgraded to permanent licenses.
Your set of licenses will be provided by JFrog as a file, such as |
| Fully Qualified Domain Name
(FQDN) |
A complete domain name for a specific host. For example: jfrog.mycompany.com
This is required for Docker to work with secure registries through SSL. Otherwise, you may add the IP address as an insecure registry to your Docker client settings. |
| TLS cert and key for SSL | Required for secure Docker registries.
You can purchase TLS certification through a vendor, use a public CA such as Let’s Encrypt, or an SSL offload service such as Cloudflare. You will need to provide the certificate and key files, (e.g. |
| Kubernetes cluster | Your Kuberenetes cluster can be in an on-prem system in your datacenter, or in any of the public cloud services such as AWS EKS, Google Cloud GKE, or AKS on Azure.
When creating a new cluster, ensure the K8s agent node size is at a minimum 4vCPUs if you plan to install and use JFrog Pipelines. |
You’ll also need to clone the Git repository that contains all of the JFrog quick-install scripts.
Installing Artifactory
JFrog Artifactory, the universal artifact repository manager, is the core component that powers the JFrog DevOps Platform. You must install Artifactory first, which will also establish your base URL, JFrog licenses, and SSL certification.
Step 1: Generate Join Keys
The cluster join keys secure your Artifactory HA cluster. All services that want to join your cluster MUST use the same join key.
If you do not provide a master or join key the script will use default values that are insecure.
To secure your installation’s master and join key, generate your own unique keys and export them to the MASTER_KEY and JOIN_KEY environment variables:
# Create a new master key
export MASTER_KEY=$(openssl rand -hex 32)
echo ${MASTER_KEY}

# Create a new join key
export JOIN_KEY=$(openssl rand -hex 32)
echo ${JOIN_KEY}
Step 2: Set the Remaining Install Options
You can also export the remainder of your settings to environment variables that will be used by the installer script.
For example, for your license and certification files:
# Set the JFROG license file
export ARTIFACTORY_LICENSE_FILE=${HOME}/artifactory.cluster.license

# Set for TLS certification
export ARTIFACTORY_TLS_CERT=${HOME}/tls.crt
export ARTIFACTORY_TLS_KEY=${HOME}/tls.key
If you prefer, you can provide the installer script with values through command line options rather than exporting to environment variables. You can also override any environment variable settings through command line options.
The full list of possible environment variables and their corresponding command line options is:
| Environment Variable | Command Line Option | Default Value |
| MASTER_KEY | -m <string> | An insecure value |
| JOIN_KEY | -j <string> | An insecure value |
| ARTIFACTORY_LICENSE_FILE | -l <filename> | None – This is required. |
| ARTIFACTORY_TLS_CERT | -c <filename> | No TLS certification |
| ARTIFACTORY_TLS_KEY | -k <filename> | No TLS certification |
| SSL_OFFLOAD | -s <true/false> | false |
| JFROG_NAMESPACE | -n <namespace> | The cluster’s default namespace |
You should set SSL_OFFLOAD to true if you are using an SSL offload service.
We recommend that you specify a Kubernetes namespace for the cluster – for example, “jfrog”. This same JFROG_NAMESPACE value must be used for all components of the JFrog Platform.
Step 3: Run the Install Script
Once you have exported all of your settings for the installer, you can run the script to install Artifactory to Kubernetes through the Helm chart.
If you exported all of your needed settings to environment variables, you can run the script without any command-line options. For example, to run with only the settings set in the prior steps:
./artifactoryhelminstall.sh
Or, you can use command-line options for some or all settings. For example, to perform the same Artifactory install using command line options:
./artifactoryhelminstall.sh -m $MASTER_KEY -j $JOIN_KEY -c $HOME/tls.crt -k $HOME/tls.key -l $HOME/artifactory.cluster.license
The script will echo the settings to the console for confirmation, then invoke the Helm chart to install a high-availability configuration of Artifactory with nginx load balancing to your Kubernetes cluster.
Step 4: Connect the Domain Name
When your install completes, the script will output the following information to the console:
****************************************************************************
Successfully deployed JFrog Artifactory at http://35.236.108.6
Default user: admin
Default pass: password
****************************************************************************
The IP address shown is the new external IP address exposed through the network load balancer. You will need to map a new A record in DNS for your FQDN to this IP address for the domain specified by your TLS certificate. We recommend you have a wildcard certificate so you can use any subdomain under your domain name.
Step 5: Start Artifactory
Once DNS has been configured, you can open the JFrog Platform login page securely through your web browser (for example: https://jfrog.mycompany.com). You can log in with the default username and password. Once logged in, you should change the default admin password in your JFrog Platform user profile to something more secure.
Installing the Rest
Once Artifactory is installed and running, you can install other components of the JFrog Platform.
All install scripts for the remaining JFrog Platform components will use the same MASTER_KEY, JOIN_KEY, and JFROG_NAMESPACE settings used by the Artifactory install script. So you should make sure these environment variables remain available (or you can specify them in command line options).
JFrog Xray is the software component analysis tool that can alert you to and block vulnerable and non-compliant open source dependencies in your builds. To install Xray, invoke its install script:
./xrayhelminstall.sh
Mission Control provides a high-level overview of your JFrog Platform products and topology. It’s also necessary to install signed license buckets to upgrade your trial to a full license.To install Mission Control, invoke its install script:
./missioncontrolhelminstall.sh
JFrog Distribution empowers you to package your builds into secure release bundles and distribute them quickly to edge nodes. To install Distribution, invoke its install script:
./distributionhelminstall.sh
JFrog Pipelines is next-generation CI/CD for DevOps. To install Pipelines, invoke its install script:
./pipelineshelminstall.sh -a https://jfrog.mycompany.com -p http://pipelines-api.mycompany.com -r amqp://pipelines-rabbitmq.mycompany.com -w http://pipelines-www.mycompany.com
These additional values for Pipelines external connections must be set, either as environment variables, or on the command line:
| Environment Variable | Command Line Option | Default Value |
| ARTIFACTORY_URL | -a <fqdn> | None – This is required |
| PIPELINE_API_URL | -p <fqdn> | None – This is required |
| PIPELINE_RABBITMQ_URL | -r <fqdn> | None – This is required |
| PIPELINE_WWW_URL | -w <fqdn> | None – This is required |
When your Pipelines install completes, the script will output the following information to the console:
******************************************
Map pipelines-api.mycompany.com to 128.12.16.0
Map pipelines-www.mycompany.com to 128.12.25.0
Map pipelines-rabbitmq.mycompany.com to 128.12.36.0
******************************************
Successfully installed JFrog Pipelines!
You must add the external IP addresses of this output to the relevant DNS A records to map to their domain names, to permit the Pipelines build plane to communicate back to your Pipeline instance.
Cruise to DevOps
Now that you have a full install of the JFrog Platform, you can start exploring the ways this end-to-end solution can help you achieve DevOps success.
While speedy, this simple default configuration install may not provide everything you might require for wide use by your organization. For example, you might need more than the minimum number of nodes for high availability, or wish to use a specific cloud service for file storage.
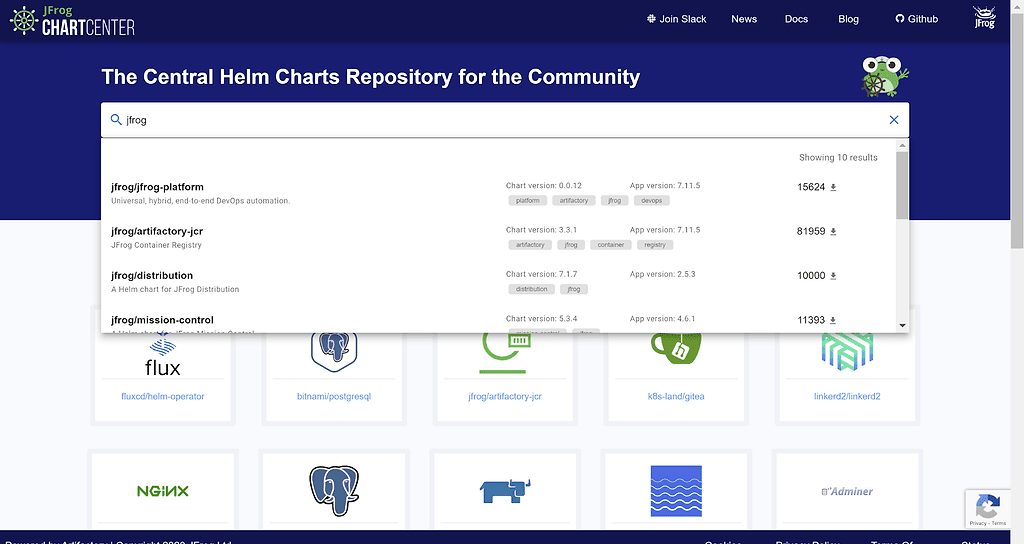
For more control over the details, you can use the official JFrog Helm charts to update, or to perform a fresh install into Kuberenetes. All of them are available in JFrog ChartCenter, which you can use as your central repository for all open source Helm charts.
In the meantime, take a few minutes and give these install scripts a try! You’ll be left with plenty of time to start working right away.