Install Artifactory HA on GKE in a Flash
Editor’s Note (2024): Please refer to the current JFrog Software Supply Chain Platform listing on Google Cloud Marketplace to get started with JFrog on Google Cloud.
Installing Artifactory on GKE, or on any Kubernetes cluster for that matter, can be complex. You have to think through several scenarios, switch back and forth between UI and command line, create a lengthy Helm command, search for acceptable parameters … and so on. All this before you have to configure certificates, licenses, database settings, node settings. But there’s more, what about future proofing it? That is, making sure it’s upgradable to newer Artifactory versions whenever they are released to get bug fixes, security patches and new features?
JFrog Artifactory is now available on the Google Cloud Marketplace, making it super easy to configure and install. Installing Artifactory this way makes it fault tolerant, highly available, secure and upgradable with just a few steps. Above all, the configuration is based on official JFrog Helm Charts, which means that they are supported in case you run into any issues, and are continuously being improved. The JFrog Helm Charts are open source. Feel free to use them and customize according to your needs.
Let’s get set up. Follow these steps to install JFrog Artifactory.
Before you start
Here’s what you’ll need:
- Active Google Cloud account
- A domain name with corresponding SSL Certificate
If you already have these, let’s get started:
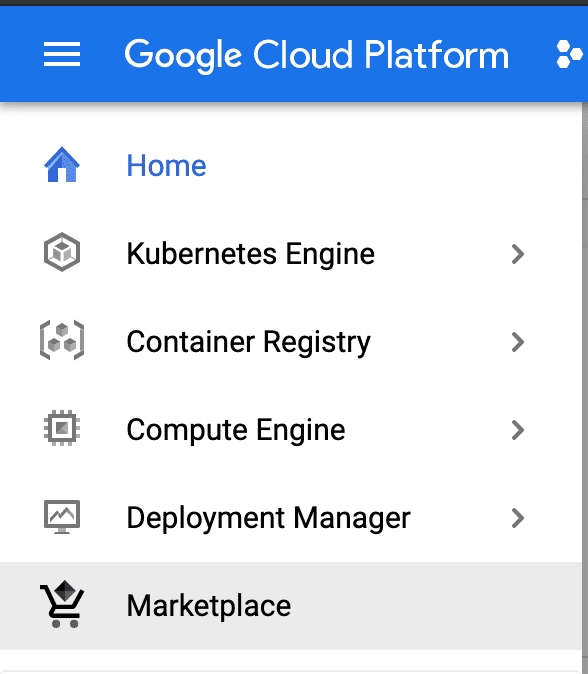
Step 1: Go to Google Cloud and open the Marketplace.
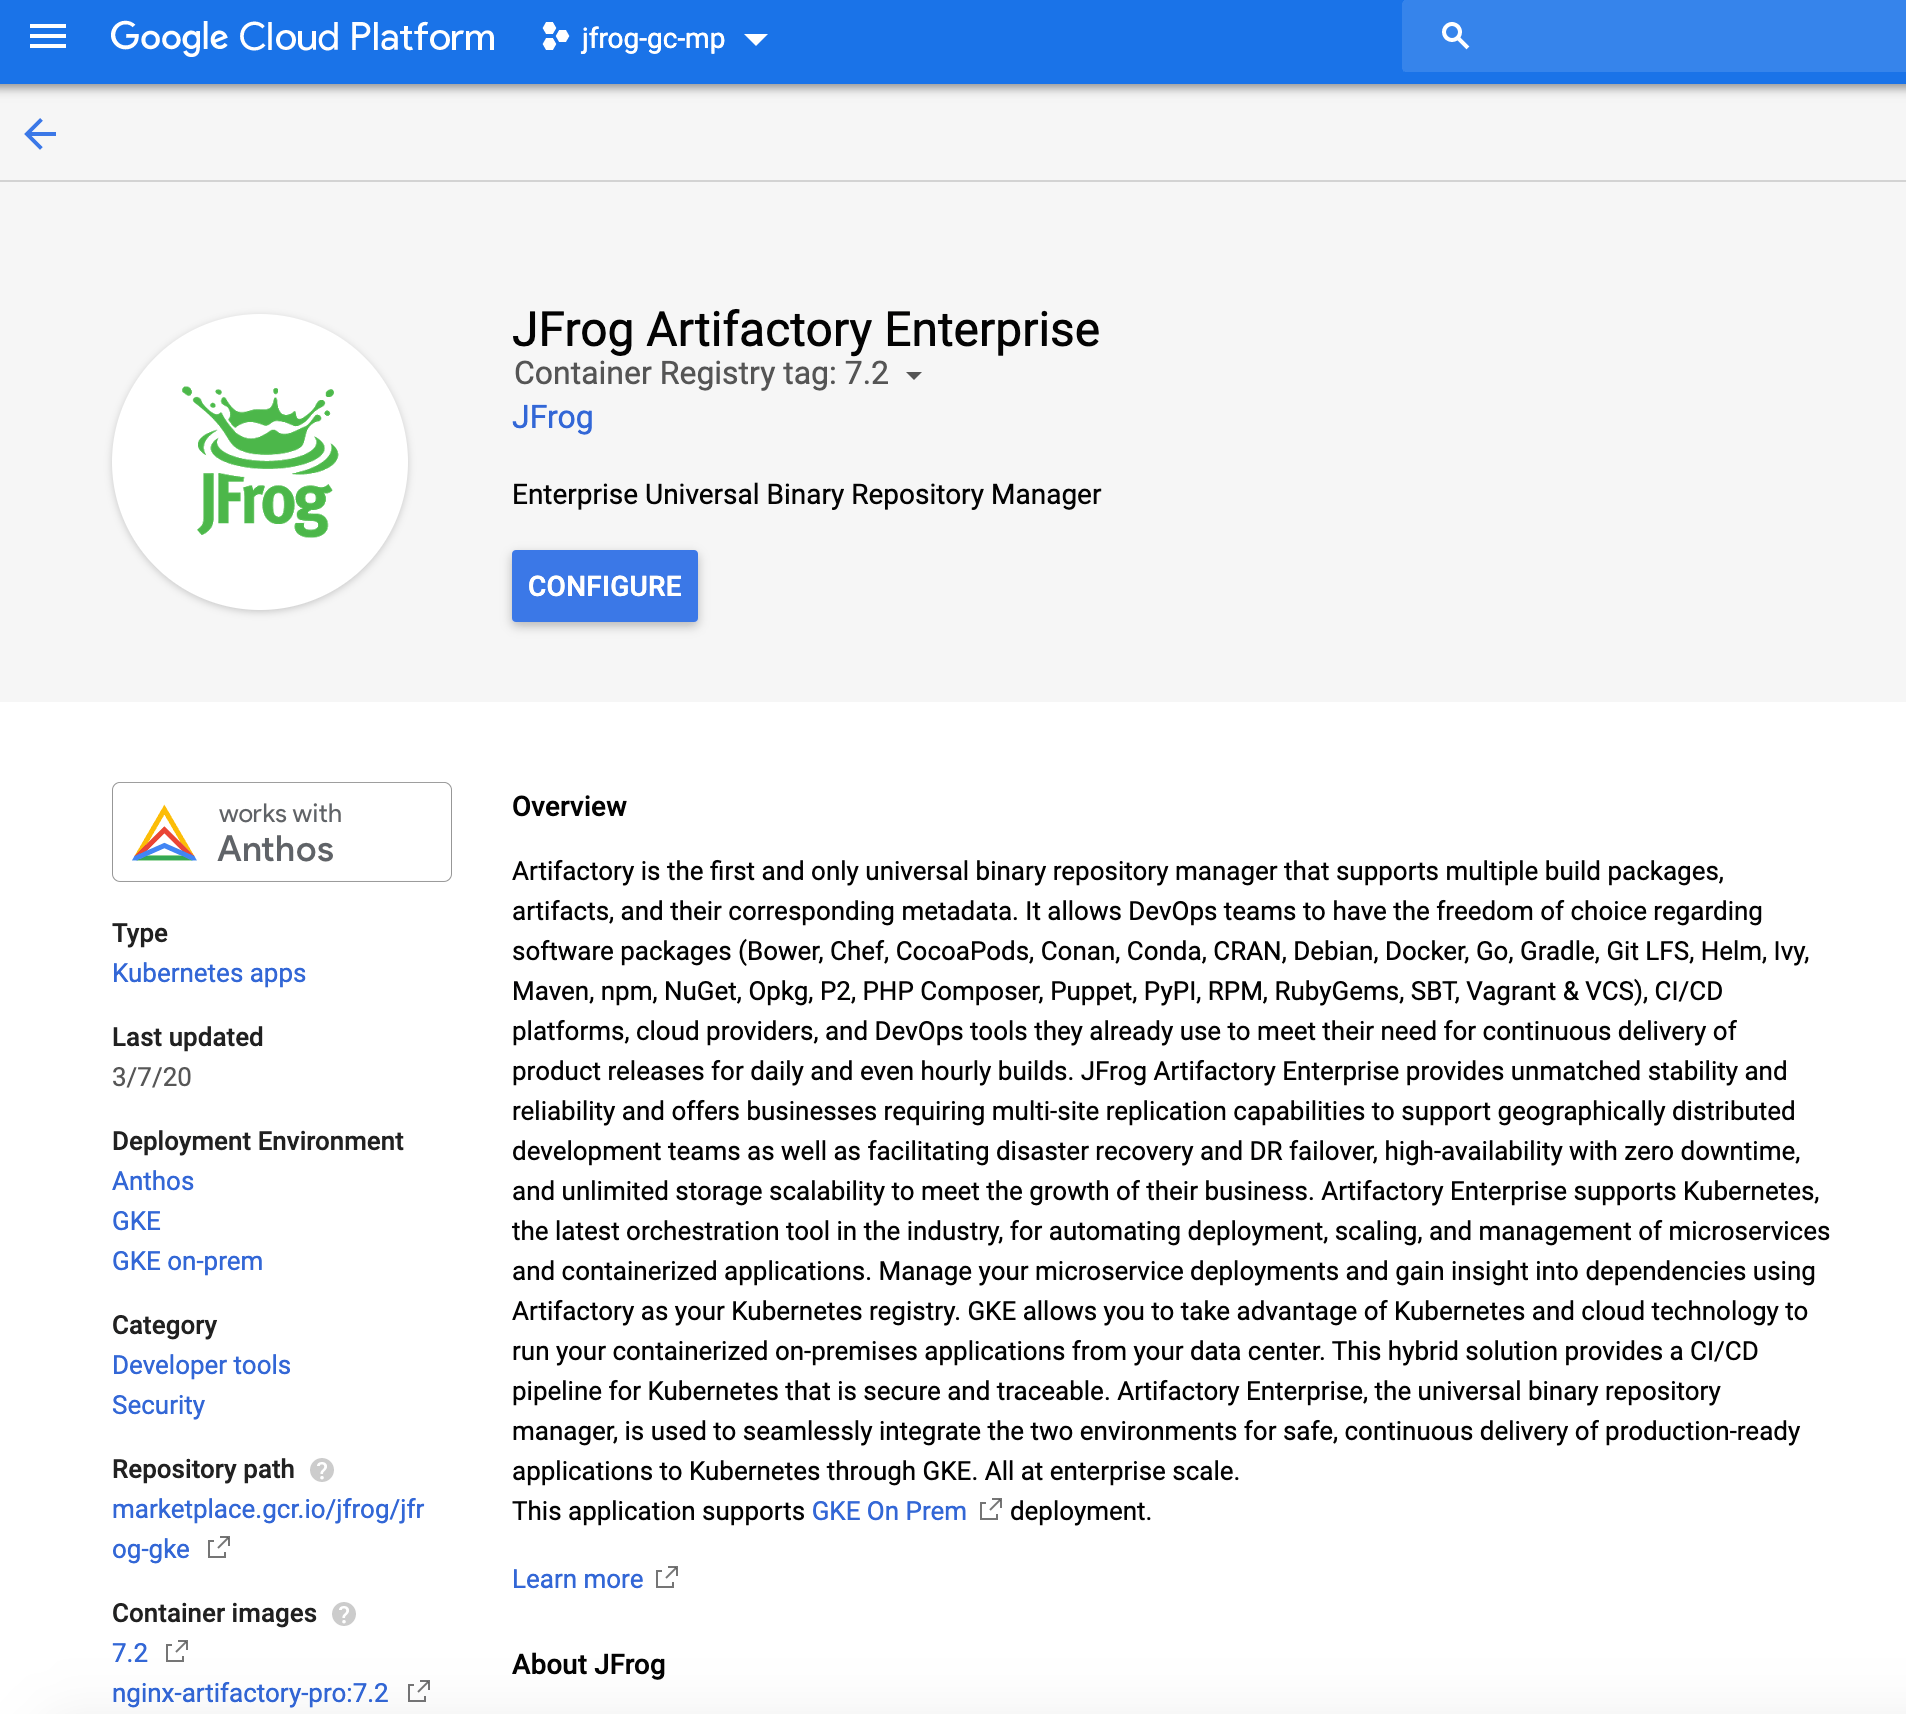
Step 2: Search for “JFrog Artifactory Enterprise”.
Step 3: Open the listing and click “Configure”.
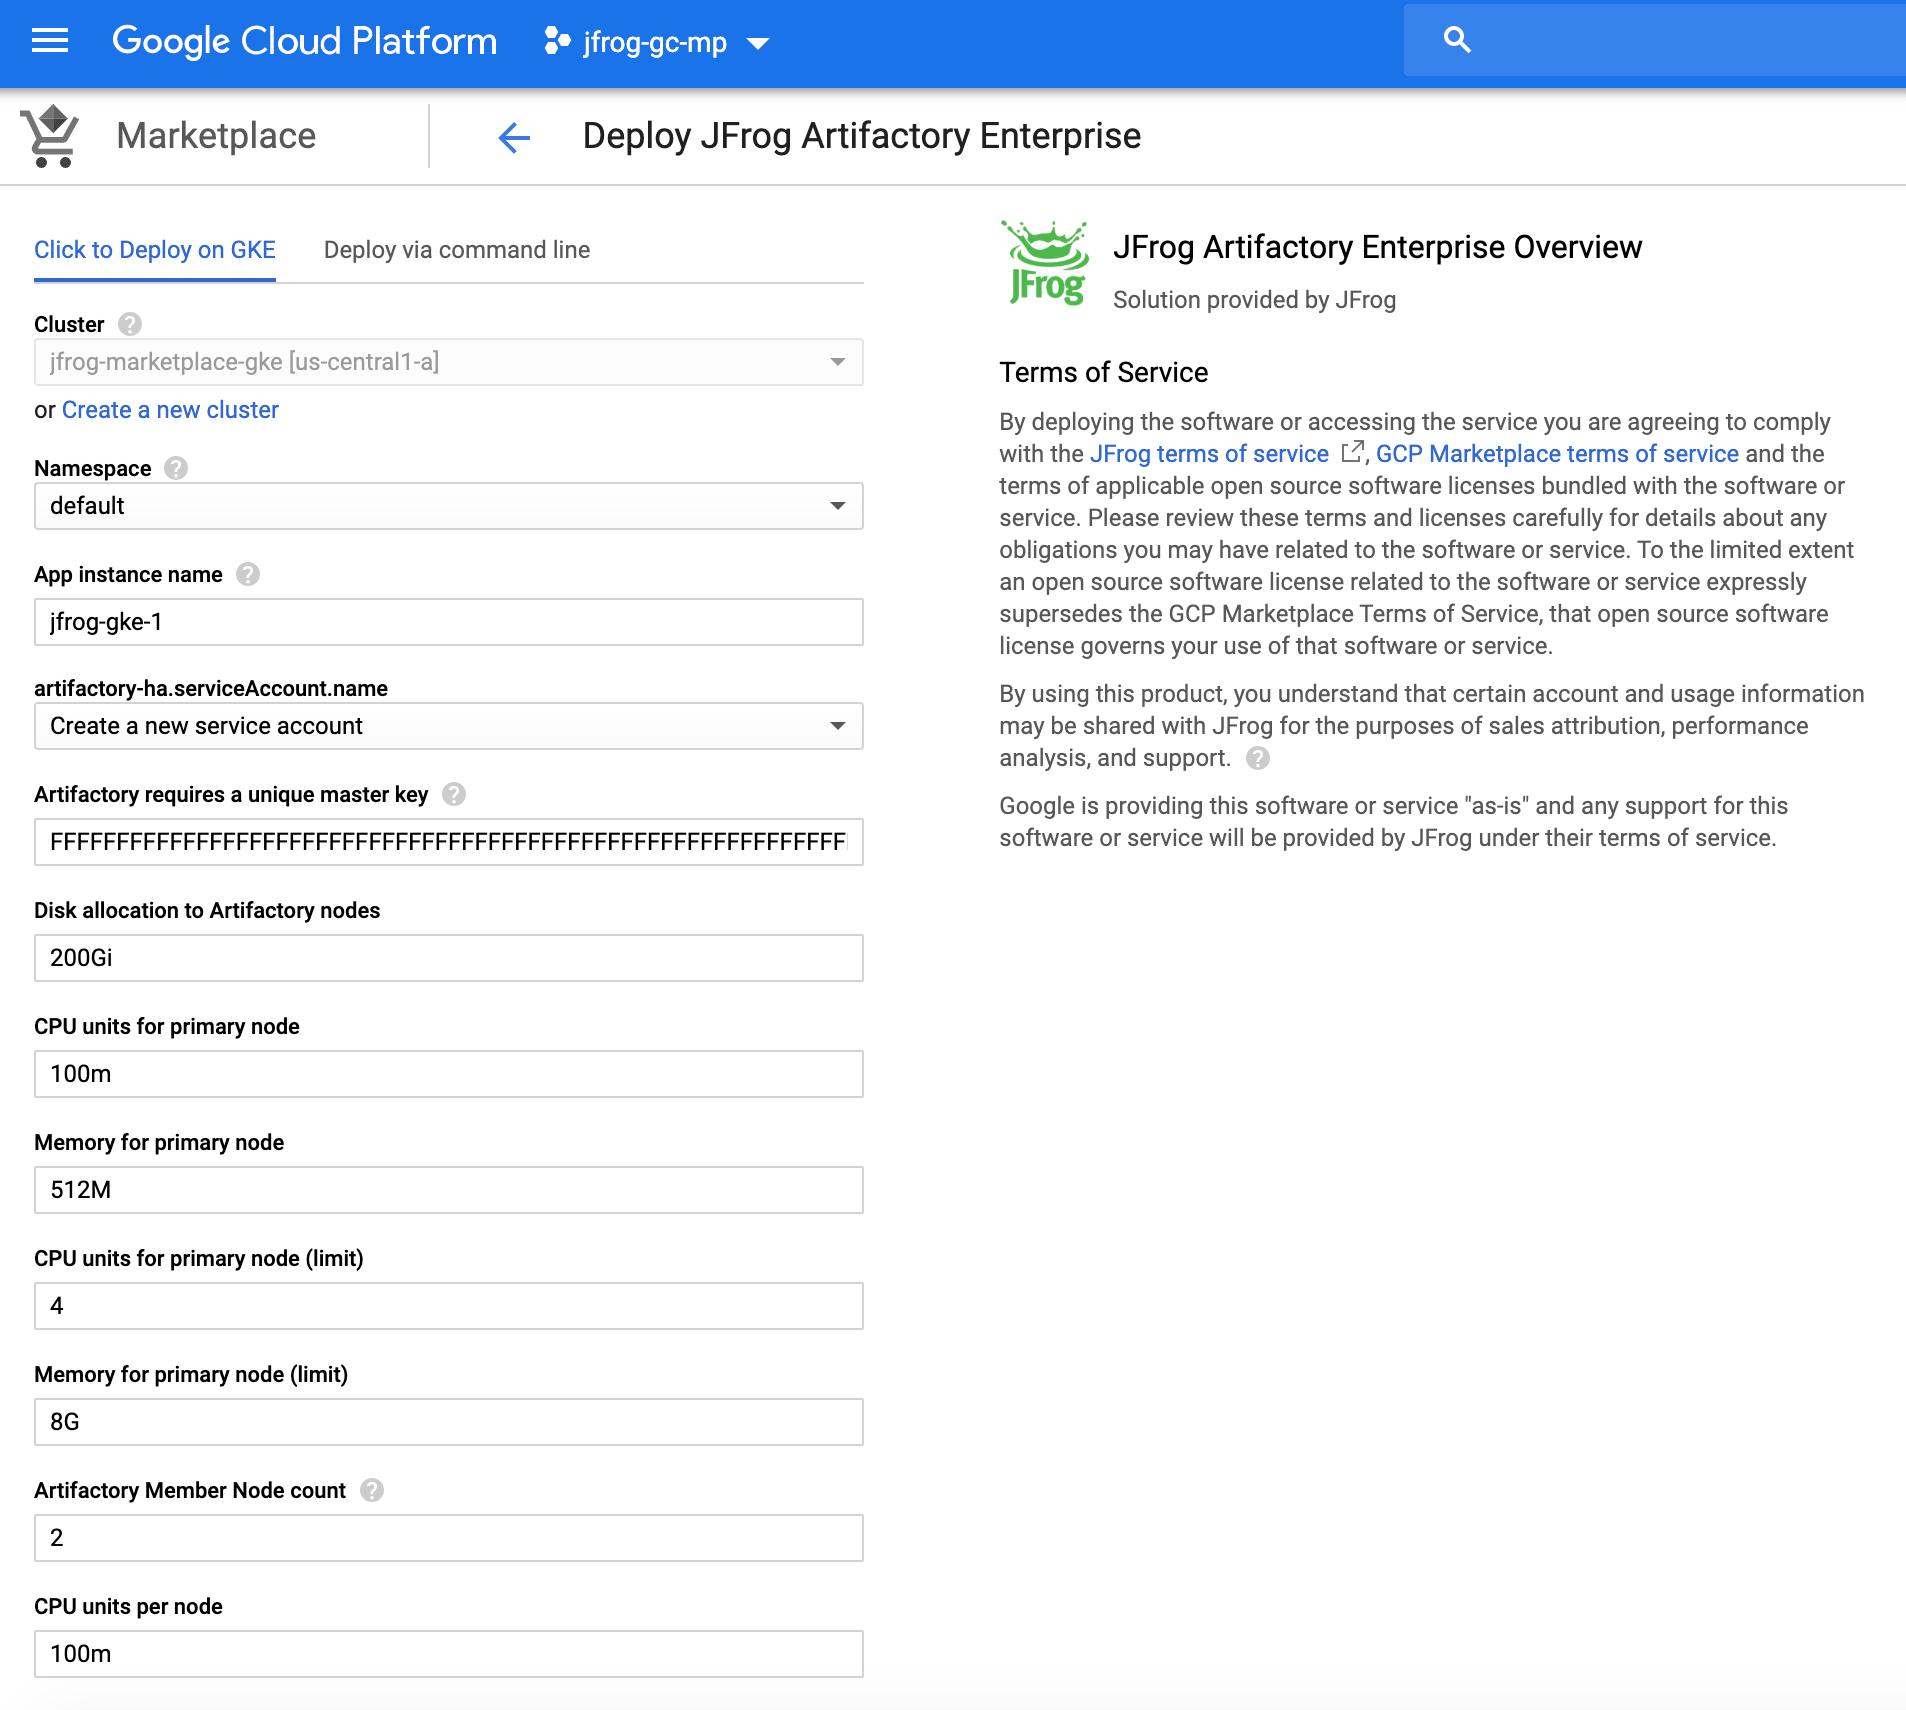
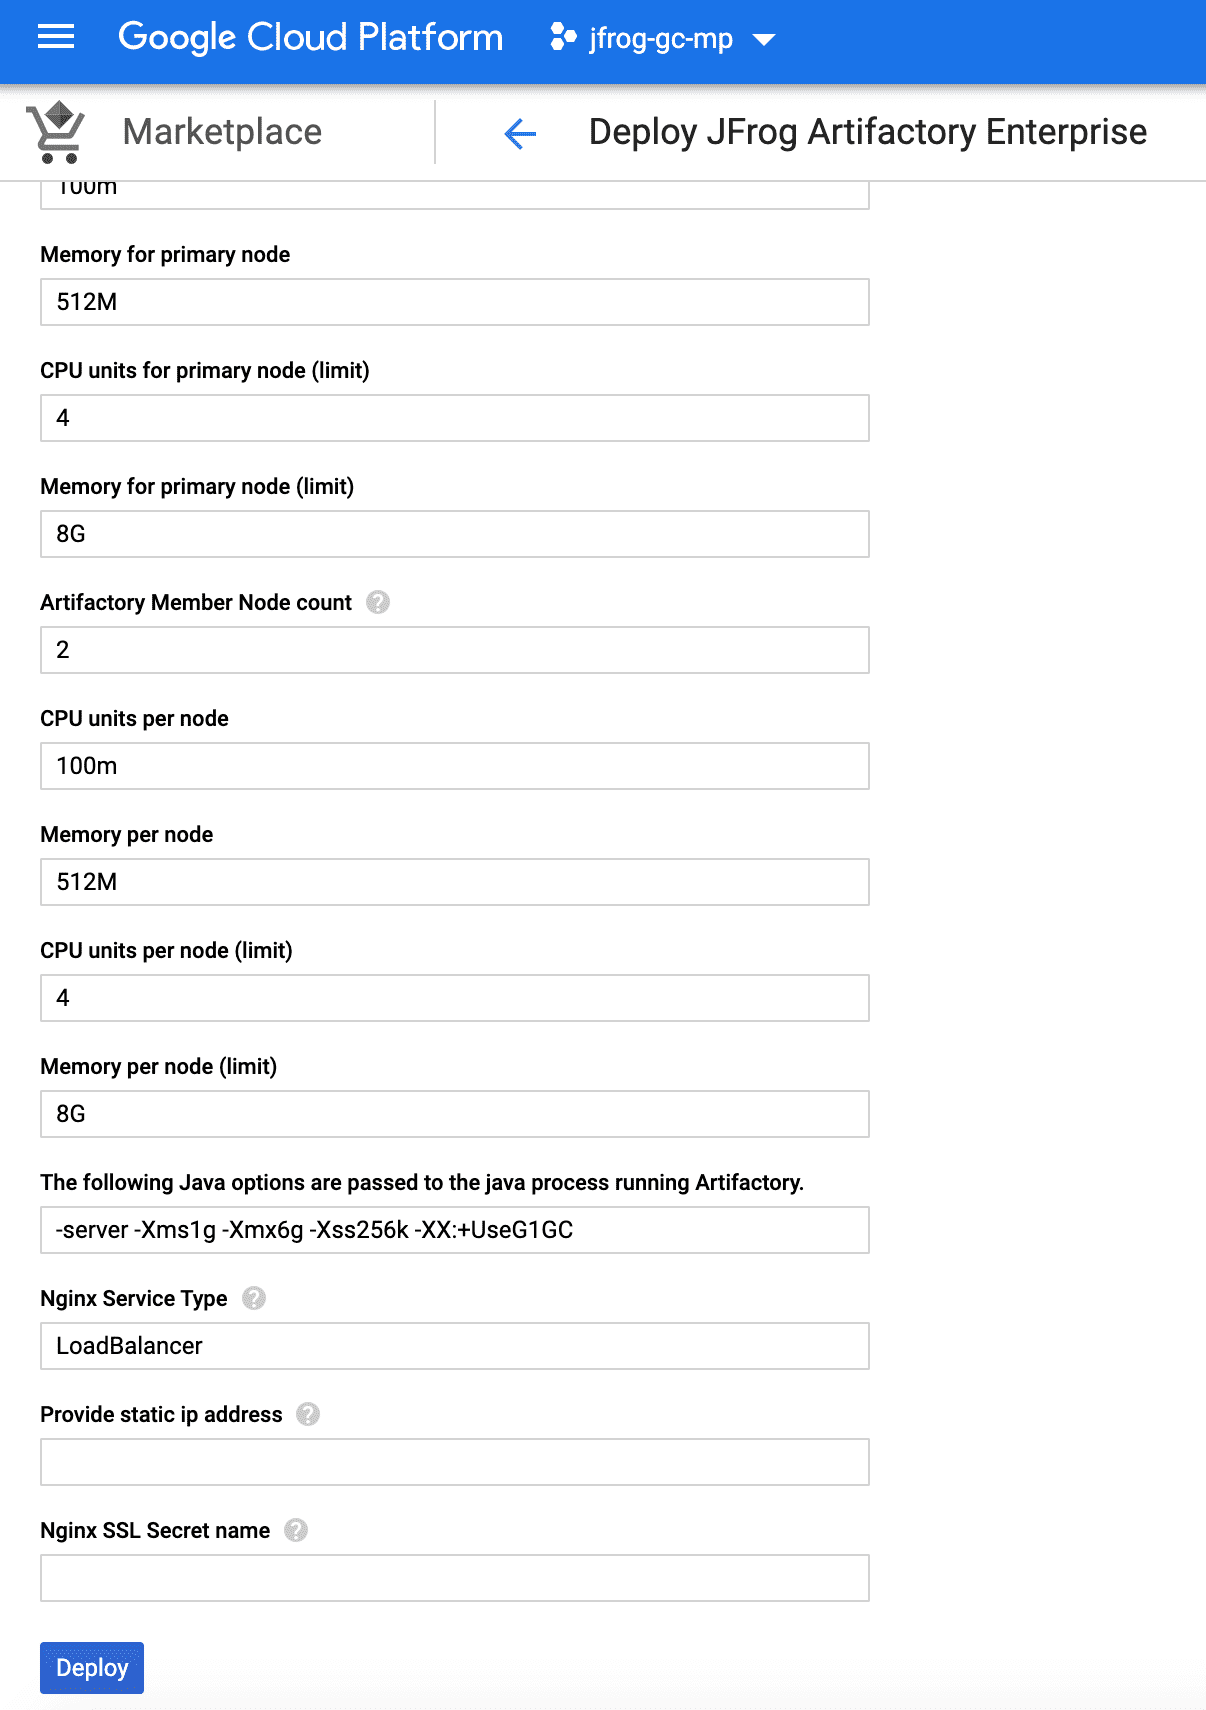
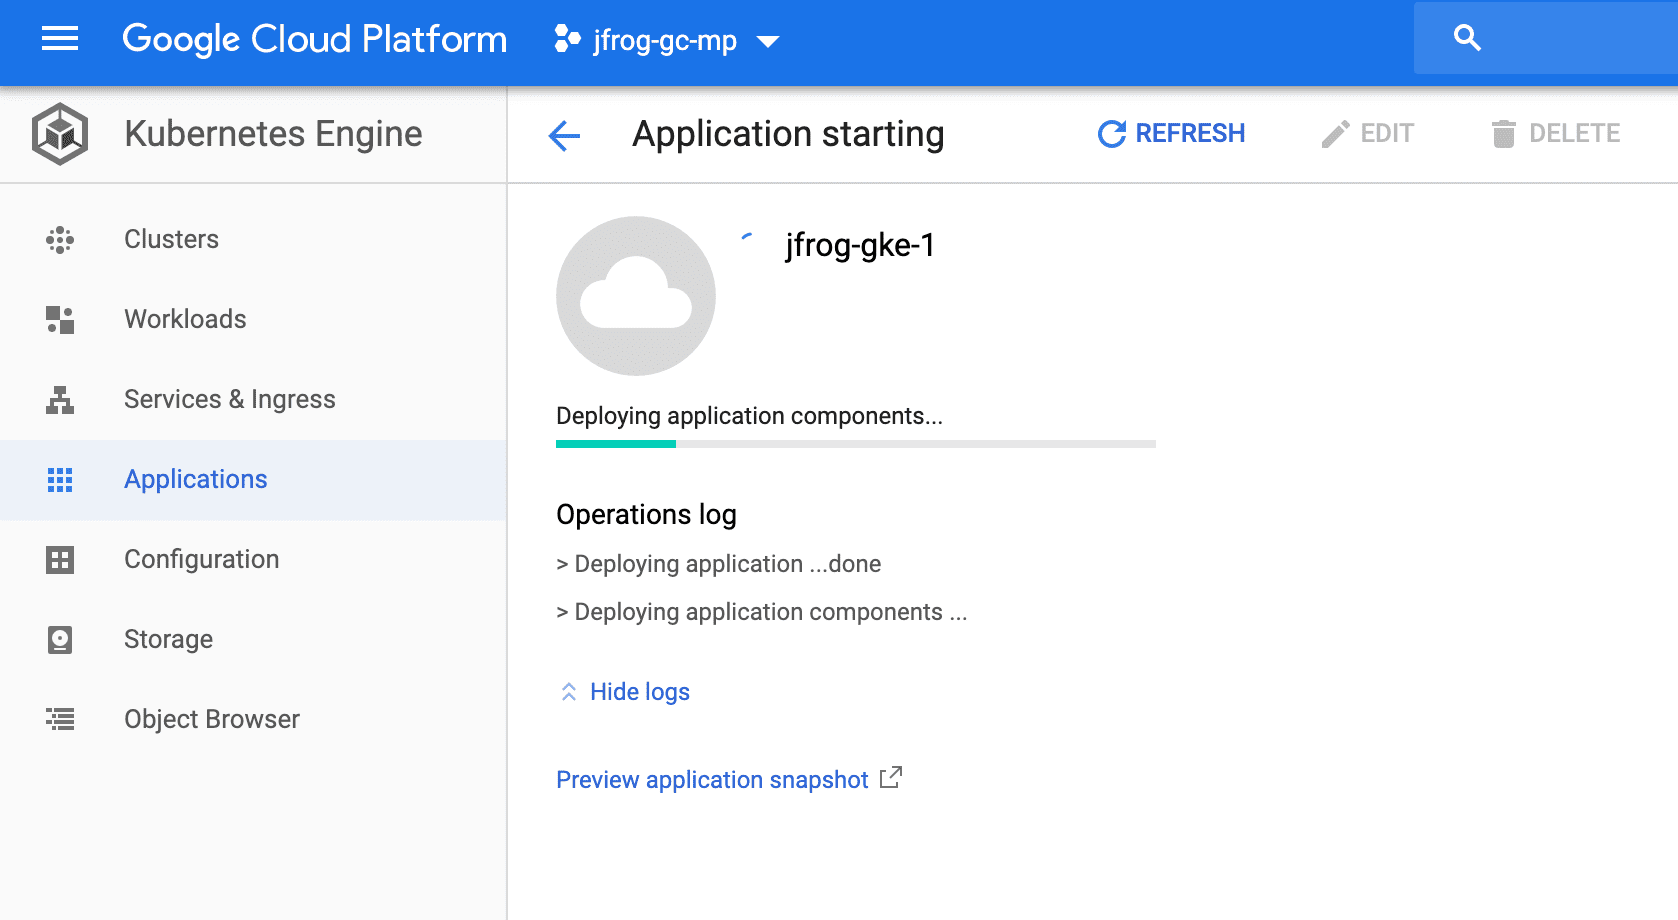
Step 4: Select or create a new cluster and the namespace. The App instance name should be no longer than 6 characters to avoid k8s limitation on 63 characters metadata.labels. The master key can be generated manually by running openssl rand -hex 32 or left as is. Provide a static IP address if needed and Nginx Secret name and click “Deploy”.
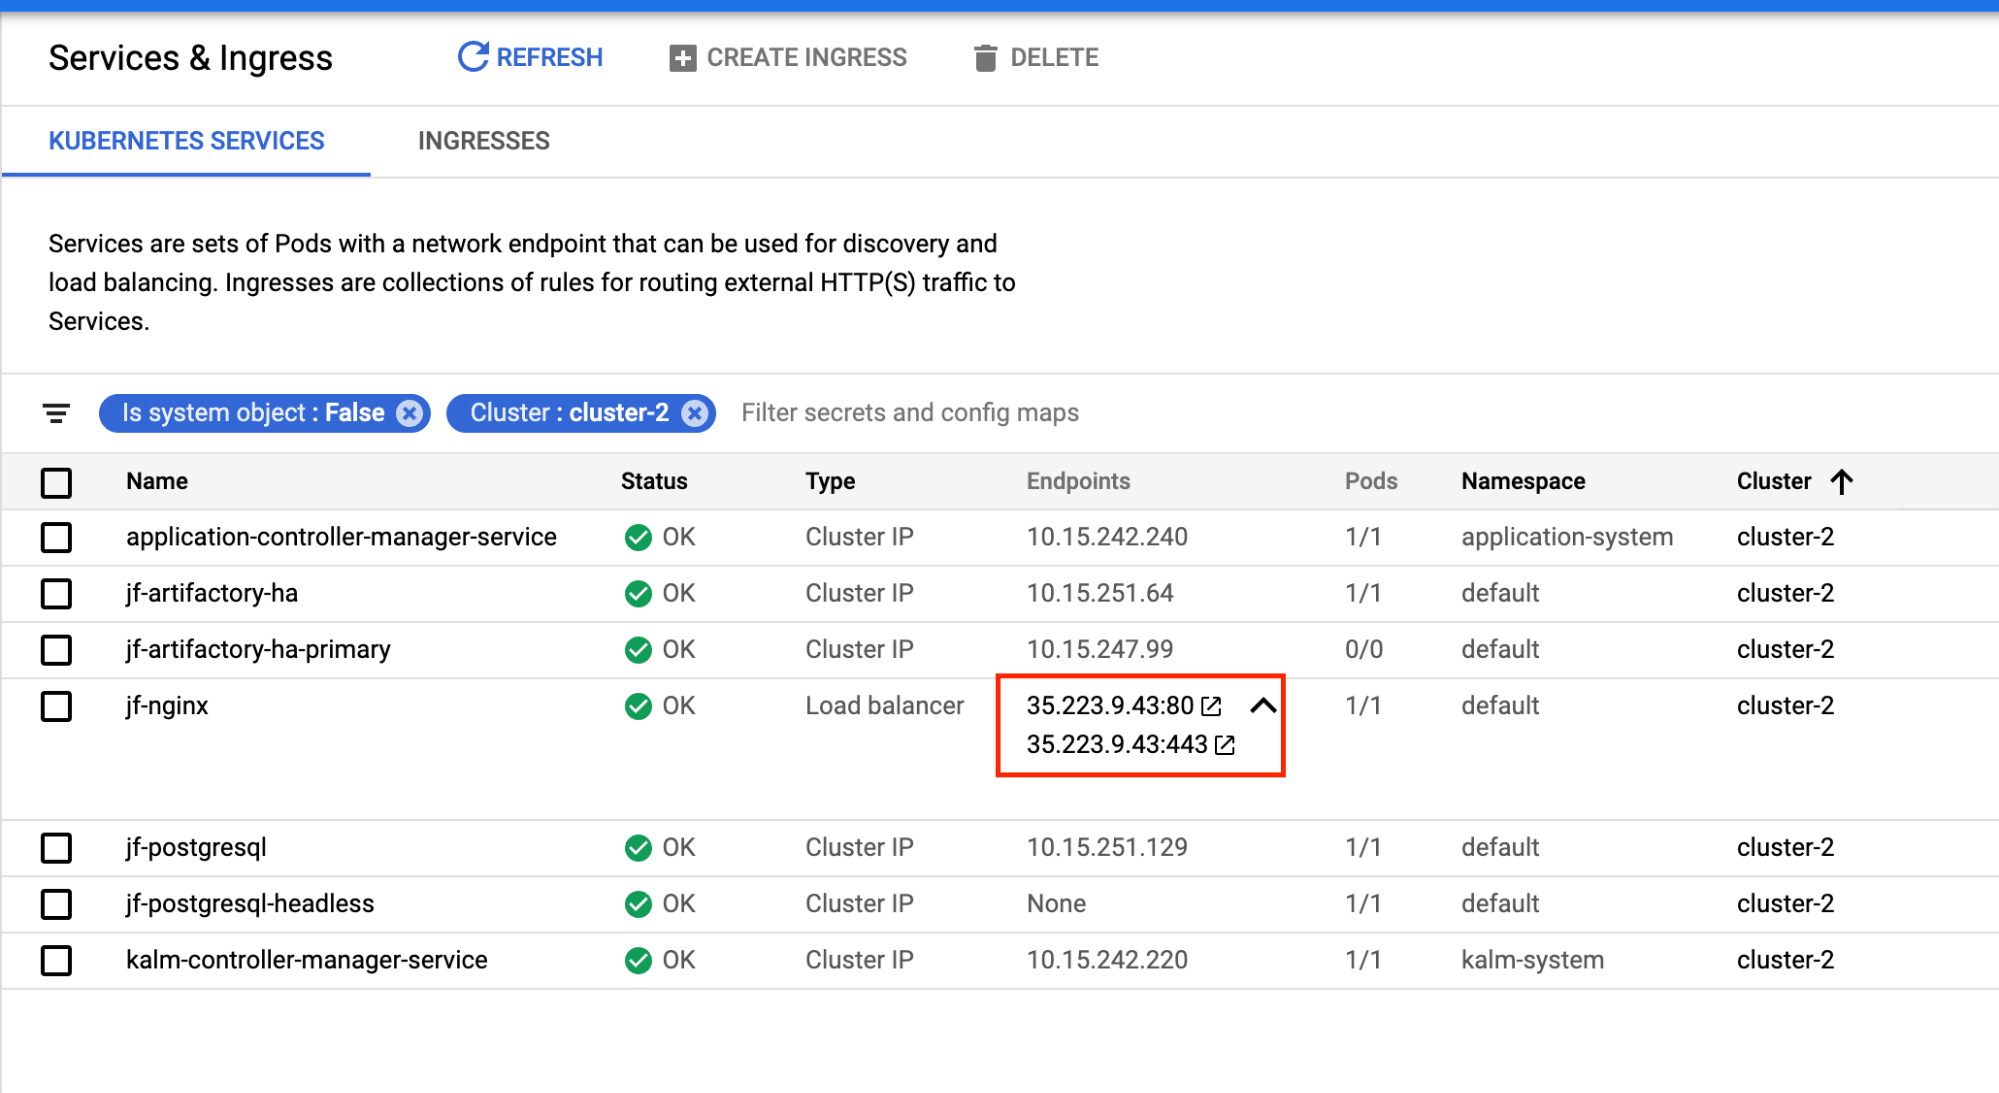
Step 5: When the deployment is done, go to Kubernetes Engine > Services & Ingress and get the Load balancer IP address.
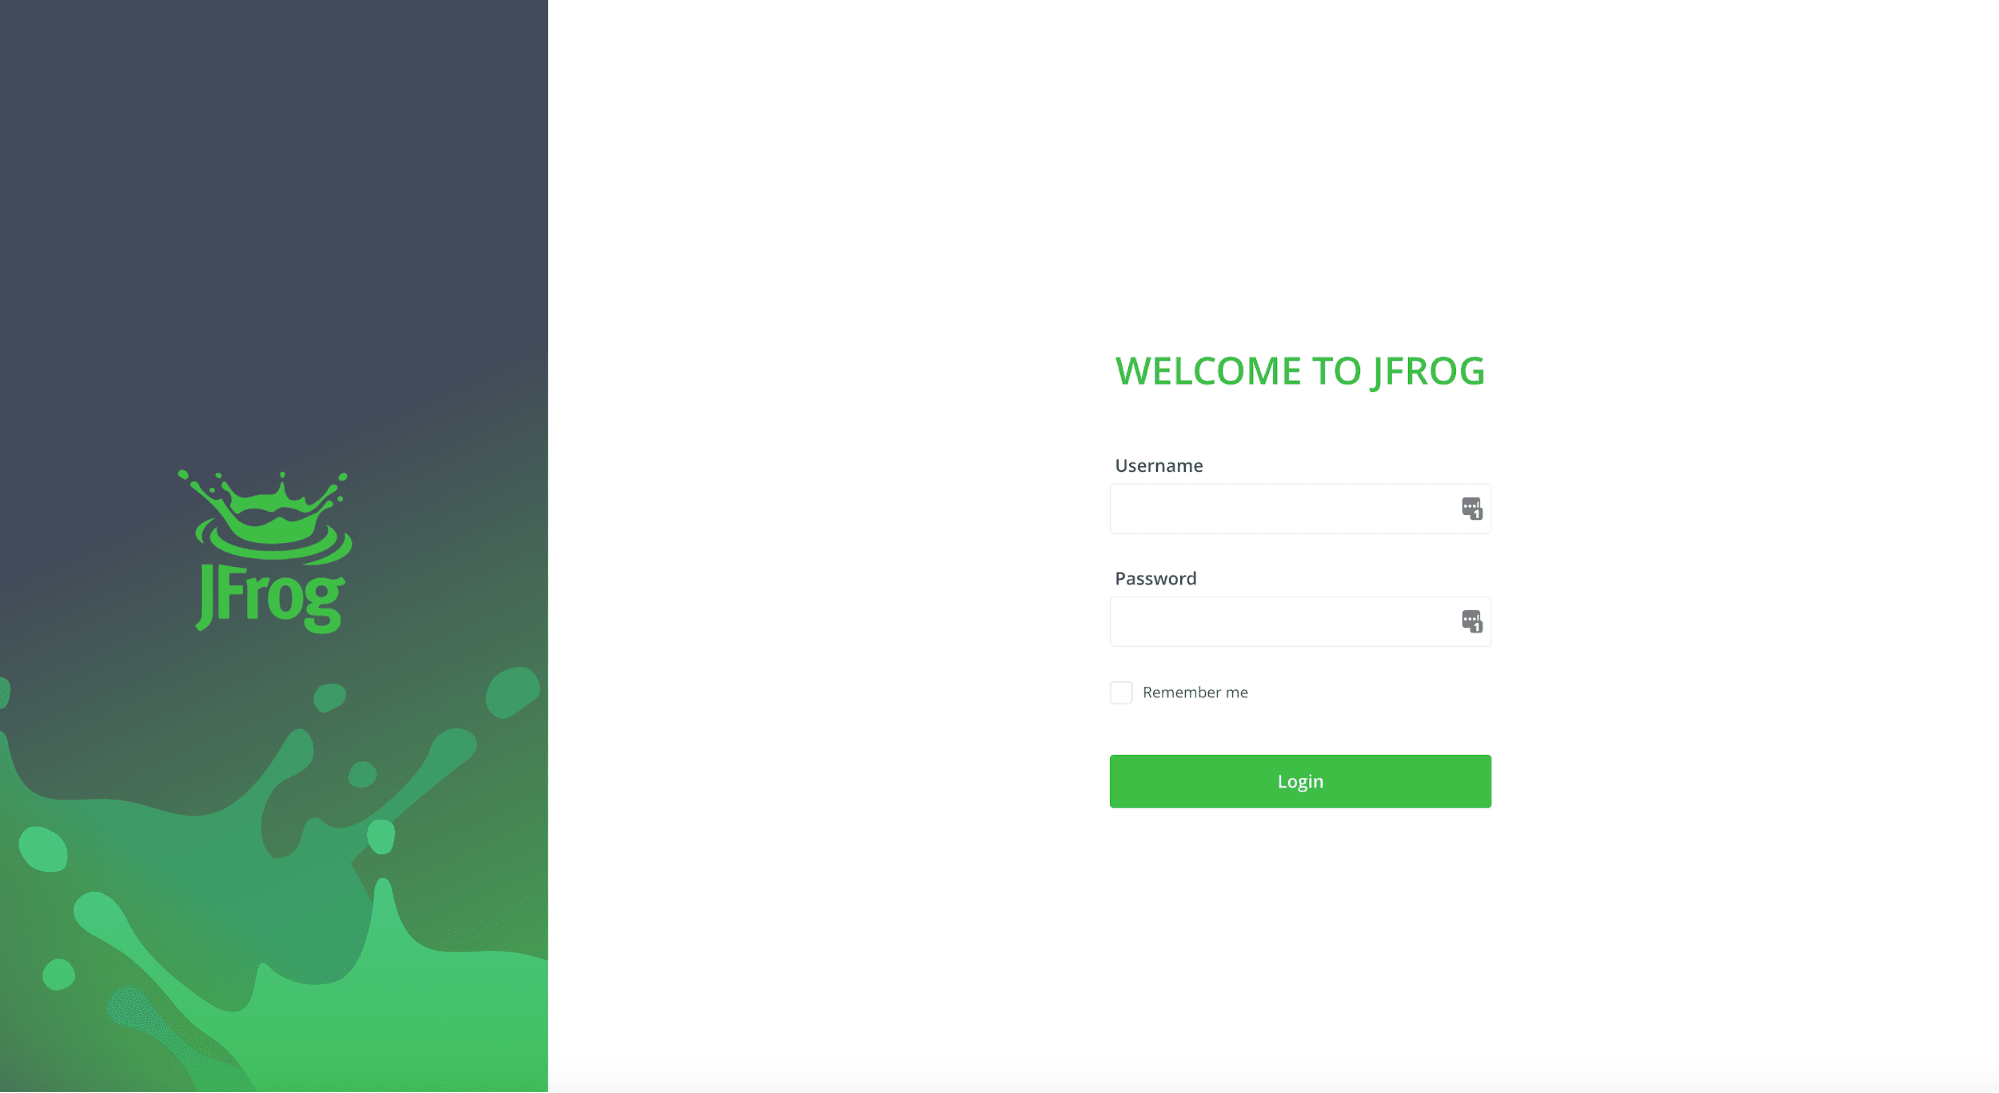
Step 6: Login using the default username: admin, and password: password.
Remember to change the default password during the initial setup process to something more secure!
And you’re done!
Additional JFrog solutions are also available from the Google Cloud Marketplace.


