

Got a Few Minutes? Install Artifactory Enterprise on Azure

Editor’s Note (2024): Please refer to the current JFrog Software Supply Chain Platform listing on Azure Marketplace to get started with JFrog on Microsoft Azure.
Some things, like high-end coffee or enterprise technology, are worth working and waiting for. But if you can get quality without the effort or delay, wouldn’t you?
Installing or updating a self-managed (BYOL), High Availability edition of JFrog Artifactory hosted in an Azure VM can be a complex, and time-consuming process. Instead, you can start your install or update of the industry’s favored binary repository manager through the Azure Marketplace in the amount of time it takes for your cappuccino to arrive on the counter
A manual install requires expertise in both Azure and Artifactory. On your own, you would need to create all these:
- Virtual networks
- Network Interfaces
- Network Security Groups
- Load Balancers with IP addresses and routing rules
- Deployments
- Virtual Machine Scale Sets
- Virtual Machine Profile
- Databases
- Storage Accounts
Each step is an opportunity for error. After that, you would need to configure the registry’s certificates, licenses, database settings, node settings, and more.
To make the process quick and reliable, we’ve created an Azure ARM template for installing Artifactory Enterprise that you can get in Azure Marketplace. Using this ARM template, you can get your Artifactory HA workhorse up and running in a fast five minutes or less.
How easy is it? Let’s take a look.
What You Need
You will need a few things before you get started:
- Active Azure subscription
- Spare vCPUs available in your region in Azure
- A set of 3 Artifactory Enterprise licenses (to use beyond the trial period)
- A domain name with corresponding SSL Certificate
BYOL Install on Azure Cloud
Once you’re prepared with these essentials, you can start the install from Azure Marketplace.
- Go to Microsoft Azure Marketplace.
- Search for “JFrog” or “Artifactory”
- Select JFrog Artifactory Enterprise ARM Template
Or you can navigate directly to JFrog Artifactory Enterprise ARM Template.
To start the install procedure:
- Click on the GET IT NOW button.
If you are not signed in, Marketplace will ask you for your Azure account credentials. - In the resulting popup, click Continue to agree to Microsoft terms.
- Click Create
The procedure will now take you through a series of tabs to enter information.
Basics
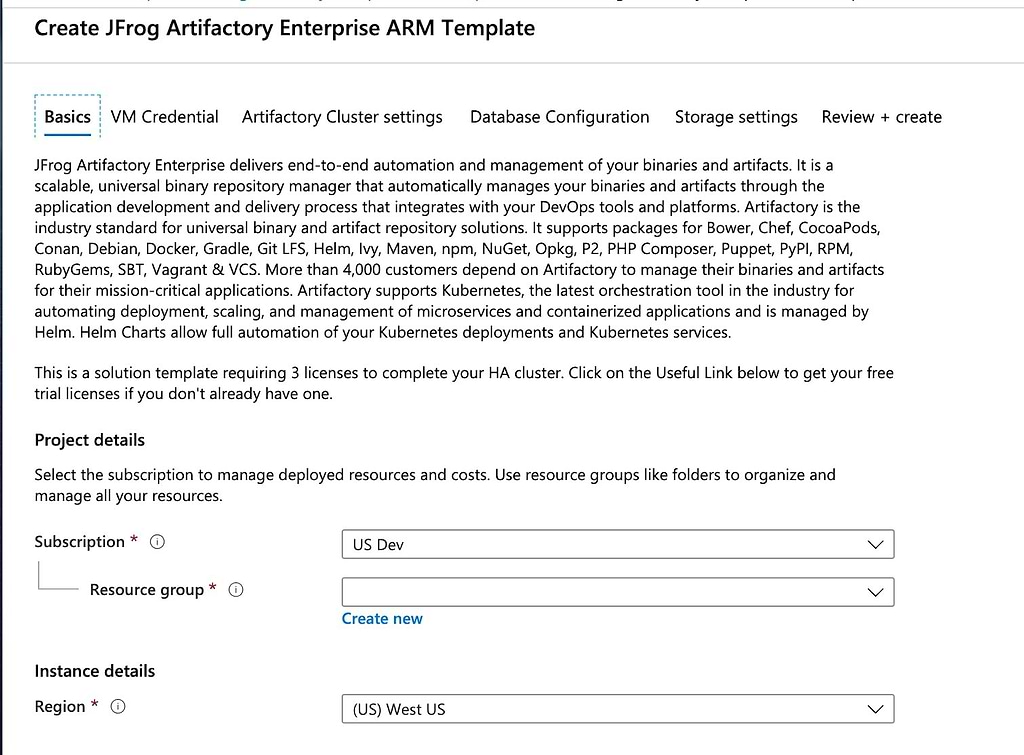
Here you will select the active subscription for this instance, as well as its region.
You must also select an Azure Resource Group for the instance. You can either choose one that has already been created through the Azure Resource Manager, or click Create new to define one now.
VM Credential

In this tab you must specify a set of login credentials for the VM that will be created for JFrog Artifactory to run in. Enter a username of the valid form for the VM administrator, and you may define either a 12-character password or an SSH public key.
Cluster Settings
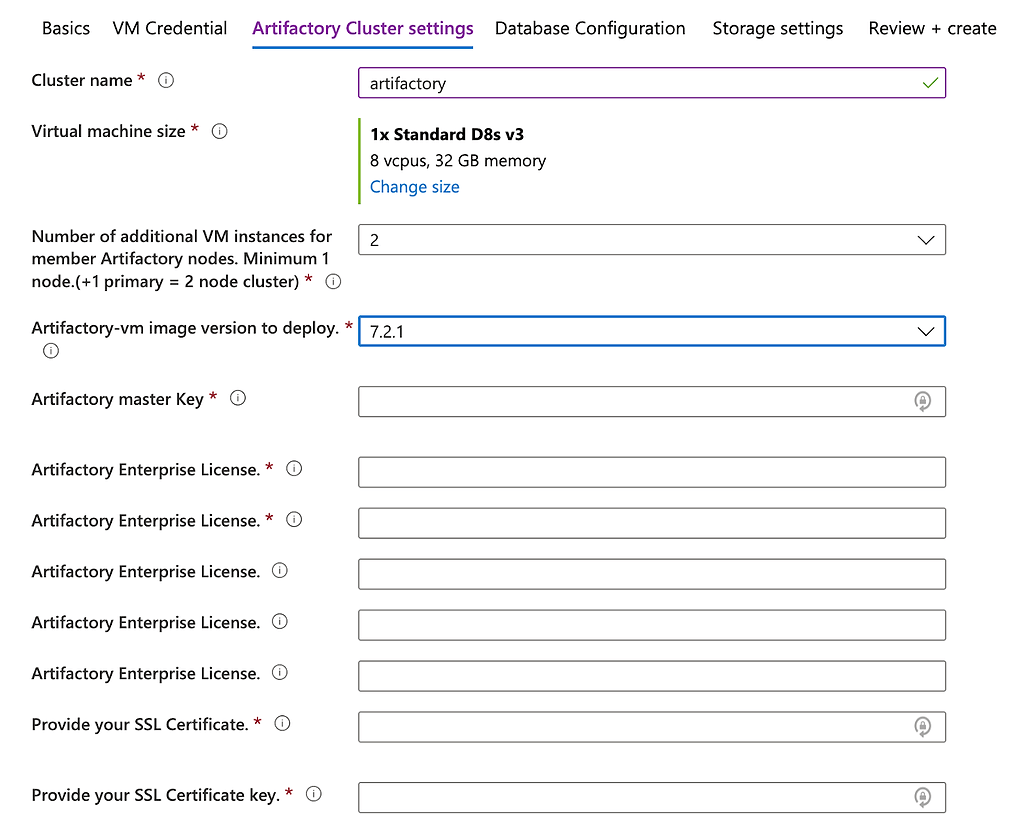
In this tab, you will define settings for the cluster where Artifactory will run. That includes a name for the cluster, the number of nodes to deploy, as well as what Artifactory VM image to run in them.
When selecting the VM size, be sure to choose a VM type available in the region that was selected in the Basics tab. If the selected type of VM is not accessible in the selected region, validation will fail. If the install requires vCPUs that exceed your Azure virtual machine vCPU quotas, you will need to create a support request to Azure to increase the quota.
You must provide at least 3 Artifactory Enterprise licenses, if you selected 2 nodes (1 for master and 1 for each node).
You can create your Artifactory master key by running openssl rand -hex 16 on your local machine
Your SSL Certificate should be in the following format:
-----BEGIN CERTIFICATE-----********-----END CERTIFICATE-----
Your SSL Certificate key should be in the following format:
-----BEGIN RSA PRIVATE KEY-----*****-----END RSA PRIVATE KEY-----
Default values for the JFrog Artifactory server name and Java parameters are provided, and should be sufficient for most installations.
Database Configuration
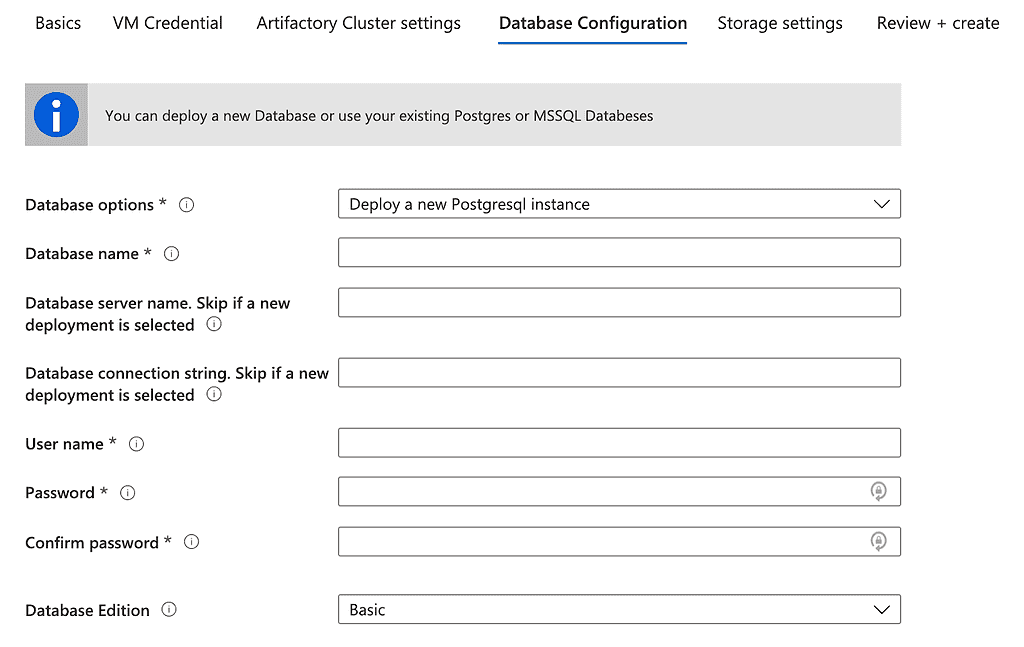
In this tab, you can select from four database options:
- new Postgres instance (deploys Azure Postgres service)
- existing Postgres instance (uses your existing Postgresql credentials to connect)
- new MSSQL instance (deploys a new MSSQL service)
- existing MSSQL instance (uses your existing MSSQL credentials to connect)
If you choose a new instance, you must specify a name for the database that will be installed, as well as user credentials to sign in. If you use an existing database, provide the DB server name and DB connection string.
The basic edition of the database should be sufficient for most installations.
Storage Settings
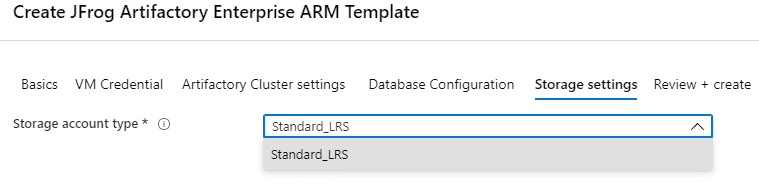
In this tab, you can specify the storage account type. The only option currently available is standard performance tier using Locally Redundant Storage (LRS).
Review + Create
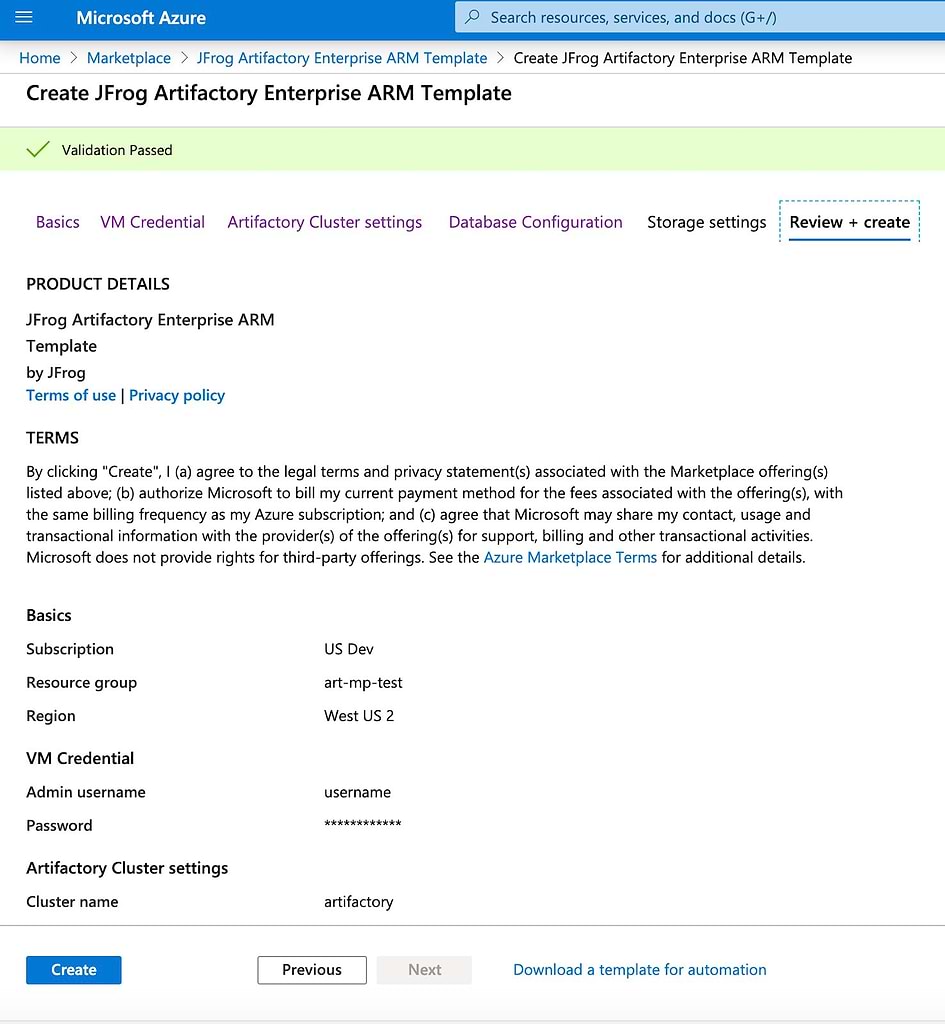
In this final tab, Azure will verify your configuration. When validation is passed, click Create to start the deployment.
After Deployment
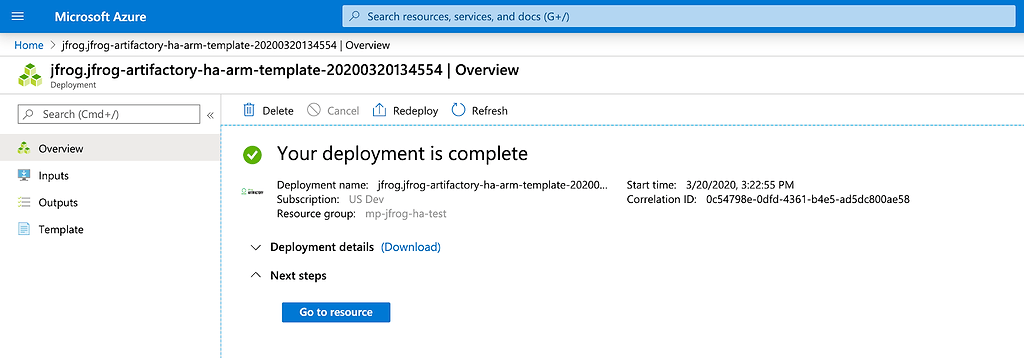
The hard work is done! If you ordered that coffee, it should just be arriving now. The ARM template takes over from here, deploying Artifactory and its component parts into the Azure VM.
When the deployment is complete, you will see the next screen:
In the sidebar, select Outputs to see the Fully Qualified Domain Name (FQDN), which can be used to access the JFrog Platform UI and Artifactory:
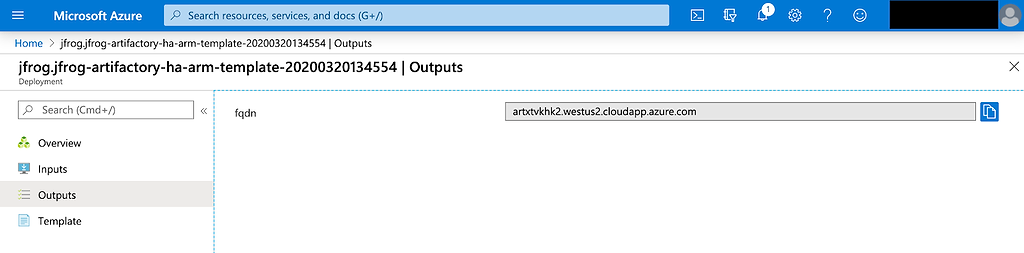
When you access Artifactory, sign in with your default username (admin), and password: (password). Don’t forget to change that password immediately to something more secure!
Now you can sit back and start using Artifactory as part of your DevOps strategy. While you’re coffee is still hot.
Experience
JFrog Today
Discover how the JFrog Platform unites DevOps, DevSecOps and MLOps for secure, rapid software delivery.


