

How to set up Software Security and Compliance for Your Artifacts

By
5 min read

The simplest way to ensure the safety of all the open source (OSS) components used by your teams and sites, is with a software composition analysis (SCA) tool. You need an automated and reliable way to manage and keep track of your open source usage.
With JFrog Xray, you can set up vulnerability and license compliance scanning built into your software development lifecycle (SDLC). On-prem, in the cloud, or hybrid, Xray provides enterprise wide interconnected visibility into your software components for fast software distribution with no vulnerabilities or license issues. This blog post will take you through the steps.
Before you start
Here’s what you’ll need:
- JFrog Cloud Subscription (Available as a cloud or self-hosted installation.)
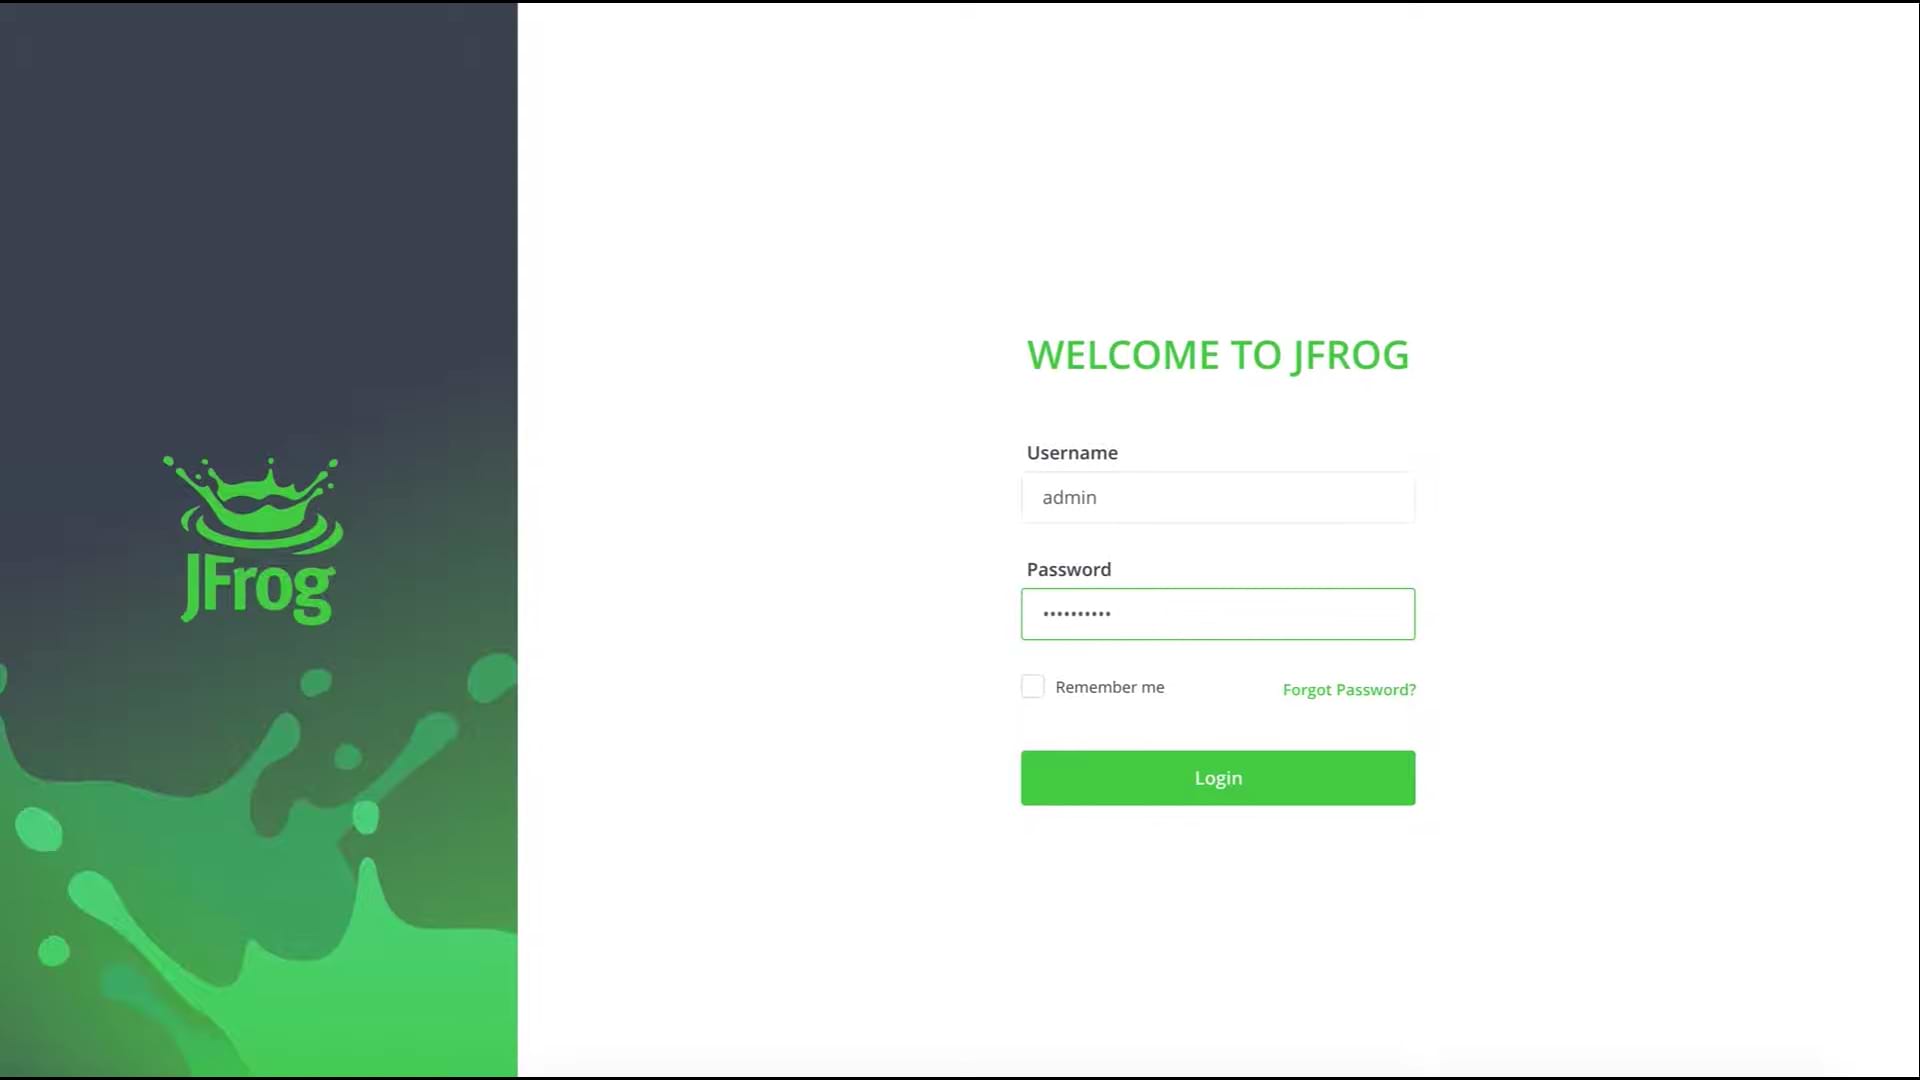
Step 1: Login to your environment
Login using the following default credentials for the on-prem installation,
Username: admin
Password: password
For the cloud installation, the credentials are provided to you by email.
Step 2: Set up JFrog Artifactory with your chosen repository
Here’s how you can set up a private, remote and virtual Docker registry >
Step 3: Define a Policy
Policies define security and license compliance behavior specifications. They define the rules to enforce and automatic actions to apply according to your organization’s needs.
From the Application module, click on the Security & Compliance > Policies menu item.
Add a new policy, of type “Security”. Click on New Rule and set it to “All Severities”.
Note: You can also define the automatic action to execute in case a new security issue is found. For example, trigger a webhook, notify by email, block download and fail build. If none are enabled, you will simply have the information in the web UI.

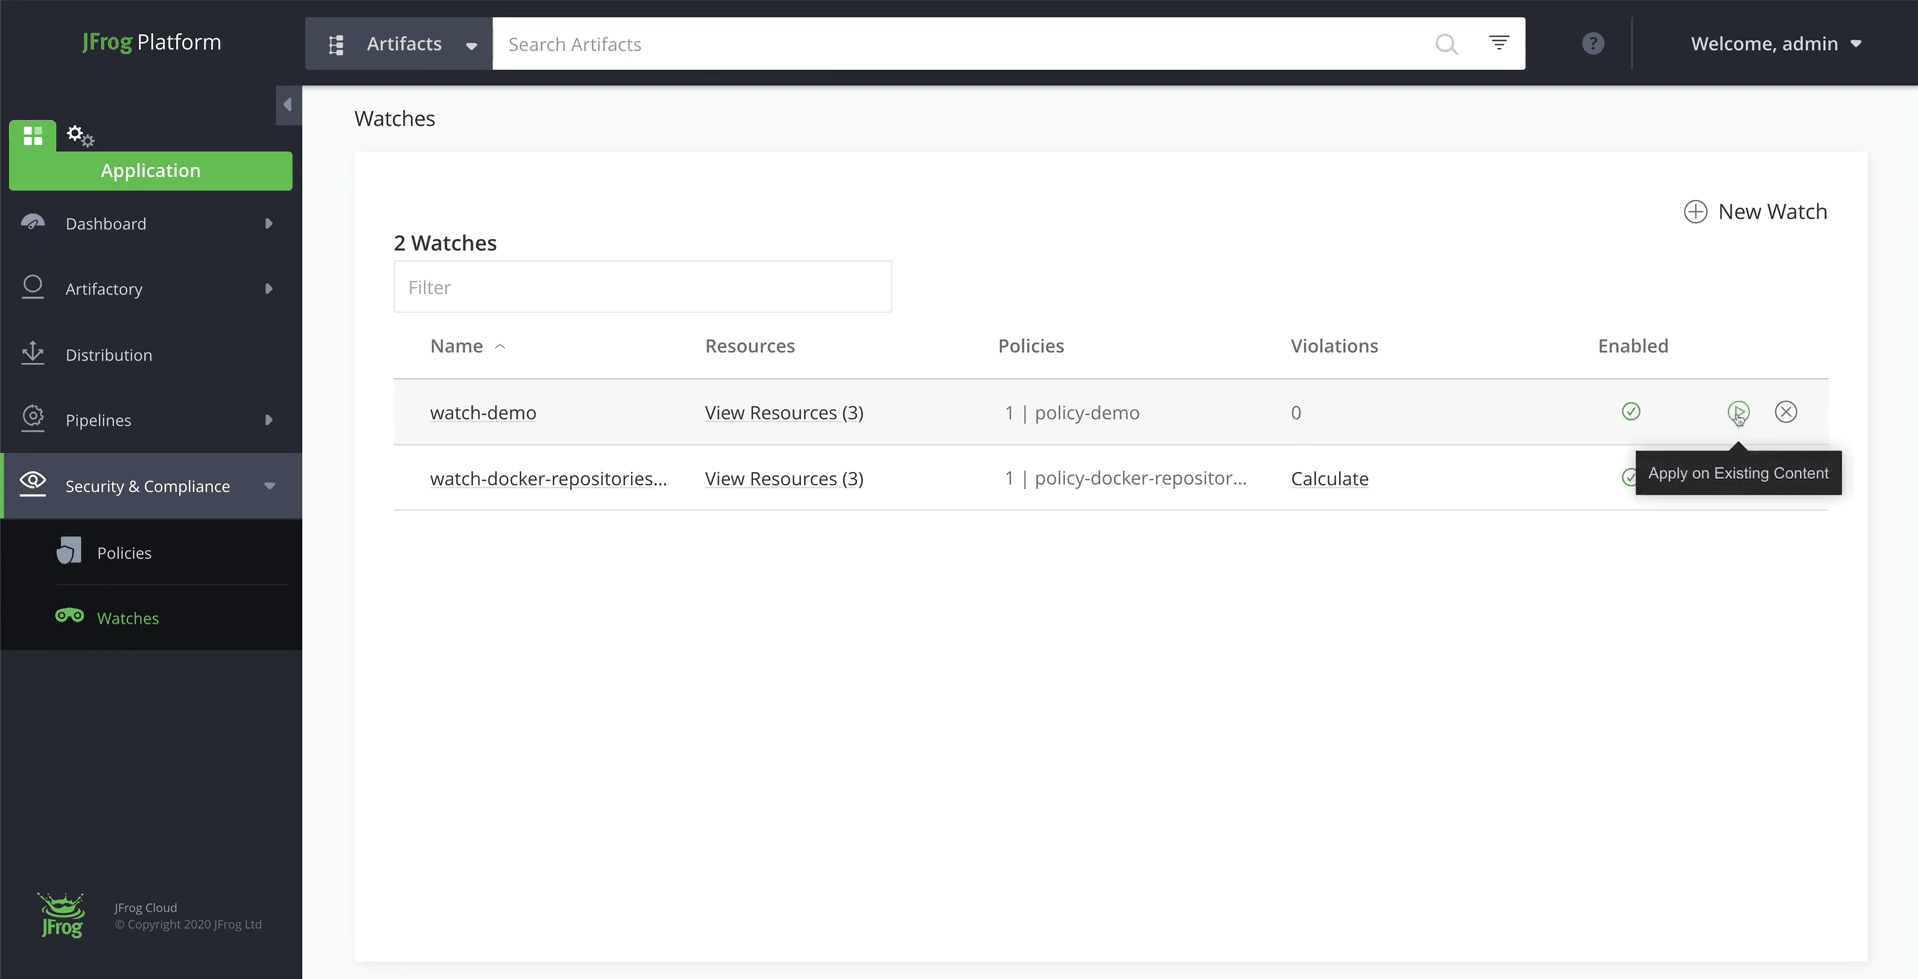
Step 4: Select a repository to monitor, and assign your Policy to a Watch
Watches define the scope of the resources you want to watch, such as artifact repositories and builds. We’ll create a new watch and apply the policy we just created to it.
From the Application module, click on the Security & Compliance > Watches menu item and add a new watch.
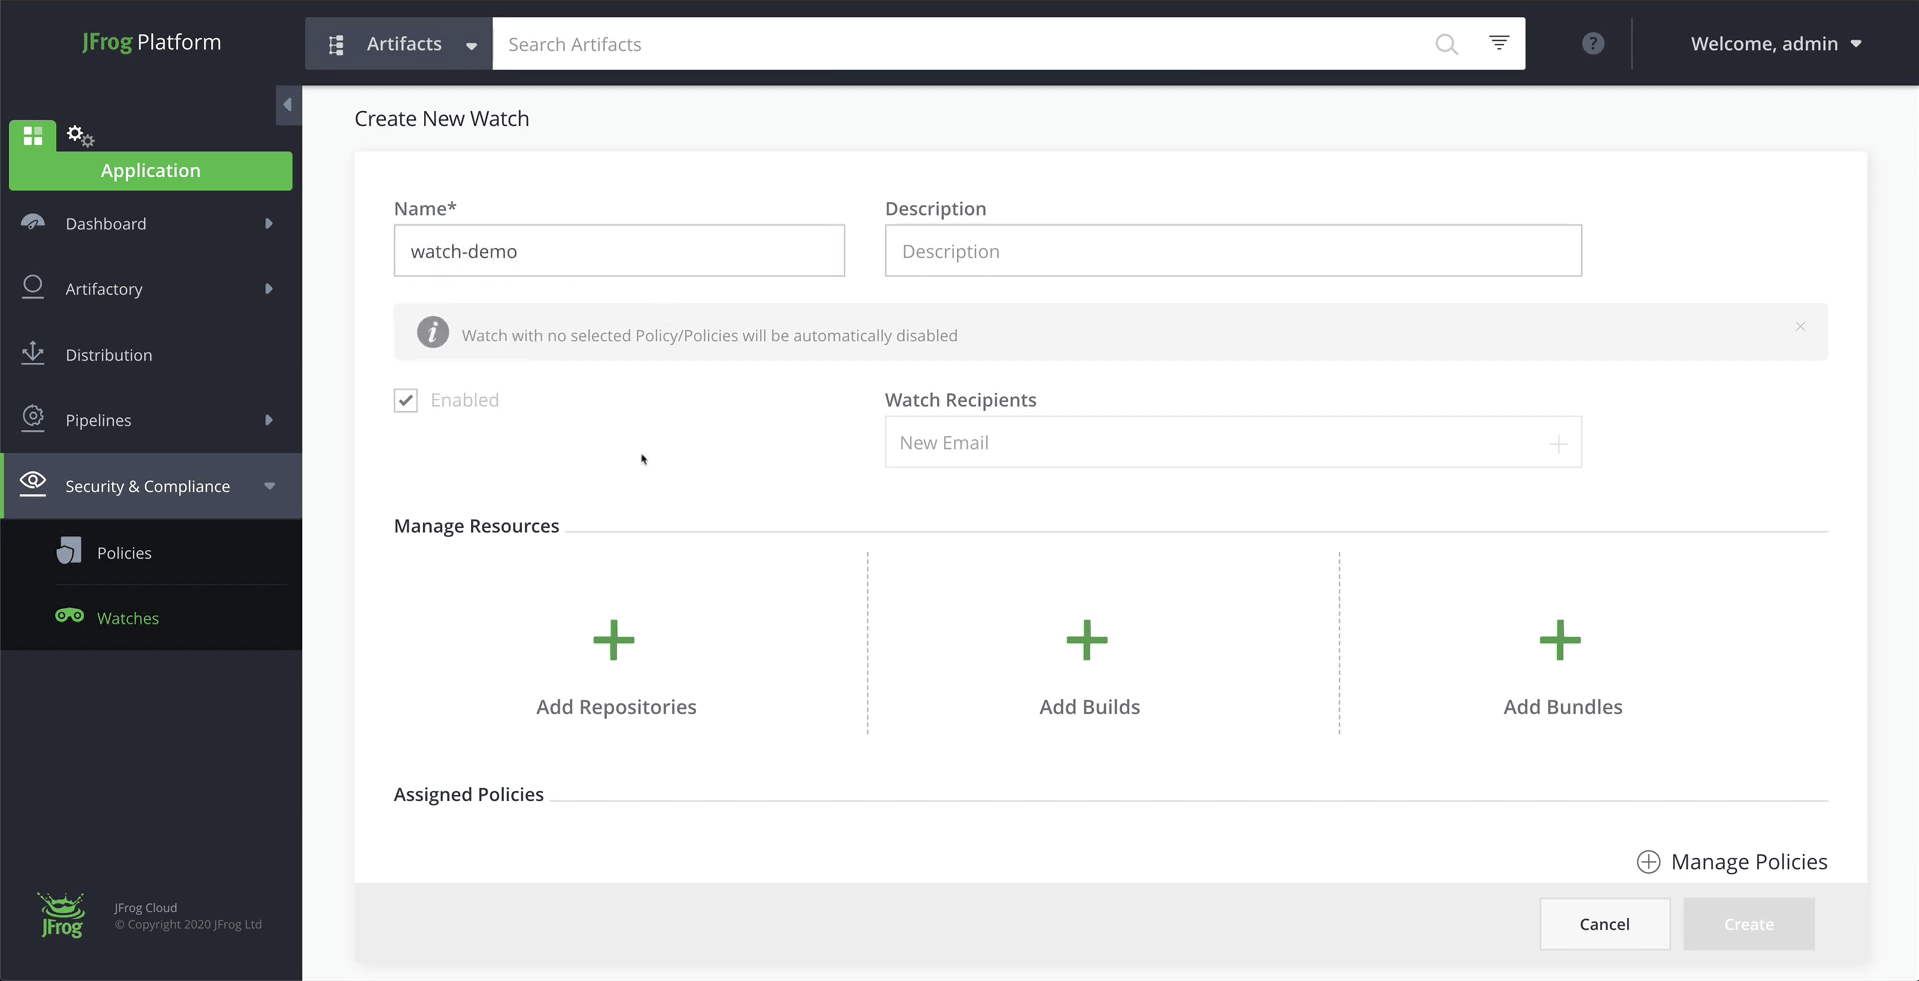
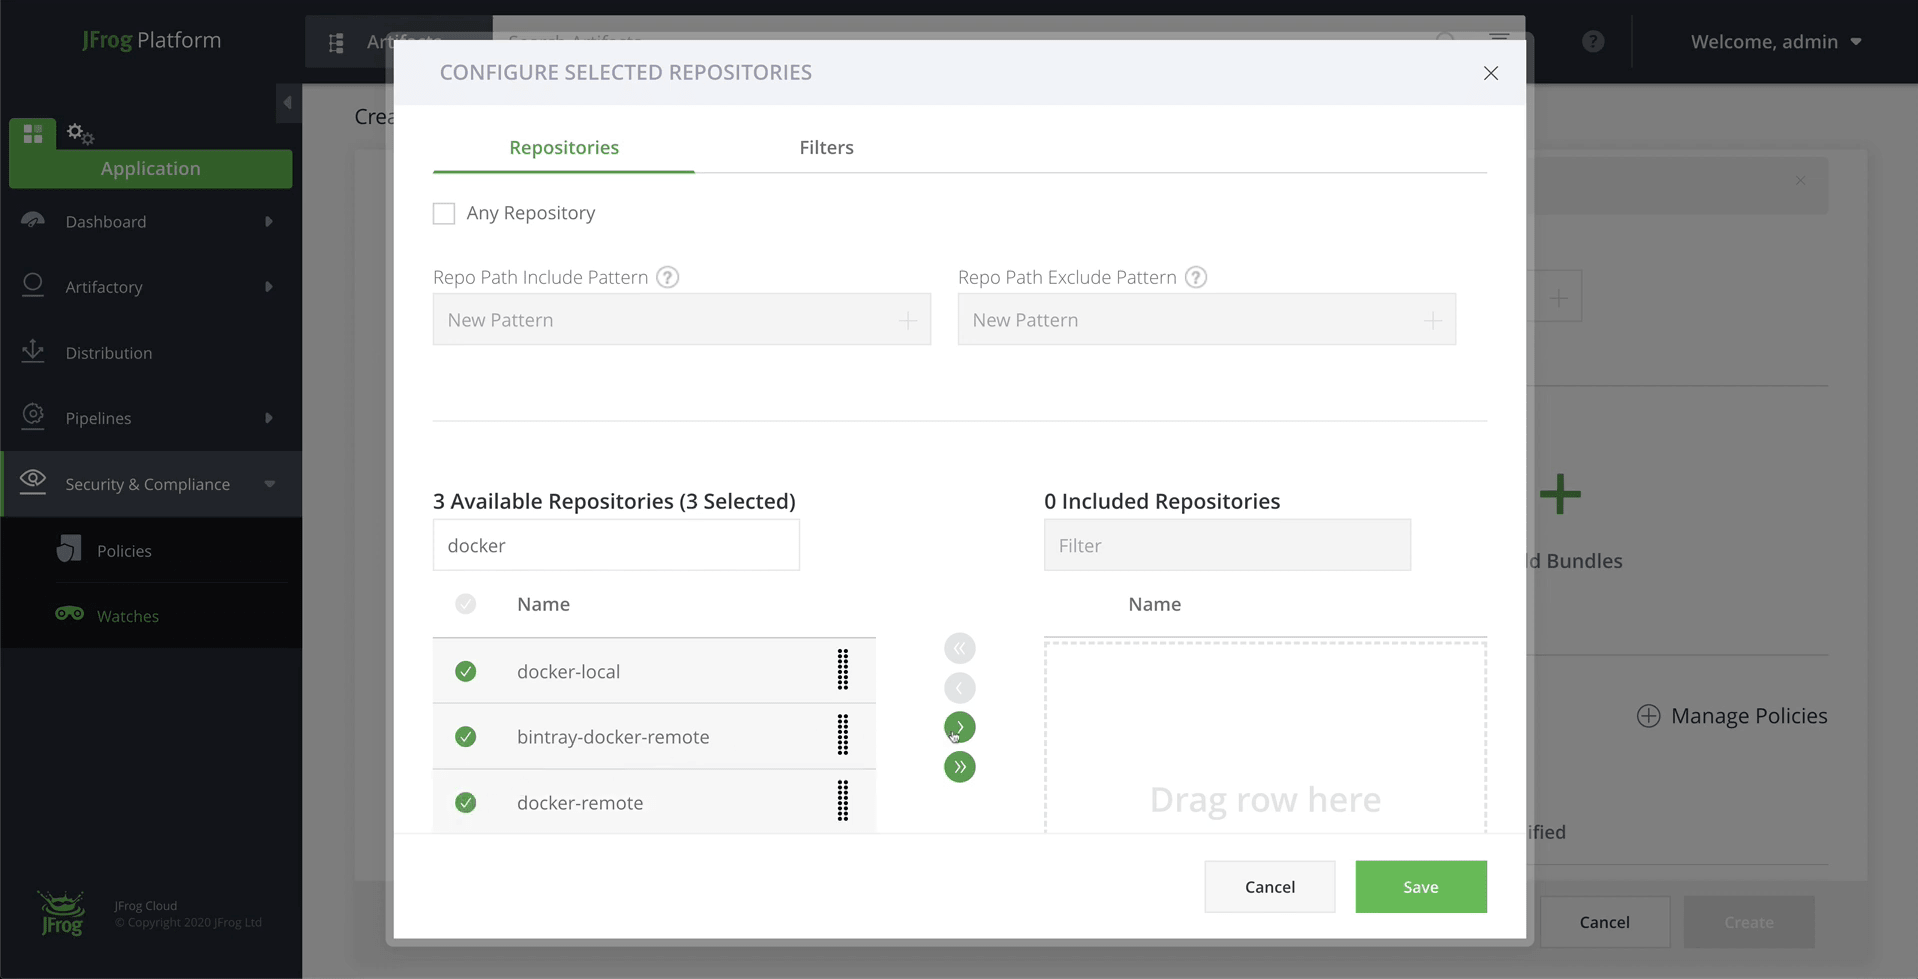
Click on Add Repositories and select the repositories to include in this watch.
Now that we have our resources selected, we can create the policy itself.
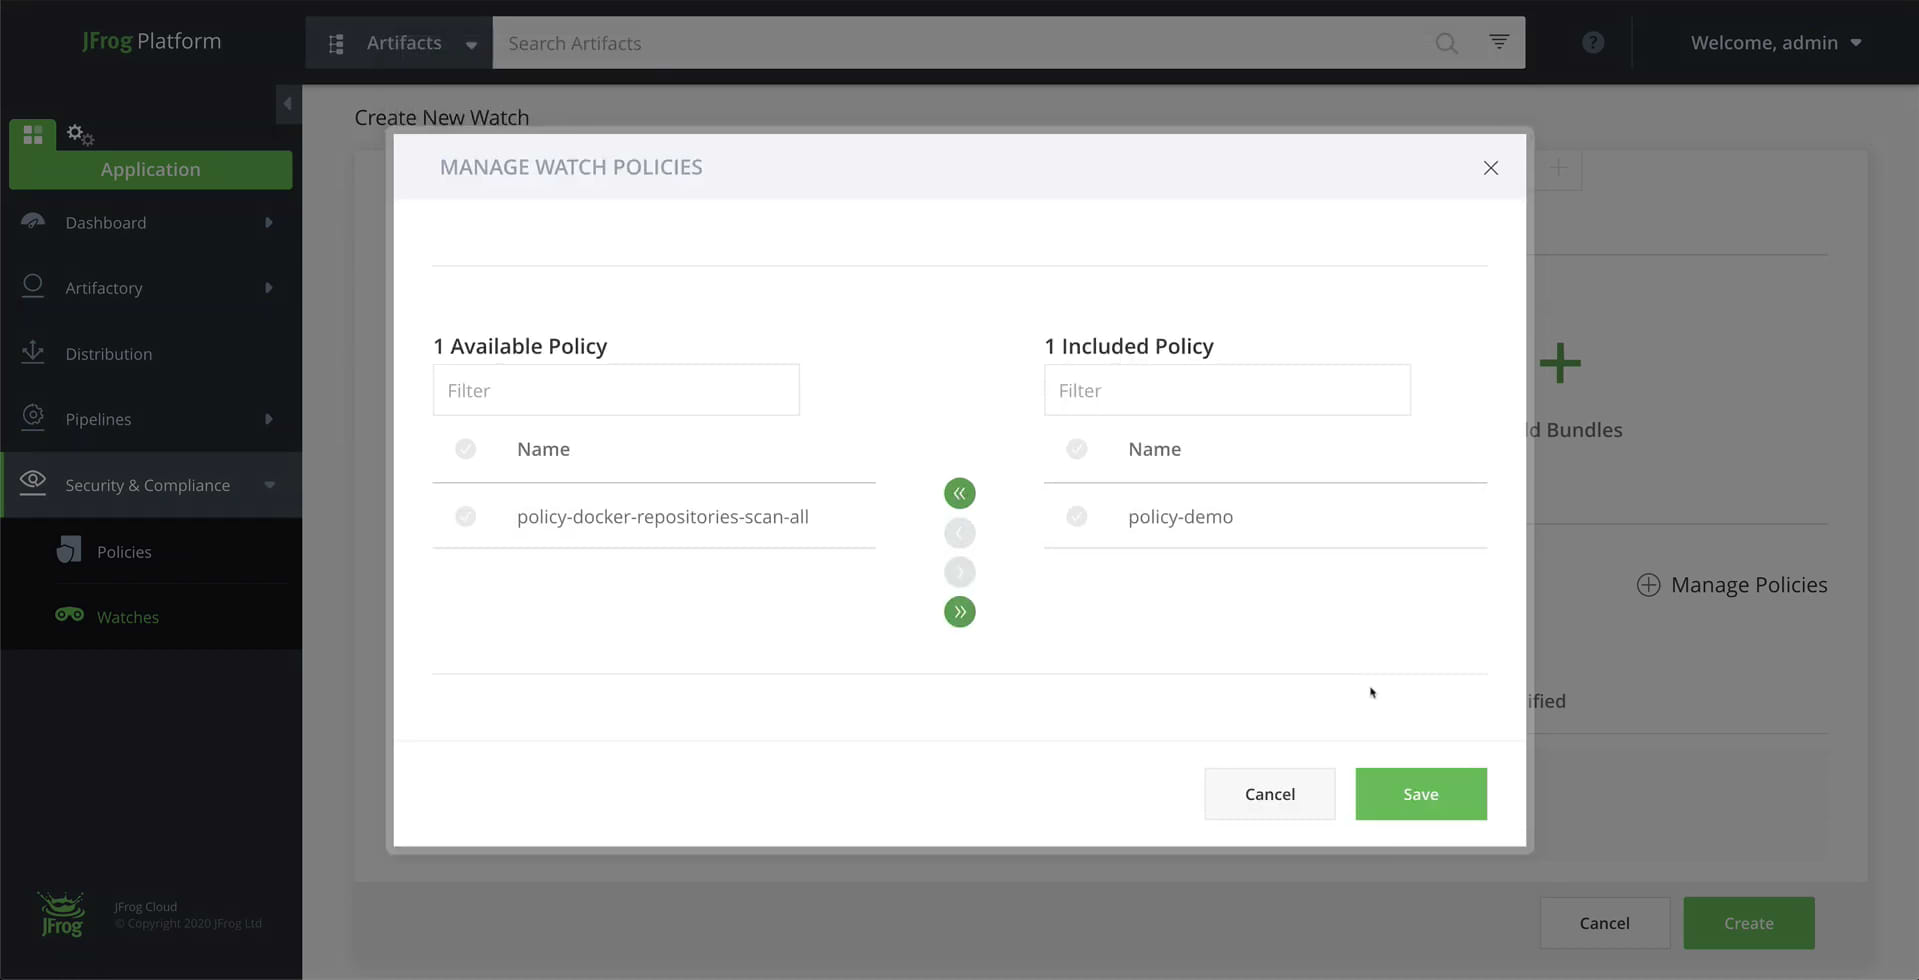
Click on Manage Policies and select the policy we created in the previous step.
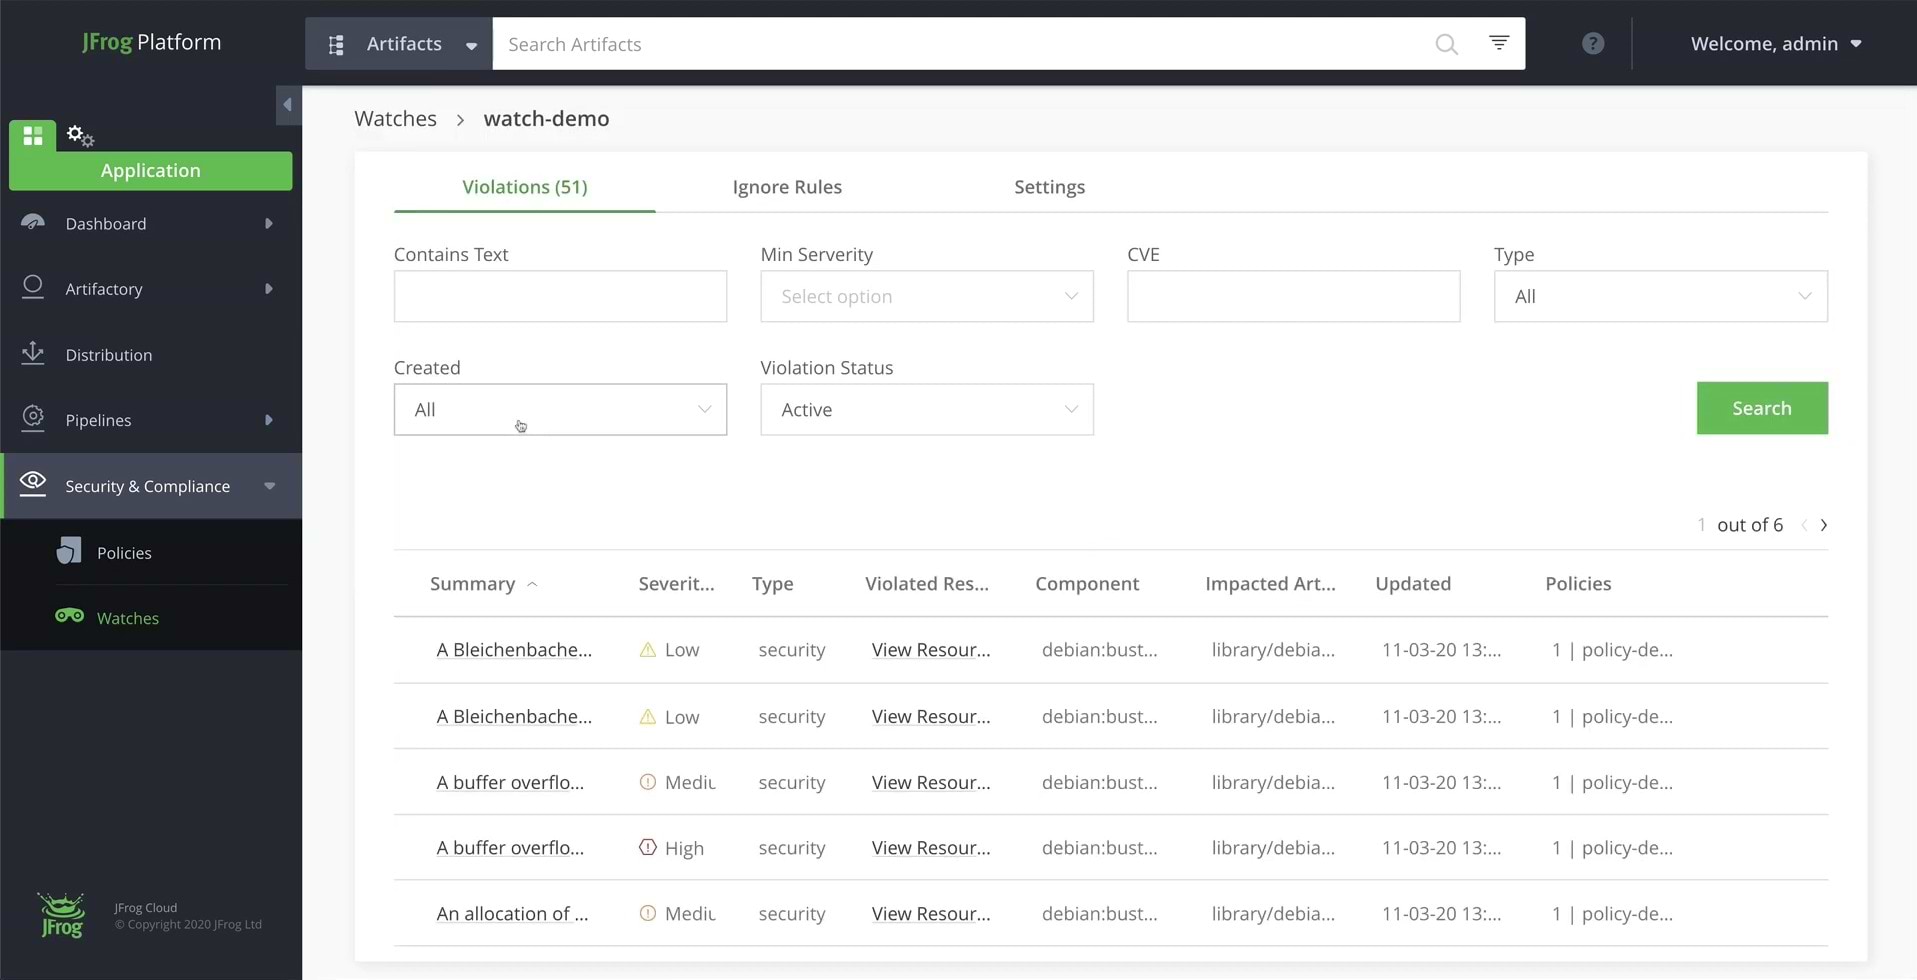
Step 5: Run your scan!
Once a Watch is created, it will scan artifacts in the specified resources when a scan-triggering event happens, and issue violations accordingly.
However, until a scan-triggering event happens (such as new artifacts pushed to the repository), artifacts already existing in the system will not be scanned by the Watch. So, to make sure a Watch is immediately applied to the relevant artifacts, you can invoke it manually.
Hover over the watch we just created and select Apply on Existing Content.
Specify which of the resources assigned to the watch should be scanned, and a date range which defines the amount of time an artifacts needs to have resided in the target in order to be scanned.
For example, selecting “Last 90 days” will only scan artifacts that have resided in the target for the last 90 days.
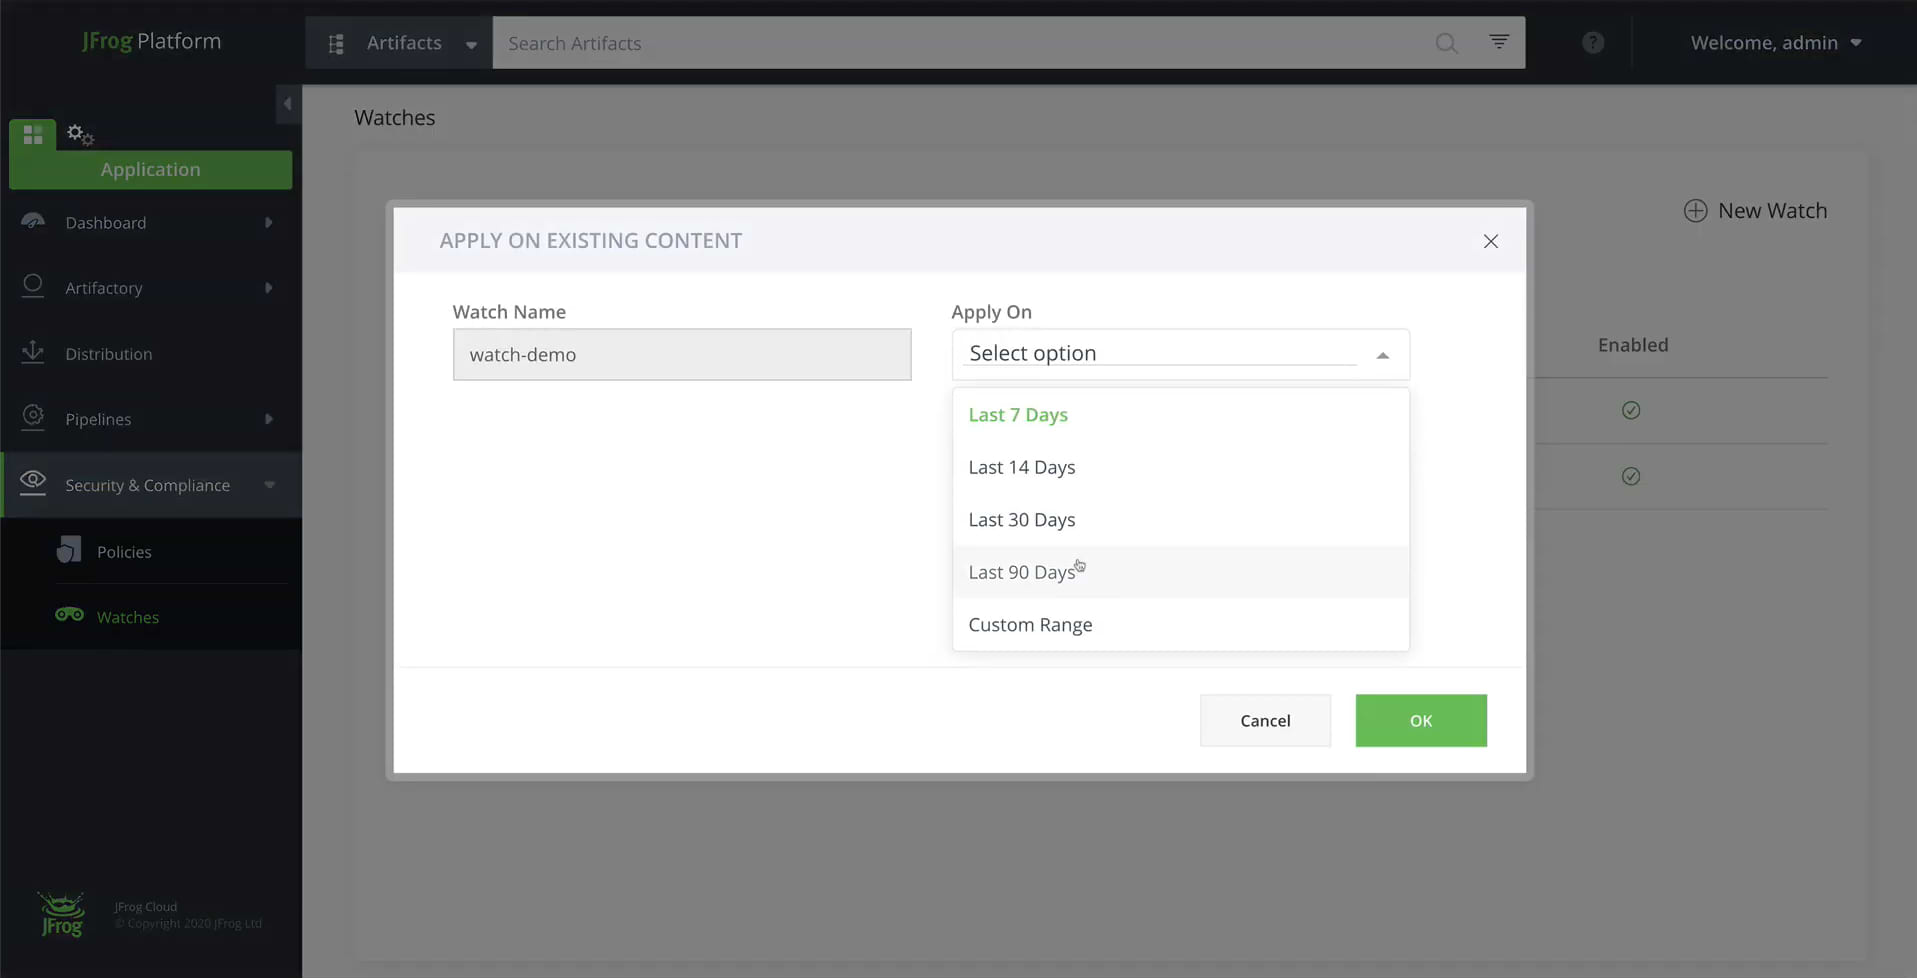
Note: The Xray scan may take some time to complete and show the vulnerabilities results.
Above is a screenshot of the dependency tree for one of the detected security vulnerabilities.
Read more on the recommended best practices for onboarding JFrog Xray >
That’s it!
Now, all that’s left is for you to try it for yourself.


