Official JFrog Ansible Collection for Artifactory & Xray

Ansible has become one of the most popular tools used by operations teams to automate their IT tasks. It allows them to quickly, and at the largest enterprise scale, manage the configuration of their IT systems. This includes software and infrastructure on-premise and in the cloud. Its open-source roots has allowed it to grow a large global community with an equally expansive ecosystem of integrations. Just about any software or infrastructure you can think of has an Ansible module and can be managed by Ansible. JFrog’s largest enterprise customers use Ansible to manage thousands of servers.
The official JFrog Ansible Collection is now available in the Ansible Galaxy Marketplace, making it simple and efficient to manage JFrog Artifactory and JFrog Xray across your networks.
What’s Included in the JFrog Ansible Collection
JFrog’s Ansible collection includes several Ansible roles that allow you to install the latest Artifactory and Xray solutions in many different configurations. From simple single server installations to redundant and highly available setups, this collection provides the flexibility for any architecture. Additionally, optional roles for a Postgresql database and NGINX are provided if you want to add those components. The example inventory and playbook files that are included in the collection cover most of the popular use cases.
Using the JFrog Ansible Collection
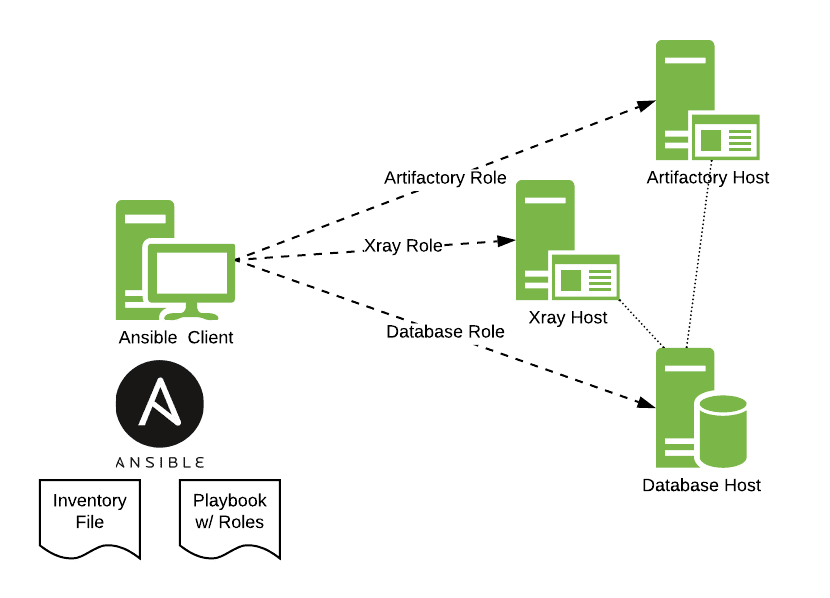
To show how we can use this Ansible collection, let’s install a simple Artifactory and Xray cluster that shares the same database.
Getting Setup with Ansible and the JFrog Ansible Collection
First, we need to install Ansible on our client. There are several ways to install Ansible depending on your system. Ansible uses SSH to connect to hosts. It is a best practice to set up SSH key pairs and put the public key on the hosts. The Ansible documentation describes how to do this. Some cloud providers make this easier by setting up the SSH keys for you.
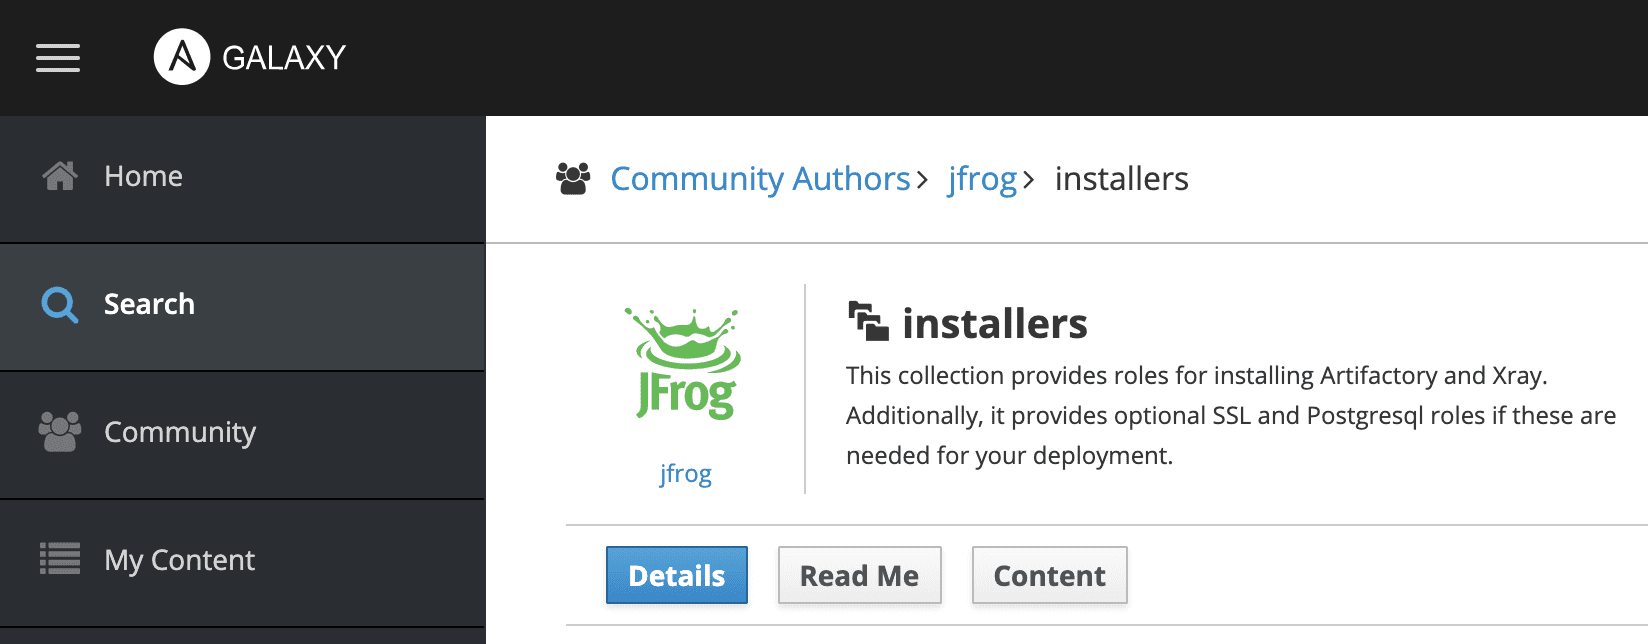
The JFrog Ansible collection can be installed from the Ansible Galaxy using the following command:
ansible-galaxy collection install jfrog.installers
Running a Playbook
To run a playbook to install Artifactory and Xray, we must first set up an inventory file. The inventory file specifies our hosts and the variables required for the installation. The following is an example of an inventory file for three servers. The database group specifies a single database host with two databases: artifactory and xraydb. The artifactory group specifies a single Artifactory host. The xray group specifies a single Xray host. Finally, each group and host has its required variables. This inventory file is the input to our playbook to install our software.
inventory.yml
---
all:
   vars:
       ansible_user: "ubuntu"
   children:
       database:
           hosts:
               34.239.106.0:
                   dbs:
                       - { db_name: "artifactory", db_owner: "artifactory" }
                       - { db_name: "xraydb", db_owner: "xray" }
                   db_users:
                       - { db_user: "artifactory", db_password: "artifactory" }
                       - { db_user: "xray", db_password: "xray" }
       artifactory:
           hosts:
               54.237.206.135:
                   artifactory_license1: x
                   artifactory_license2: x
                   artifactory_license3: x
                   artifactory_license4: x
                   artifactory_license5: x
                   master_key: "c97b862469de0d94fbb7d48130637a5a"
                   join_key: "9bcca98f375c0728d907cc6ee39d4f02"
                   db_download_url: "https://jdbc.postgresql.org/download/postgresql-42.2.12.jar"
                   db_type: "postgresql"
                   db_driver: "org.postgresql.Driver"
                   db_url: "jdbc:postgresql://10.0.0.59:5432/artifactory"
                   db_user: "artifactory"
                   db_password: "Art1fAct0ry"
                   server_name: "ec2-54-237-207-135.compute-1.amazonaws.com"
       xray:
           hosts:
               100.25.106.174:
                   jfrog_url: "https://ec2-54-236-201-125.compute-1.amazonaws.com"
                   master_key: "c97b862469de0d94fbb7d48130637a5a"
                   join_key: "9bcca98f375c0728d907cc6ee39d4f02"
                   db_type: "postgresql"
                   db_driver: "org.postgresql.Driver"
                   db_url: "postgres://10.0.0.59:5432/xraydb?sslmode=disable"
                   db_user: "xray"
                   db_password: "xray"
Our playbook is very simple since it uses our JFrog Ansible roles. These roles contain the tasks to install our software. For our database group, we have specified the postgres role. For the artifactory group, we specify the artifactory role. For the xray group, we specify the xray role.
playbook.yml
---
- hosts: database
 roles:
   - postgres

- hosts: artifactory
 roles:
   - artifactory

- hosts: xray
 roles:
   - xray
Now we can execute our playbook against our inventory.
ansible-playbook -i inventory.yml playbook.yml
This kicks off Ansible to install our software on all the servers. It is as simple as that.
This is a very simple deployment. But it is very common to use Ansible to install software on a much larger scale with hundreds of servers. Ansible runs parallel automation tasks and manages that all from the Ansible client. This type of large scale deployment of servers is natural for a globally distributed network of JFrog Artifactory and Xray servers. That’s why Ansible is a great tool for managing JFrog servers.


