Deploy JFrog Artifactory in Canonical Distribution of Kubernetes

By
8 min read

This blog post is co-authored by Craig Peters of JFrog and Stephan Fabel of Canonical.
A free-to-use rapid way to deploy Kubernetes (k8s) is a critical building block for accelerating development team’s adoption. The Canonical Distribution of Kubernetes (CDK) delivers a pure experience across a wide variety of cloud infrastructures. This enables enterprises to rapidly and safely adopt the latest technology for container orchestration.
Why Do You Need a Kubernetes Registry?
Once organizations have the basic building blocks for running applications on k8s including the k8s cluster, a container registry, and tools for automated deployment to k8s, they quickly find that a simple container registry doesn’t cut it. Some teams want to write Laravel, others Angular, some still want to use Spring, etc.
The question that arises is how can you tackle all these application frameworks while enabling teams to use Docker packaging and get k8s to run? And the answer to that is you need a Kubernetes registry that brings together all of the package types, and supports all the languages and frameworks.
The JFrog and Canonical collaboration provides JFrog Artifactory as the Kubernetes registry to manage Kubernetes application packages for the CDK platform. Artifactory manages your application packages, operating systems components dependencies, open source libraries, Docker containers, and Helm charts providing full visibility to all dependencies.
Today we are happy to announce the Technology Preview of an add-on to the Canonical Distribution of Kubernetes that automates the management of JFrog Artifactory as its Kubernetes registry.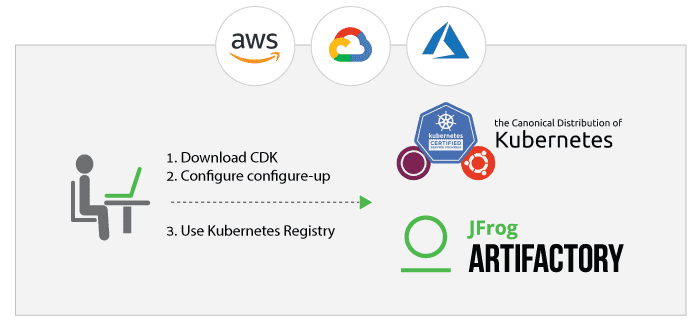
Deploying Artifactory in CDK
Scope and Limitations
During the Tech Preview of the integration, there are a few known limitations and issues that we’re working to address before we declare the add-on generally available. The Tech Preview has been tested with Kubernetes 1.9 on AWS cloud, and with self-managed juju controllers. You may be able to get it working in other environments, but you may encounter issues. Please provide us feedback and report issues by filing issues on the conjure-up/spells project and include ‘jfrog’ in the title.
In this blog post, we’ll show how to quickly and easily setup and use Artifactory on CDK using conjure-up. It takes less than an hour to get a full k8s cluster up and running with Artifactory in a high availability deployment.
Prerequisites
To install conjure-up on Ubuntu, run the following command:
$ snap install conjure-up --classic
Our tech preview is currently tested with Kubernetes 1.9, so you need to configure conjure-up to use a specific version of the Kubernetes snap by creating a channels.yaml file. You’ll need a machine with Snapd, Python, Perl, and jq.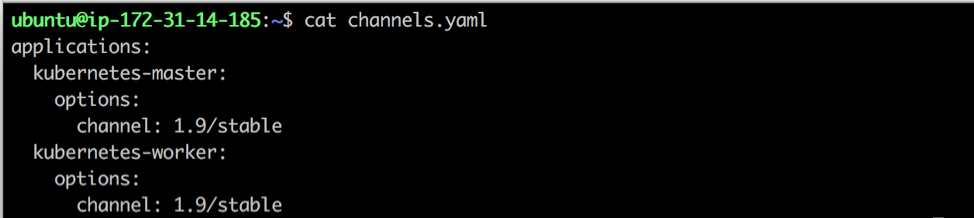
Summon a Spell
To deploy Kubernetes, you need to summon the canonical-kubernetes spell:
- Run conjure-up and specify the channels.yaml file.

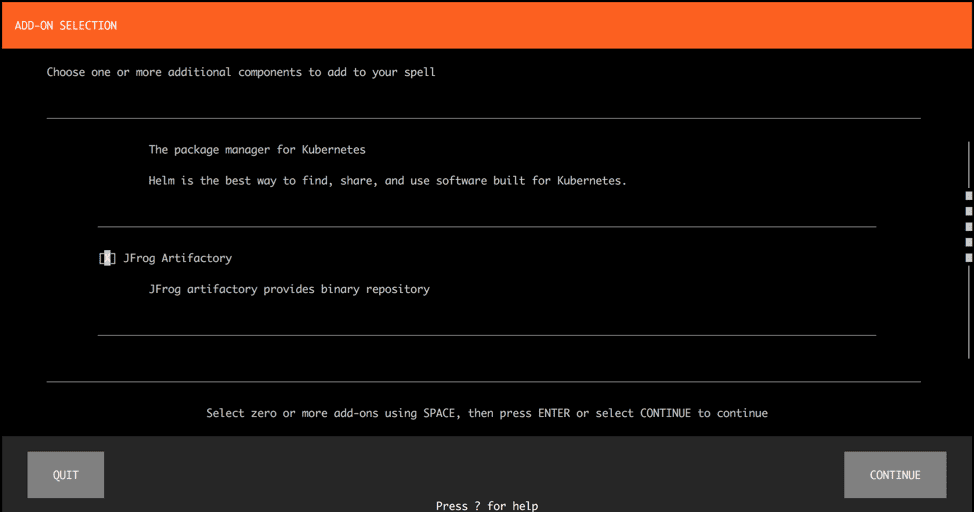
- In the ADD-ON SELECTION step, select JFrog Artifactory.
- Configure the CDK. In our example, we have configured the following settings:
– Set AWS as the cloud provider.
– Set the user credentials.
– Set a cloud region with available quota space.
– Set A self-managed juju controller.
For more information, see the conjure-up documentation.
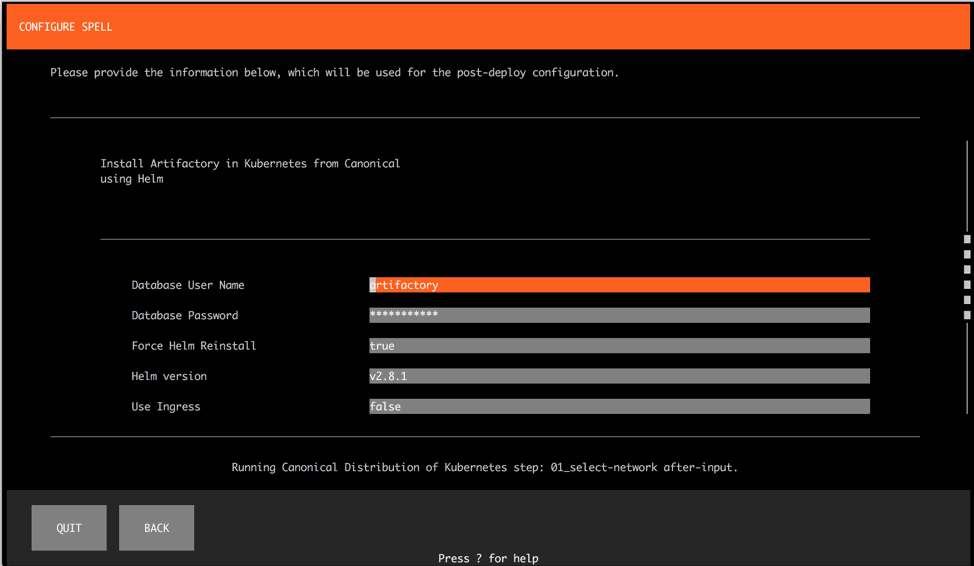
- To configure Artifactory, we have selected all the defaults values. For a detailed list of options, see the Readme.
Note: For this quick-and-dirty example, we did not configure a certificate for Artifactory which means that the Docker registry is insecure. The add-on supports configuring TLS, so you can easily use a certificate to configure a secure Docker registry.
Complete the steps in the conjure-up wizard. Juju proceeds to configure the Kubernetes cluster by running the processes on the backend. - To view the juju status of the infrastructure deployed for Kubernetes and Artifactory, run the following command:
juju status - In the final POST-DEPLOY STEPS COMPLETE step in the wizard, conjure-up shows you how to connect the host to connect to Artifactory by querying the Kubernetes service.
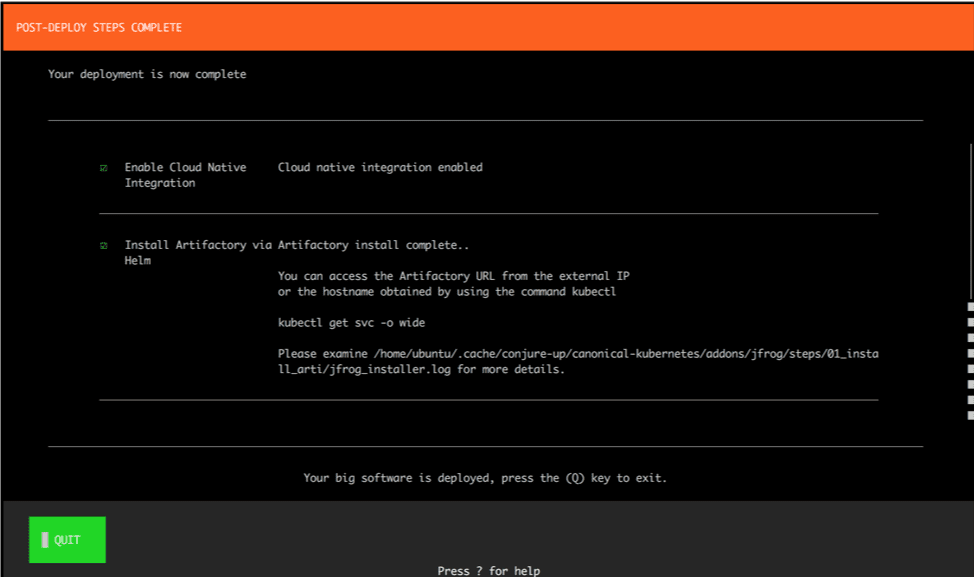
- To find the LoadBalancer host that allows you to connect to Artifactory, run the following command:
get svc -o wide>
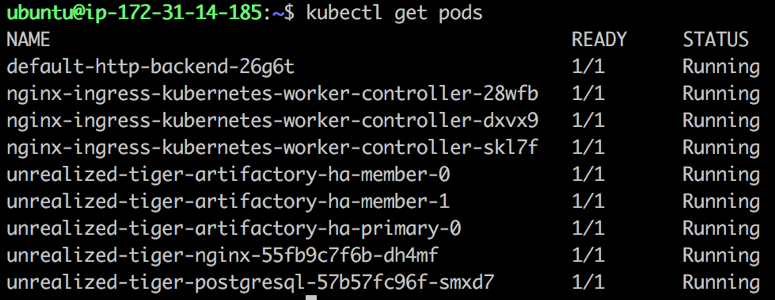
Note that it may take a few minutes for all of the pods to complete their initialization, mount the storage devices, and get the Artifactory service up and running. - To view the status of the pods running the services, run the following command:
kubectl get pods
You can proceed once all the pods are set as READY, and Artifactory is up and running.
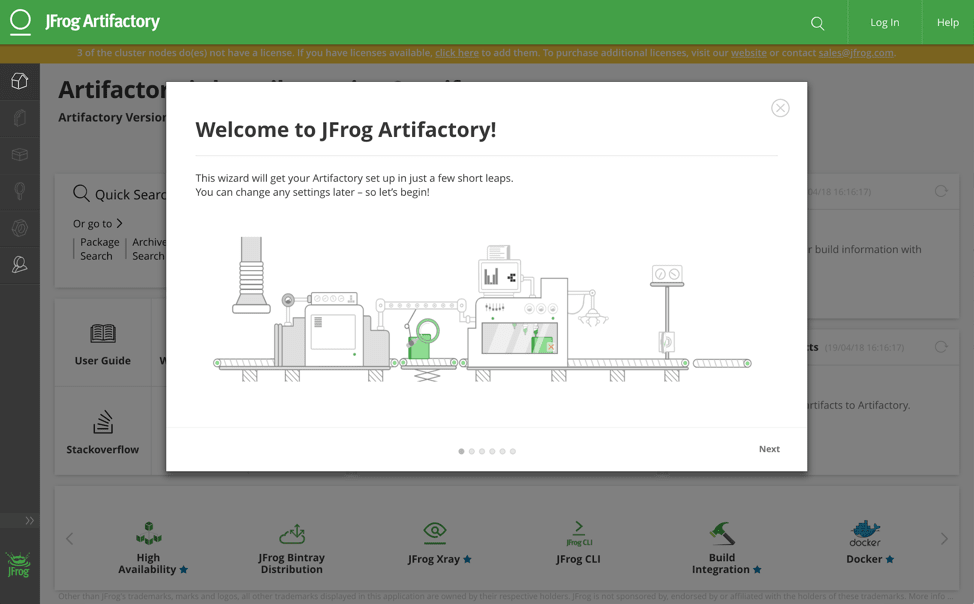
Great! Now that you have verified that your pods are ready. It’s time to launch Artifactory. - Open the LoadBalancer in your browser. Artifactory is up and running, and the Artifactory Onboarding Wizard starts.
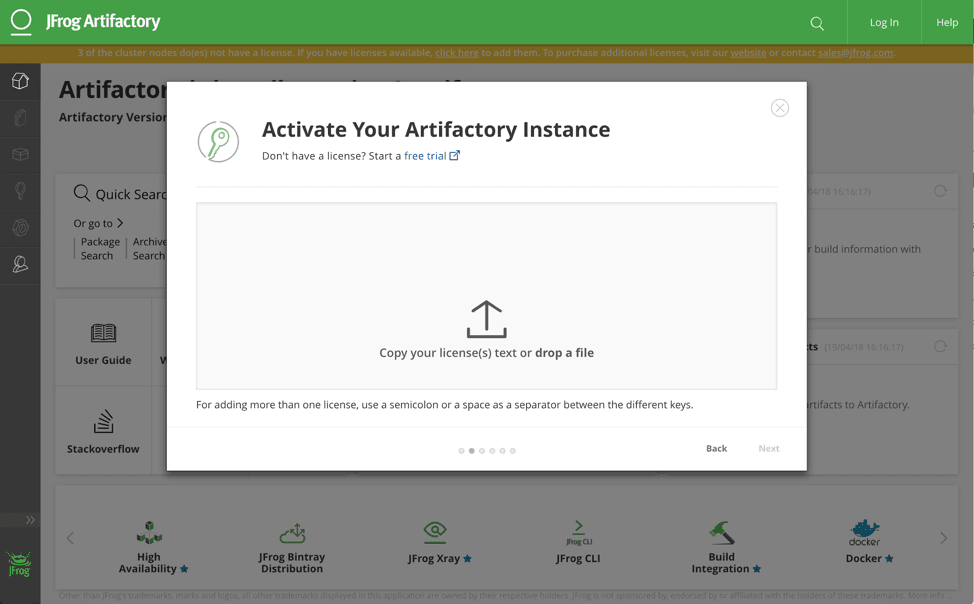
- Click Next to activate your Artifactory Instance. If you don’t have a license, start an Enterprise Trial of Artifactory for the HA deployment.
Important: The link in the Artifactory UI goes to the Artifactory Pro trial which does not support the HA deployment, so use the link above.
- Complete the setup by setting a password, any proxy you might need, and then proceed to create your repositories. In this example, we selected Docker, Gems, Helm, and npm so you can view the Kubernetes registry in action. For more information, see Configuring Repositories.
Let’s focus on your Docker Registry.
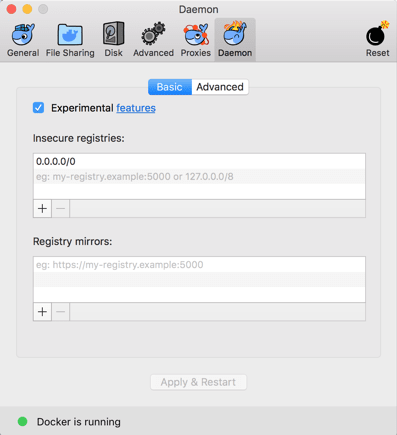
- To test the Docker registry, configure Docker for Mac to allow any insecure registry. Please remember to close this down when you use a certificate to provide TLS termination for the Artifactory deployment.
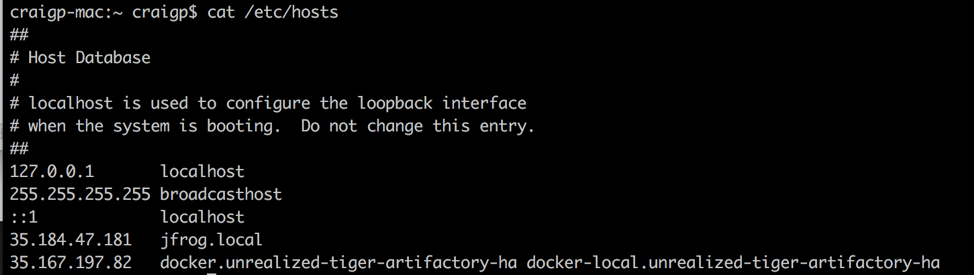
- Ping the Artifactory host to get the IP address of the LoadBalancer.

- In this example, we configured the /etc/hosts to point to the relevant host and repositories as there is no DNS. I added both the docker virtual and docker-local repositories.
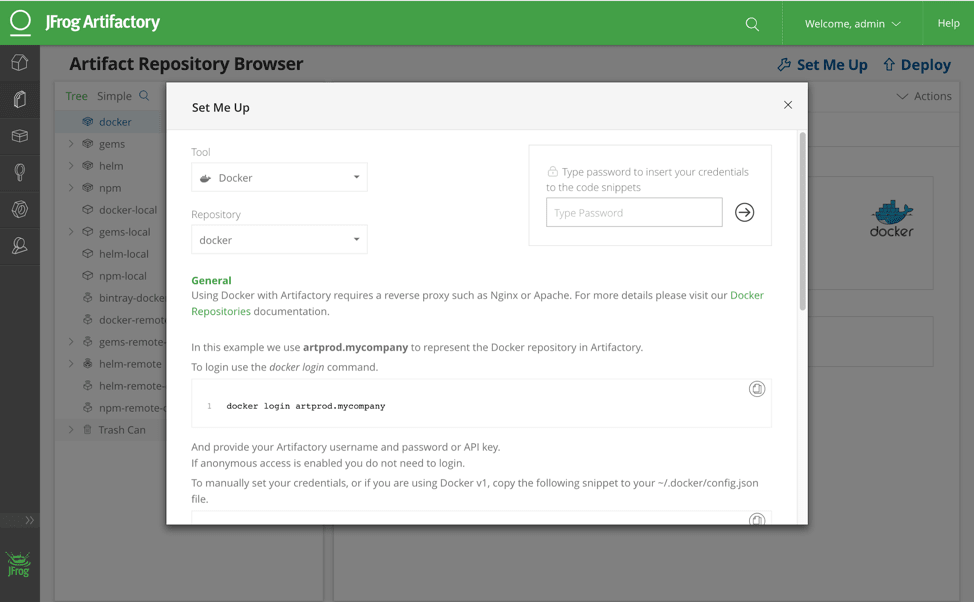
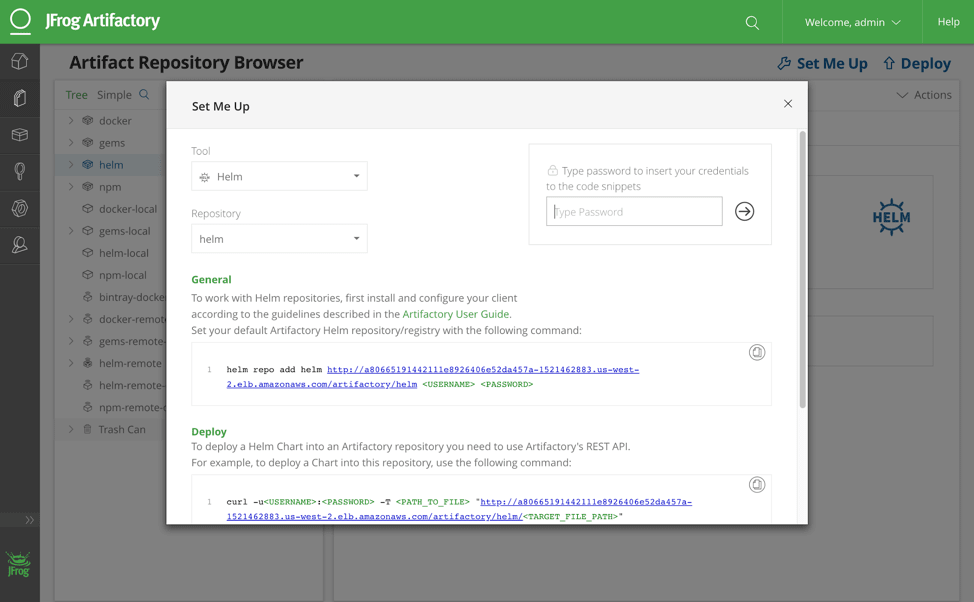
- To get started with the Docker client, go to Docker Set Me Up in Artifactory.
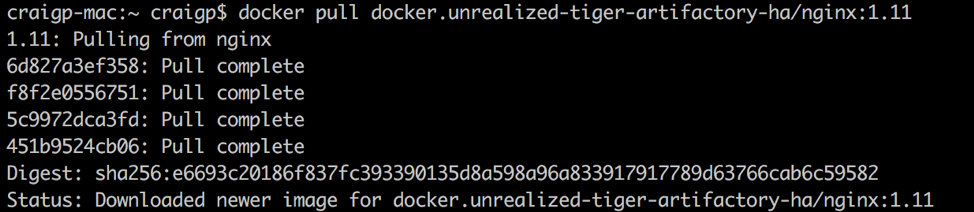
- Test the Artifactory virtual repository functionality. Run the Docker pull of an image to verify that it is not in the docker-local repo.
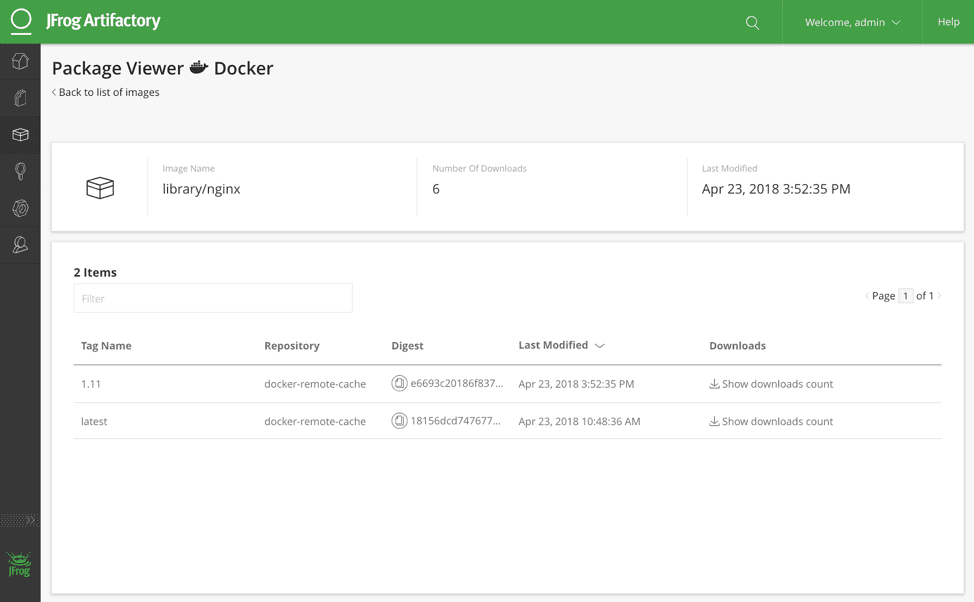
- Find the nginx versions in Package View Docker.
Now let’s configure the Helm repository. - Open the Set Me Up for the Helm virtual repository.
- Find out which Helm version was used to deploy:
helm list
Add Artifactory as the repository:helm repo add
Run the helm client to search for the `artifactory` chart in the currently configured helm repositories:
helm search artifactory
Outro
Now you are ready to use Artifactory to manage your application packages, operating system component dependencies, open source libraries, Docker containers, and Helm charts with full visibility of all the dependencies. This is your Kubernetes Registry!
For a sophisticated example of how the Kubernetes Registry works for building software, see our Kubernetes Example. This example illustrates a layered approach to the CI pipeline enabling safe and rapid change for your Kubernetes applications. We appreciate if you could please provide feedback on the Spells Project and state ‘jfrog’ in the title.
Come visit us at the JFrog booth a KubeCon in Copenhagen this week. We can’t wait to hear about all the exciting ways you’re using the #KubernetesRegistry with the Canonical Distribution of Kubernetes.


