Kubernetes Registry for Azure Container Instances (ACI)
What is an Azure Container Instance?
Microsoft Azure Container Instances (ACI) offers users a fast and simple way to deploy container applications in the cloud without provisioning virtual machines or having to adopt a higher-level service. Using ACI, you can scale and orchestrate operations by deploying a Docker container that pulls a Docker image from JFrog Artifactory, while providing the advantages of fast startup and billing granularity of one second.
ACI, like all container runtimes, requires a container registry to pull from. When trying to understand the provenance and security of the containers you’re running, JFrog Artifactory can help as your Kubernetes Registry. Artifactory serves as a single access point for organizing all your binary resources. Having a single source of truth for repositories eliminates the complexity associated with managing multiple repositories for your builds, open source libraries, and other 3rd party components. This blog post shows how to integrate Artifactory with ACI.
Why Use Artifactory as Your Kubernetes Registry?
JFrog Artifactory delivers your software quickly with confidence as it supports:
- Managing many repositories for nearly every package type.
- Controlling access for different dev teams and deployment systems.
- managing build promotion in your CI pipelines.
- Integrating with a huge ecosystem of tools.
- Optimizing storage and solving build performance problems.
Integrating Artifactory with Azure Container Instances
To demonstrate the integration of ACI and Artifactory, we will:
- Use Jenkins to build an NPM package of a simple Node.js app
- Build the NPM into a Docker image and push to a local Docker repository managed by Artifactory
- Deploy the container to ACI by pulling the Docker image from the virtual Docker repository using the Azure CLI.
Prerequisites: Get Jenkins and Artifactory up and running
You can skip these steps if you already have Jenkins and Artifactory.
- Get Jenkins running with this getting started, and then configure your first npm pipeline for practice.
- Start an Artifactory trial and choose Azure (Cloud), or get a trial license and install it yourself.
Step 1: Create a Jenkins job to build a node app
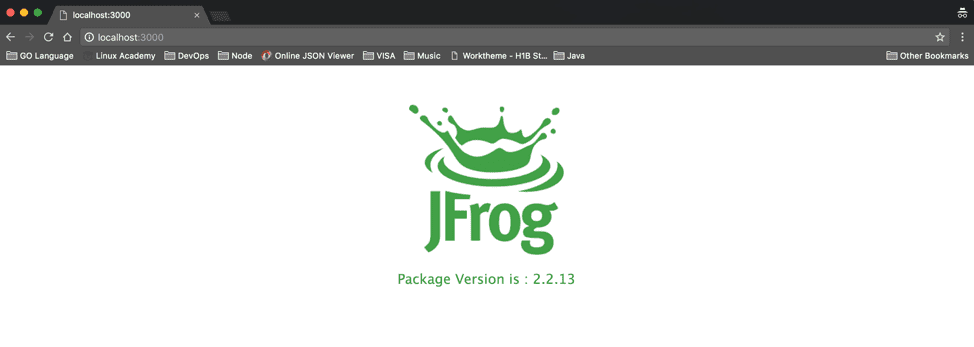
Follow the steps in this tutorial to configure a Jenkins job to build a sample Node.js app. This application starts simple node servers and displays a page that displays the package version.
Step 2: Configure Artifactory to serve as a Docker registry
To learn more about using Artifactory as a Docker Registry, click here.
Create the following Docker repositories in Artifactory:
- docker-local: A local Docker repository
- docker-remote: A remote Docker repository proxying/caching https://registry-1.docker.io/
- Bintray-docker-remote: A remote Docker repository proxying/caching https://docker.bintray.io
- docker: A virtual Docker repository aggregating the local and remote repositories mentioned above.
3: Create a Jenkins pipeline
Create a Jenkins pipeline to build and push the Docker image to Artifactory.
1. Log in to Jenkins by using your Jenkins credentials.
2. Add the following parameters:
- ART_SERVER_URL: Artifactory Server URL
- ART_DOCKER_REGISTRY: Artifactory Docker Registry name
- CREDENTIAL_ID: Artifactory Credentials ID
3. Create a new Jenkins pipeline job.
4. Copy the Jenkins file from the GitHub example repo to the pipeline script, and click Build Now.
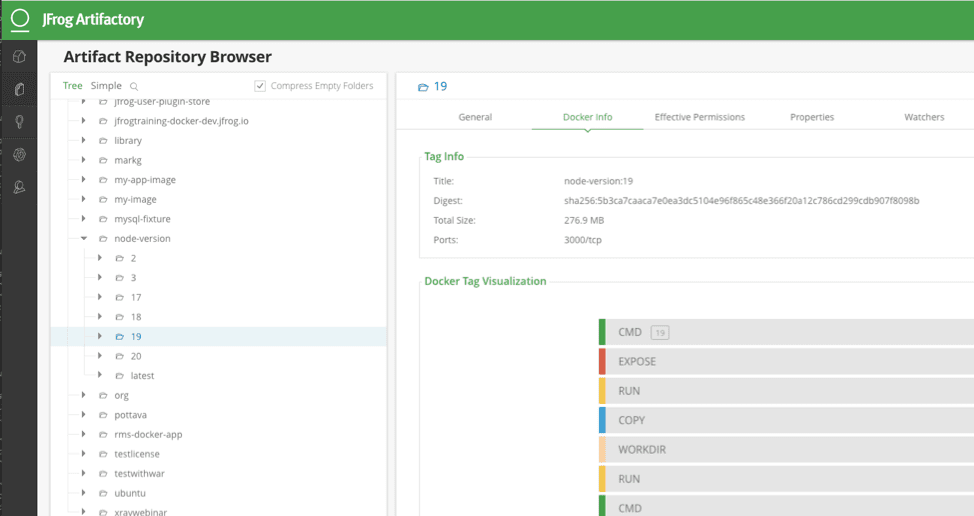
5. Check your newly published Docker image in Artifactory.
Step 4: Deploy the Docker Image to Azure ACI
2. Create a resource group.
az group create --name myResourceGroup --location eastus
The command creates a group named myResourceGroup at the eastus location.
View the output.
Location    Name
-------------------
eastus      myResourceGroup
3. Deploy the container to ACI by pulling the Docker image from Artifactory.
az container create --name mycontainer --image
jfrogtraining-docker-dev.jfrog.io/node-version:latest --registry-login-server
jfrogtraining-docker-dev.jfrog.io --registry-password $ARTIFACTORY_PASSWORD --registry-username
jainishs --resource-group myResourceGroup --ip-address public --port
3000 --memory 1
4. Get the container public IP address.
az container show --name mycontainer --resource-group myResourceGroup
--query ipAddress.ip
View the output.
Result
-------------
40.71.201.235
5. Access the mycontainer container using the IP address provided in the output of step 4. In our example, we used https://40.71.201.235:3000.
6. View the running container logs.
az container logs --name mycontainer --resource-group myResourceGroup
View the output.
> node-version@2.2.13 start /usr/src/app
> node ./bin/www

GET / 200 158.680 ms - 260
GET /stylesheets/style.css 200 4.370 ms - 111
GET /images/images.png 200 1.803 ms - 6146
GET /favicon.ico 404 22.916 ms - 970p
Congratulations!
You now have a simple pipeline that builds a Node.js app, manages the NPM package in Artifactory, and then builds a Docker container stored in Artifactory, with traceability between the packages. This allows you to run the container quickly in an Azure Container Instance with confidence while knowing what it includes and whence it came.


