Take control of your Security: How to use Build-Info in your VCS to track vulnerable versions
Tracking vulnerabilities and compliance requirements is essential for maintaining application security in any software project. However, this process can be time-consuming and complicated, especially as new issues are identified. Fortunately, the JFrog build-info provides a comprehensive solution by recording key information about your project’s build. With build-info, you can easily track vulnerable versions of your project and ensure that your software stays secure.
Read more about how build-info works.
Build-info-go open source project
To further simplify the process, JFrog has developed build-info-go, an open-source project available on GitHub. Build-info-go is a powerful Go library and CLI that offers a range of tools for generating build-info for source code projects. Whether you’re working on Java, Python, Go, or other supported projects, build-info-go provides the necessary capabilities. By leveraging the build-info CLI within build-info-go as part of your CI/CD process and saving the generated build-info in your version control system (VCS), you can streamline the tracking of vulnerabilities and compliance requirements, empowering you to make informed decisions and maintain the security of your software.
By storing the build-info in your VCS, you can easily track specific versions of software components that are known to contain vulnerabilities. For example, you can efficiently navigate to a particular release and access the corresponding build-info. This provides valuable insights into the software components used in that specific release, allowing you to identify and address any vulnerabilities present. This can help reduce the risk of security breaches and ensure that your software is as secure as possible. In this blog post, we’ll show you how to integrate build-info into your VCS using the build-info CLI and use it to save the release’s build-info, making tracking easier and more efficient.
Build-info example
Build-info produced by the build-info CLI is concise and informative. It encompasses a project’s dependencies, including checksums and corresponding paths. Additionally, it may incorporate properties outlined in the project’s descriptor file and provided artifacts. Let’s examine an example build-info generated by the build-info CLI for a Maven project:
{
  "name": "mvn-build",
  "number": "1",
  "agent": {},
  "buildAgent": {
    "name": "GENERIC"
  },
  "modules": [
    {
      "type": "maven",
      "properties": {
        "dep.version": "3.8.1",
        "maven.compiler.source": "1.8",
        "maven.compiler.target": "1.8",
        "project.build.sourceEncoding": "UTF-8"
      },
      "id": "org.jfrog.test:multi1:3.7-SNAPSHOT",
      "artifacts": [
        {
          "name": "multi1-3.7-SNAPSHOT.pom",
          "type": "pom",
          "path": "org/jfrog/test/multi1/3.7-SNAPSHOT"
        }
      ],
      "dependencies": [
        {
          "id": "junit:junit:3.8.1",
          "type": "jar",
          "scopes": [
            "compile"
          ],
          "requestedBy": [
            [
              "org.jfrog.test:multi1:3.7-SNAPSHOT"
            ]
          ],
          "sha1": "99129f16442844f6a4a11ae22fbbee40b14d774f",
          "md5": "1f40fb782a4f2cf78f161d32670f7a3a",
          "sha256": "b58e459509e190bed737f3592bc1950485322846cf10e78ded1d065153012d70"
        },
        {
          "id": "org.codehaus.plexus:plexus-utils:1.5.1",
          "type": "jar",
          "scopes": [
            "compile"
          ],
          "requestedBy": [
            [
              "org.jfrog.test:multi1:3.7-SNAPSHOT"
            ]
          ],
          "sha1": "342d1eb41a2bc7b52fa2e54e9872463fc86e2650",
          "md5": "2a666534a425add50d017d4aa06a6fca",
          "sha256": "72582f8ba285601fa753ceeda73ff3cbd94c6e78f52ec611621eaa0186165452"
        }
      ]
    }
  ],
  "started": "2023-05-30T16:51:10.115+0300"
}
Step 1: Download the build-info CLI
Add the following steps to download the latest version of the build-info CLI and grant it execution permission:
- curl -X GET "https://releases.jfrog.io/artifactory/bi-cli/v1/%5BRELEASE%5D/$operating_system-$architecture/bi" -L -o bi
- chmod u+x bi
Step 2: Collect the build-info and save it in your project
After building your application, add the following line to use the build-info CLI to collect the project’s build-info and save the result in the project’s directory. Make sure that your working directory is the project’s root directory.
- ./bi go > build-info.json Step 3: Commit and push the result file into your Git repository
Add the result file to your project’s Git repository, commit, and push:
- git add build-info.json
- git commit -m "Update build-info.json file"
- git push
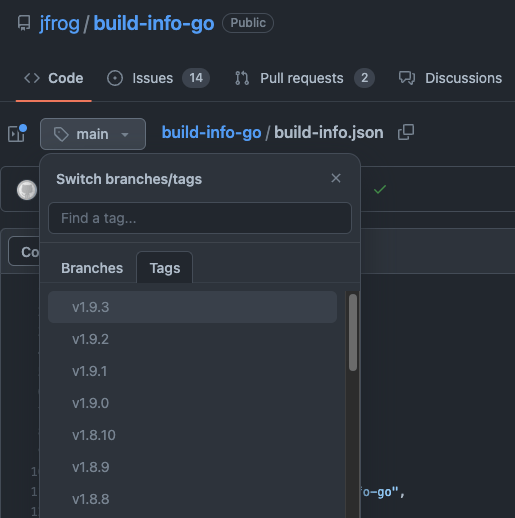
Step 4: Create a Git tag
To make the tracking of our project’s versions easier, we use Git tags. This way, we can find the wanted version’s code easily and quickly:
- git tag v${NEXT_VERSION}
- git push --tags
That’s it!
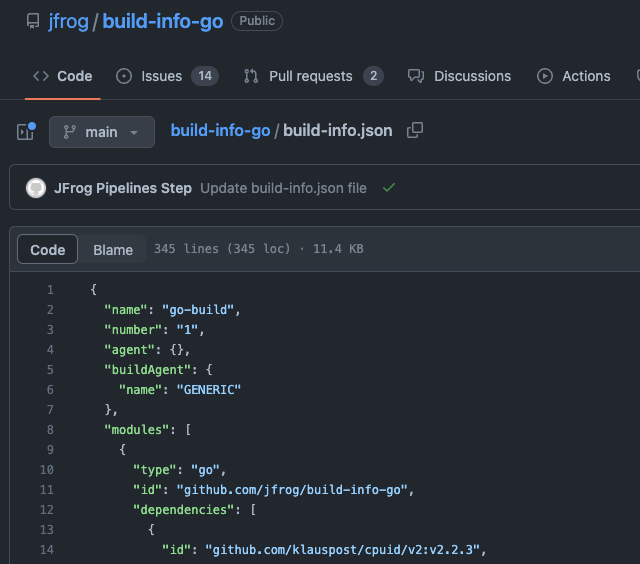
After your next run of the pipeline, the build-info.json file will be added to your project and contain the most up-to-date build-info.
You’ll also be able to jump back to this Git tag in the future and view the dependencies used in it if needed:
You can view a full pipeline of our build-info-go project, containing the saving of the last release’s build-info in Git, in the project’s GitHub repository.
You can also access the latest version’s build-info, generated by this pipeline.
The build-info-go library provides convenient Go APIs for building source code projects and generating build-info directly from your codebase.


