Remote control Raspberry Pi in 2021 method
This guide explains how to remote control Raspberry Pi in the best and quickest way.
In a few minutes from now, you will be able to control and manage thousands of Raspberry Pi remotely from any place in the world. JFrog Connect provides a device management platform for edge Linux and IoT devices.
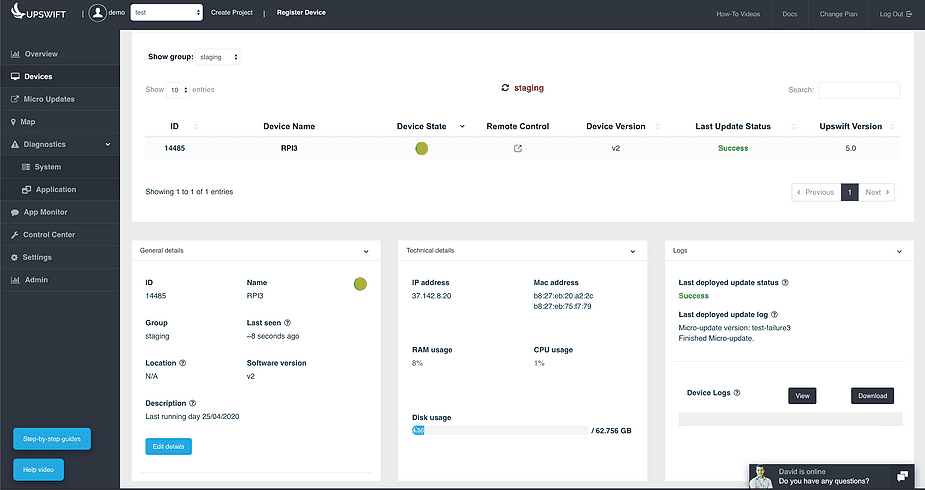
This guide includes 3 simple steps. After those steps, you will be able to control your Raspberry Pi over the cloud – deploy updates, remote SSH, run commands, monitor and much more. Here is how it will look like after the next 3 simple steps:

That’s great, right? let’s begin our guide! it should take no more than 3 minutes and the picture above is yours.
STEP 1
Go to JFrog Connect website and register to the platform. No worries, it’s completely free for prototyping and there is no time limit. After the registration, make sure to choose the prototyping plan and to set a project name.
STEP 2
Let’s connect our Raspberry Pi to the platform! All we need to do is to click on ‘Register Device’ at the top of the page. Now, Copy the registration command and past&run it on your Raspberry Pi terminal. Your Raspberry Pi will show up under the ‘Devices’ page in a few seconds.
STEP 3
Before we start to explore all the tools and features of the platform, click on ‘edit details’ and change the device name, location, and description to whatever you would like.
DONE. You are now part of JFrog Connect community which manages edge devices over 35 countries all over the world.


