How to control Raspberry Pi remotely in 2021
How to control Raspberry Pi remotely, 3 minutes guide!
This Guide will help you have full remote shell access (SSH) to any Linux based device (including Raspberry Pi) from anywhere in the world, even behind double nat or network firewall.
To get started with JFrog Connect IoT platform we just need a Linux based device to connect, it can be any Linux device – BeagleBone Black, Raspberry Pi 4, Ubuntu virtual machine, etc..
Step 1 – Open a free maker account at JFrog Connect
Using JFrog Connect we can completely manage our Linux device remotely. To open a free JFrog Connect account and get in the platform we just need to fill Email and Password here.
After the registration, you will get an activation email, Login and fill the pop-up window. Now, you will have the option to choose the ‘Prototype Plan’, this plan is completely free up to 3 Linux devices – click on choose, and Let’s connect a Linux device!
Step 2 – Register Linux based device
Here things get very simple, by clicking on ‘Register Device’ on the top of the page:

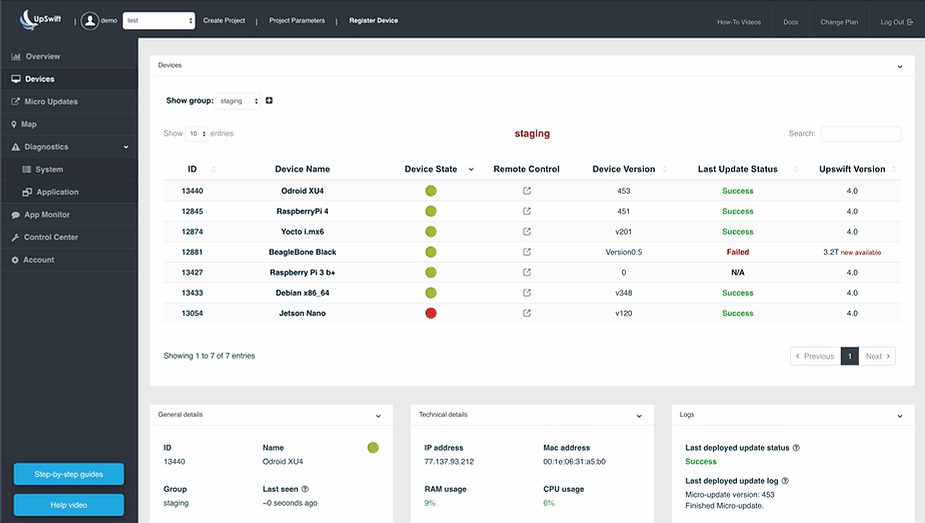
Copy the registration command and paste it on the device command line, Then run and wait until the installation finish. You should now see your new Raspberry Pi device, Linux device, at JFrog Connect dashboard under the ‘Devices’ category:

Great! before entering the third and last step, we can change the device name by click on ‘Edit Device’.
Step 3 – Remote control access to our Linux device
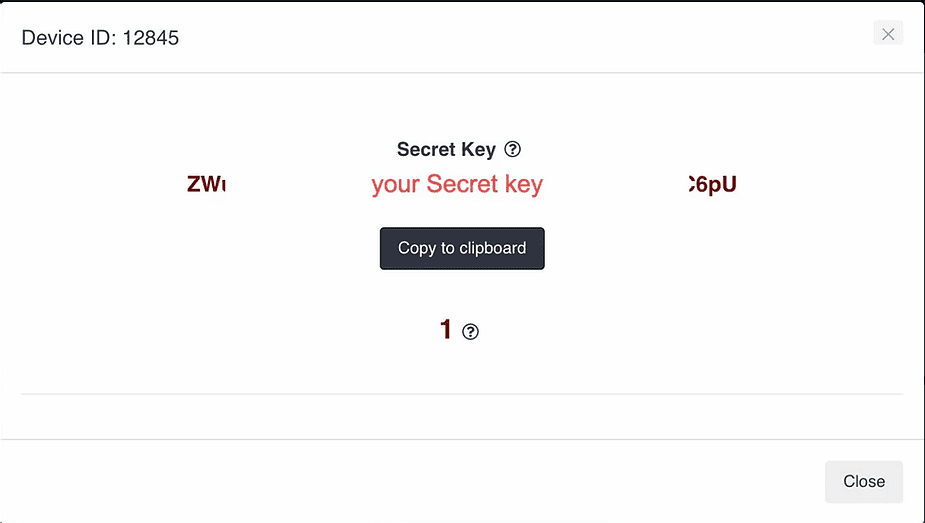
By click on the remote control button under the specific row of our new device, a new window will appear and you will just need to copy the ‘Secret Key’ and wait until the remote control session will be ready.

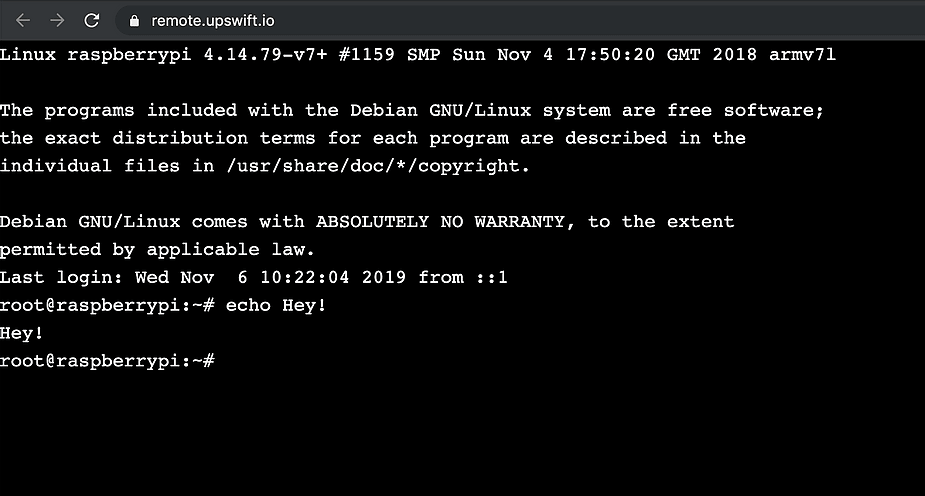
When the remote control button appears, click on it and enter/paste the ‘Secret key’ you copied. Now click on ‘Connect’, and that is it! you are inside your Linux device terminal.

That’s it! you should now inside your Raspberry Pi terminal and more importantly, you can reach it securely from anywhere in the world.


