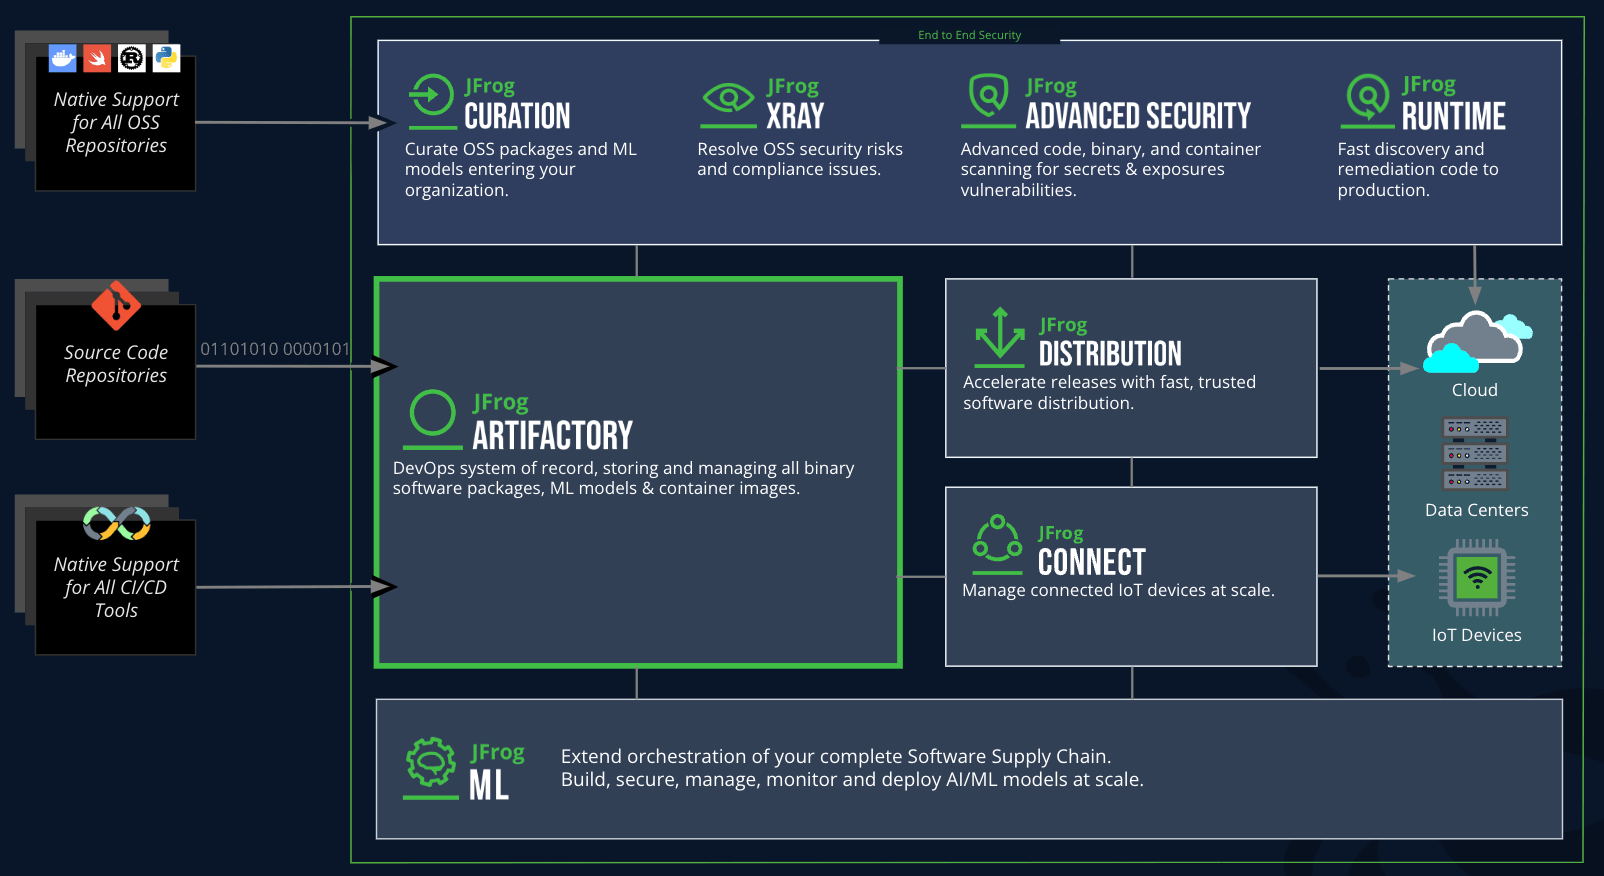
helping to deliver secure software updates from code to the edge.
You have been redirected to the JFrog website


To configure an RPM repository in JFrog Artifactory, log in to the Artifactory UI, go to the “Admin” tab, click on “Repositories,” and select “Repositories.” Choose “Local” and then “New.” Select “RPM” from the package type dropdown, and fill in the required fields (like repository name and description) before saving the configuration.
You can upload RPM packages using the Artifactory web UI or through command-line tools like curl or jfrog-cli. For example, using curl, you can upload an RPM file with the following command:
curl -u : -T “https:///artifactory//.rpm”
Replace the placeholder values with your specific details.
To configure your system, you need to create a .repo file in /etc/yum.repos.d/. An example configuration would look like this:
[my-artifactory-repo]
name=My Artifactory RPM Repository
baseurl=https:///artifactory/
enabled=1
gpgcheck=0
Replace the placeholder values with your Artifactory details. This configuration allows the yum or dnf commands to access the RPM packages hosted in Artifactory.
Yes, JFrog Artifactory can manage versioning for RPM packages. When you upload an RPM with a new version number, Artifactory will handle it as a separate artifact. You can also use the built-in metadata for better management, including tracking dependencies and licenses.
To set up permissions in JFrog Artifactory, go to the “Admin” panel, click on “Permissions,” and create or modify permission targets. Assign necessary users or groups to the RPM repository, specifying read, write, or delete access as needed. This ensures the right individuals have appropriate access to the RPM packages.