Manage Your Docker Builds with JFROG CLI in 5 Easy Steps!

This blog post was update on March 28, 2022
JFrog CLI is a useful client that provides a simple interface that works smoothly with JFrog Artifactory and Jfrog Xray. The simplified CLI commands enable you to create readable automation scripts that are easy to maintain, efficient and reliable.
From version 1.14.0, JFrog CLI has extended its support to manage Docker builds, in addition to its npm, Maven and Gradle and GO build support.
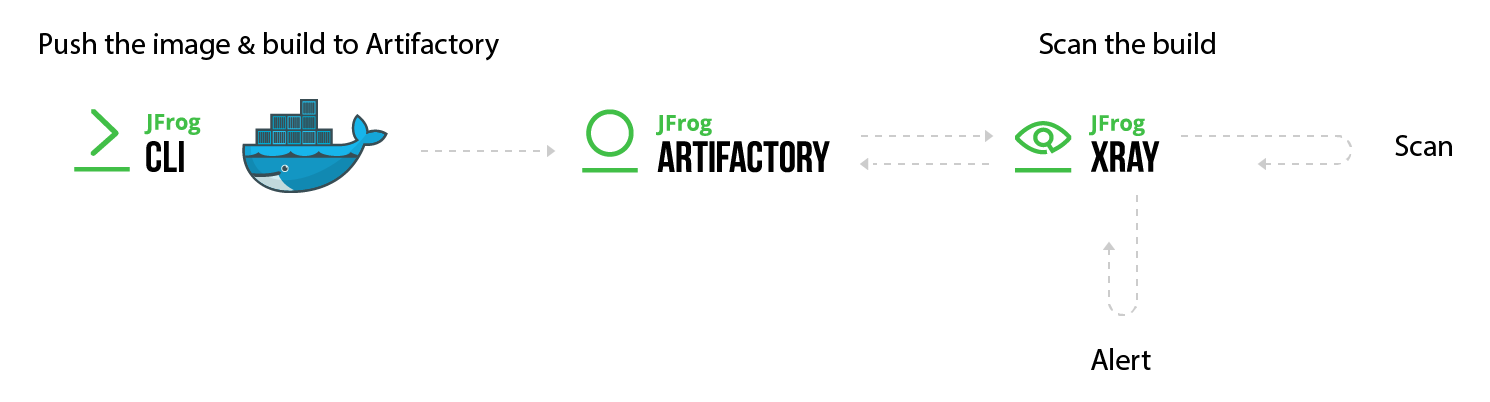
In this blog post we’ll demonstrate how to use the Docker CLI commands to manage your Docker builds in Artifactory, and easily scan them using Xray. The following workflow will take you through the complete process:
- Configure Artifactory with JFrog CLI
- Build the Docker image
- Publish the build-info
- Scan the build with Xray
- Promote the build
Prerequisites
Before getting started, make sure you complete the following:
- Install JFrog CLI, using the following command:
-
$ curl -fL https://getcli.jfrog.io | sh
-
- Setup your environment:
- Download and install Docker client
- Download Artifactory
- Download Xray
- Configure a Docker registry
1. Configure Artifactory with JFrog CLI
To configure the Artifactory server, all you have to do is run the CLI config command:
$jfrog config add
Insert the Artifactory server ID, Platform URL and the credentials as the follows:
2. Build the Docker image
Configure the Docker registry in Artifactory with reverse proxy. Alternatively, you can configure your Artifactory using the new proxyless option for non-production setups.
To make sure that the Docker client and the Artifactory Docker registry are configured correctly, run the following commands in order to pull the hello-world Docker image and then push it to Artifactory:
$docker login <artifactory_docker_registery>
$docker pull <image_name>:<image_tag>
$docker tag <image_name>:<image_tag> <artifactory_docker_registery>/<image_name>:<image_tag>
$docker push <artifactory_docker_registery>/<image_name>:<image_tag>
For example:
$docker login my-docker-registry.io
$docker pull my-docker-image:latest
$docker tag my-docker-image:latest my-docker-registry.io/my-docker-image:latest
$docker push my-docker-registry.io/my-docker-image:latest
After a successful deployment to Artifactory, you’re now ready to use JFrog CLI to push your image layers into Artifactory.
Note: When building a Docker image, the docker push command deploys the image layers to the Artifactory server and collects the build info.
To push the image and the build info to Artifactory run the Docker Push Image CLI command:
jfrog rt dp <artifactory_docker_registery>/<image_name>:<image_tag> <local_repository_name> --build-name=<build_name> --build-number=<build_version>
For example:
$ jfrog rt dp my-docker-registry.io/my-docker-image:latest docker-repo --build-name=docker-build --build-number=1.0.0

3. Publish the build-info
Use the jfrog build publish command will publish the build info to Artifactory:
$ jfrog rt bp docker-build 1.0.0

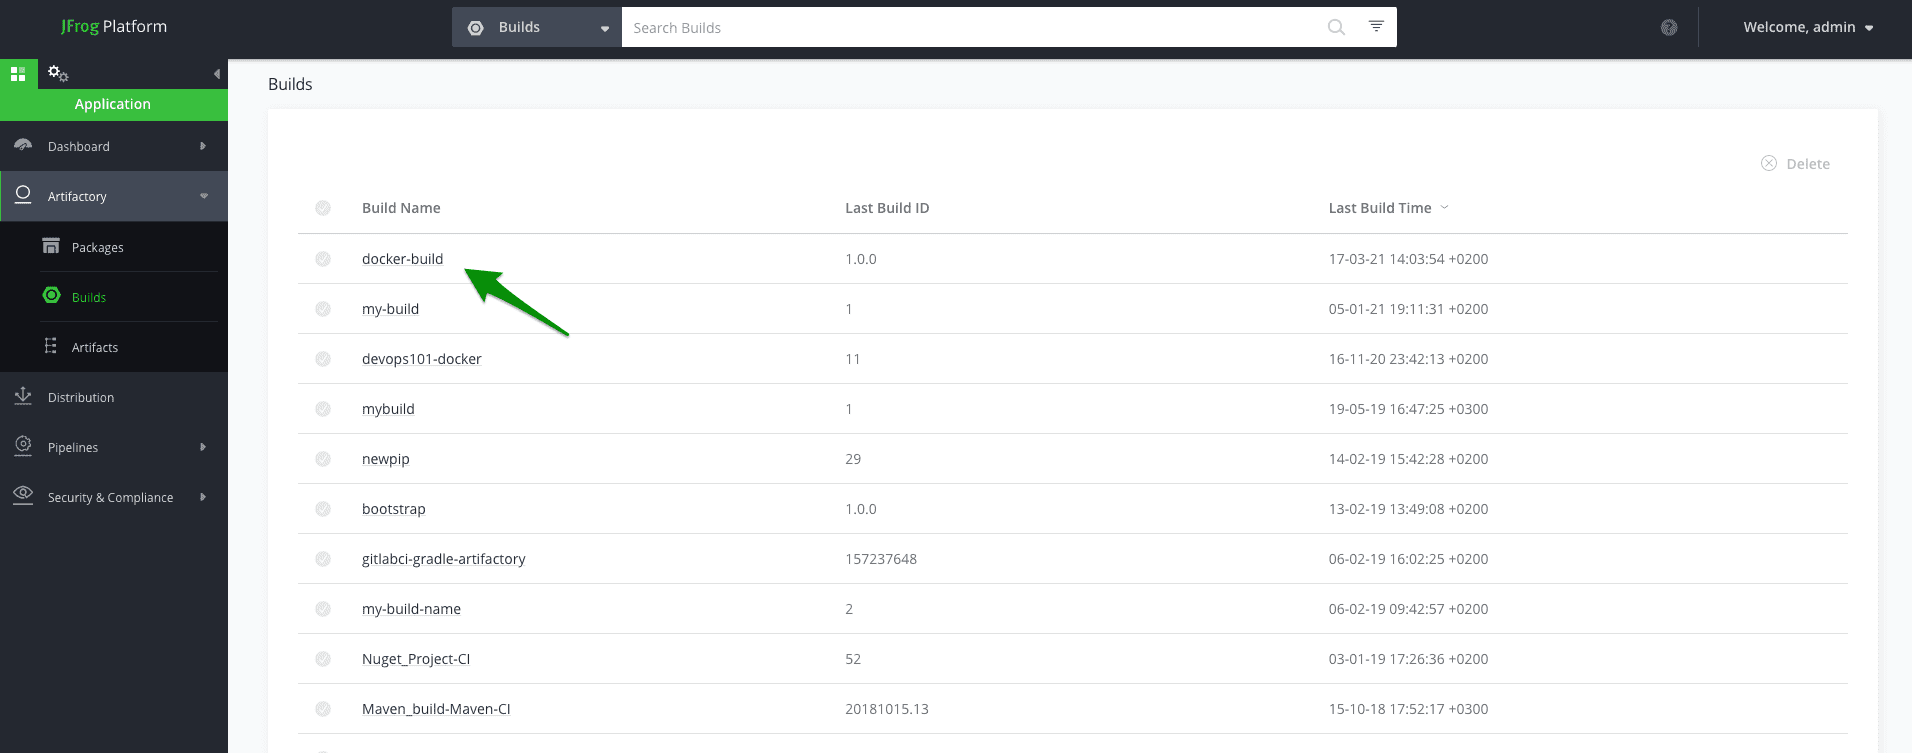
The build info will now be displayed in Artifactory:
Use the package viewer to see the different Docker image layers directly from the Artifactory UI (available from Artifactory version 5.10):
Step 4: Scan the build with Xray
JFrog Xray works with Artifactory to perform universal analysis of binary software components at any stage of the application lifecycle. By scanning binary components and their metadata, recursively going through dependencies at any level, Xray provides unprecedented visibility into issues lurking in components anywhere in your organization.
To scan your build using Xray, you need to add the build to the selected build list:
Then you can configure a new watch for this build:
Note: This integration requires JFrog Artifactory v4.16 and above and JFrog Xray v1.6 and above.
To scan the build, use the build scan command:
$ jf bs docker-build 1.0.0
5. Promote the build
Build promotion is usually used after testing or a build scan, optionally moving or copying the build artifacts and its dependencies to a target repository. When using promotion, you don’t have to build your Docker image multiple times before deploying it to production. This provides you with confidence that the image you tested is indeed the image that will make it to production.
To promote the build, run the build promotion command:
$ jf rt bpr docker-build 1.0.0 docker
That’s it, we’re done!


