How to set up a Private, Remote and Virtual Go Registry

By
5 min read

The simplest way to manage and organize your Go dependencies is with a Go Repository. You need reliable, secure, consistent and efficient access to your dependencies that are shared across your team, in a central location. Including a place to set up multiple registries, that work transparently with the Go client.
With the JFrog free cloud subscription, including JFrog Artifactory, Xray and Pipelines, you can set up a free local, remote and virtual Go Registry in minutes. This blog post will take you through the steps.
Before you start
Here’s what you’ll need:
Step 1: Login to your environment
Login using the default username: admin, and password: password for the on-prem installation, or the credentials provided to you by email for the cloud installation.
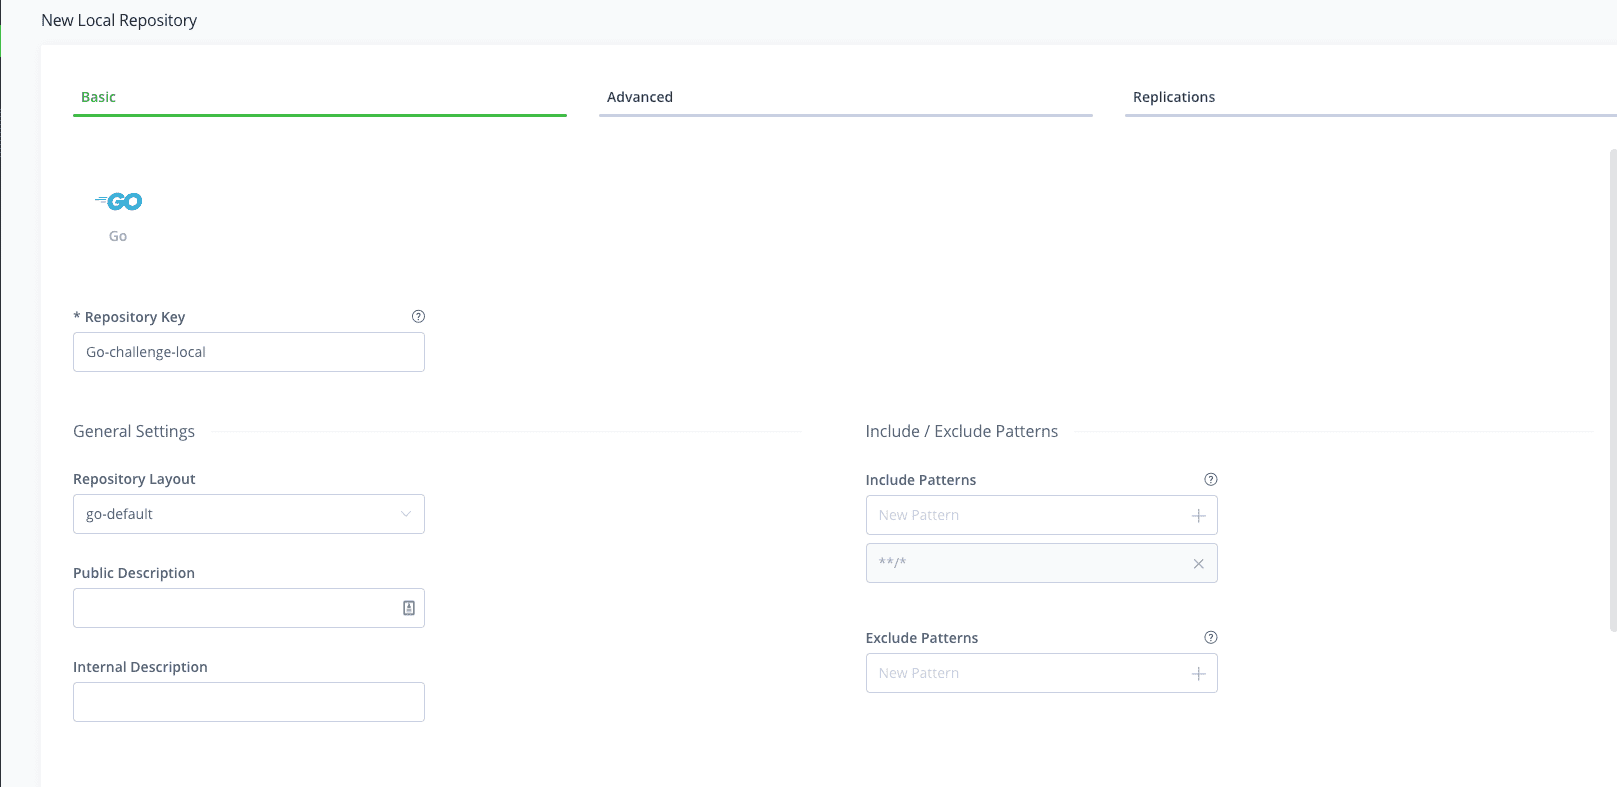
Step 2: Add local Go repository
Used to store your custom Go dependencies you will create in a later step. Navigate to the Administration Module. Expand the Repositories menu and click on the Repositories menu item.
Add a new Local Repository with the Go package type. Enter the Repository Key “Go-challenge-local” and keep the rest of the default settings.
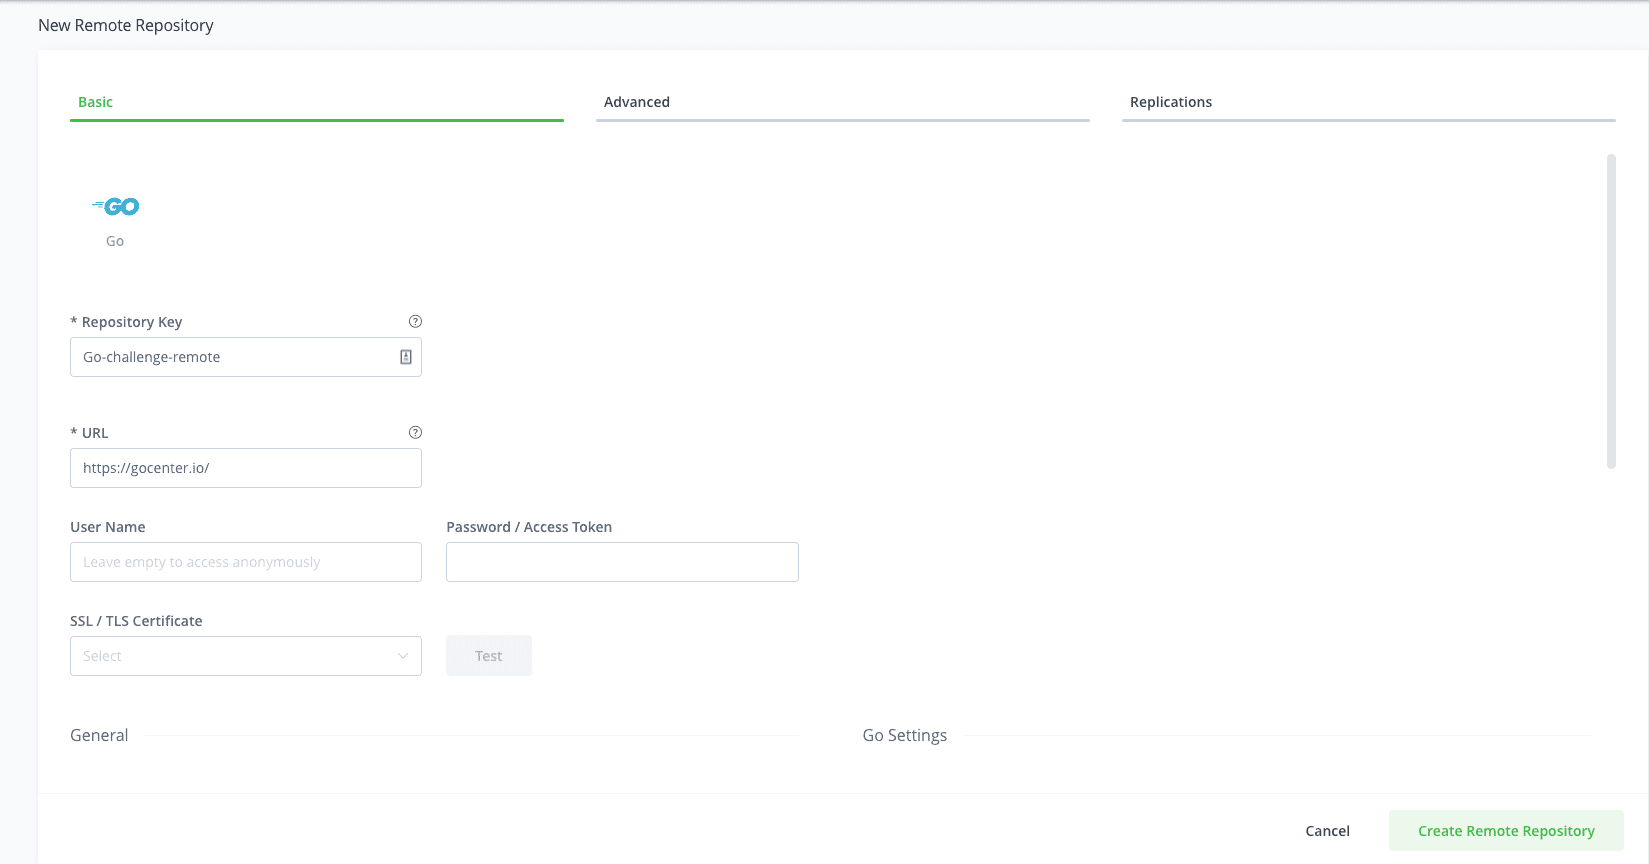
Step 3: Add remote Go repository
Used as a caching proxy, to store 3rd party dependencies from http://proxy.golang.org/.
Click on the Remote tab on the Repositories page and add a new Remote Repository with the Go package type. Enter the Repository Key “Go-challenge-remote” and keep the rest of the default settings.
Step 4: Add virtual Go repository
Used when creating your first Go project.
Click on the Virtual tab on the Repositories page and add a new Virtual Repository with the Go package type. Enter the Repository Key “Go-challenge” and add the local and remote Go repositories you created in Steps 2 and 3 (move them from Available Repositories to Selected Repositories using the arrow buttons). The order of these repositories in the list will determine the order used to resolve the dependencies required for building your Go project. Select your local repository that you created in Step 2 as the Default Deployment Repository. The Default Deployment Repository is the repository that the Go dependencies you build will be pushed to. Keep the rest of the default settings.
Step 5: Fork the JFrog Maven / Gradle example GitHub repo
This repository contains simple examples you will use to build your project.
Step 6: Configure JFrog CLI
Configure JFrog CLI, a smart client that provides a simple interface that automates access to JFrog products simplifying our automation scripts.
- Configure the JFrog Platform.
$ jfrog config add

- Use the following steps to build the project with Go and resolve the project dependencies from Artifactory.
- Move to the root project directory (
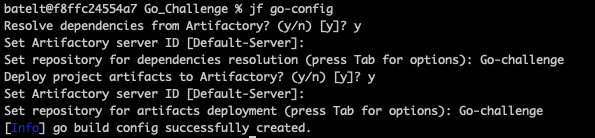
cd Go_Challenge) - Configure the project’s repositories.
$ jf go-config
- Build the project and resolve the project dependencies from Artifactory.
$ jf go build --build-name=my-go-build --build-number=1.0.0

- Publish the Go Packages to Artifactory with go publish
jf gp v1.2.3 --build-name=my-go-build --build-number=1.0.0

- Publish the build info to Artifactory.
$ jf rt bp my-go-build 1.0.0
- Move to the root project directory (
Step 8: View your repository
Navigate to the Application Module, in the Platform UI, expand the Artifactory menu and click the Artifacts menu item. Here you’ll be able to see the details of your new artifacts.
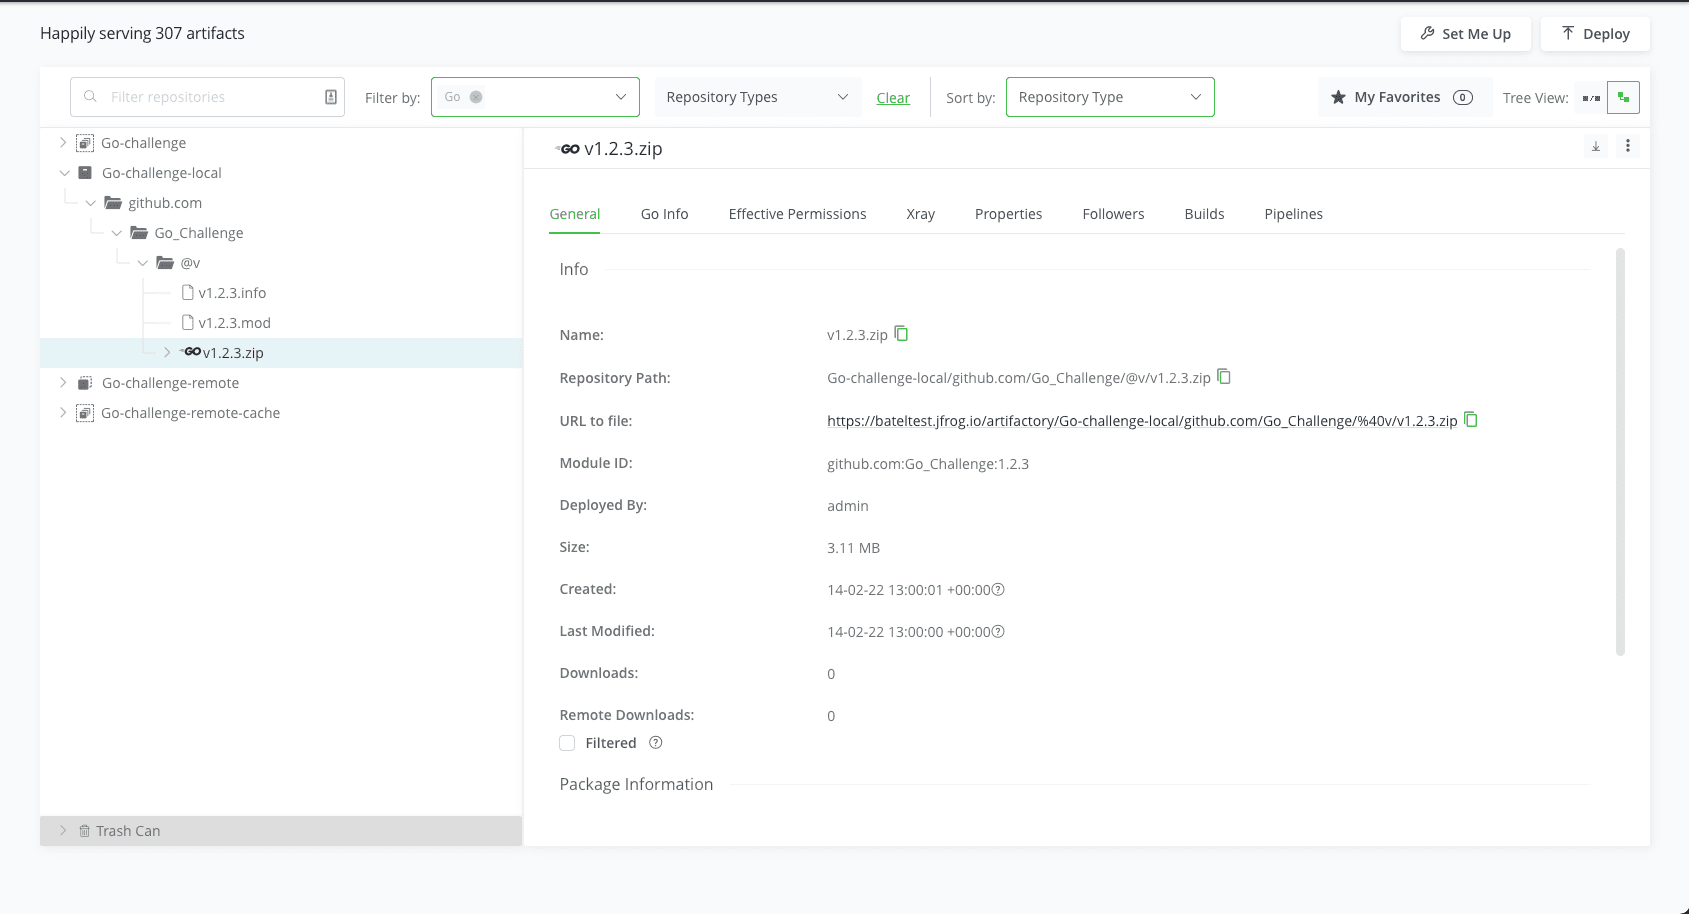
Your Go repository
Once you’re done and configured your Go repository, you’ll be able to store all your dependencies in your local, remote and virtual repositories. Here’s how it will look:

That’s it!
Now, all that’s left is for you to try it for yourself.


